

Republic P-47D Thunderbolt

The kit comes with a nicely detailed resin cockpit.

Test Installation of the cockpit will hopefully save some aspirin later on.

There is a big difference between the kits oil cooler control door and Eduard’s replacements.

A simple but very effective improvement of the intercooler door.

Base coat consisting of a mixture of Tamiya green/yellow acrylics applied to the cockpit.

A subtle dark overall wash and black details painted.

Almost done.

The finished cockpit.


During the assembly of the canopy track I realised I needed some better tools for handling etched parts. Now a photo etched bender tool from RP Toolz and a couple of tweezers from Adam Wilder is ordered.

Where there is hard to reach with any sanding tool I prefer to use a piece of plastic sheet or strip instead of putty. Saves a lot of time and Aspirin.

It's beginning to resemble a P-47 Thunderbolt...


The engine ready for paint.

Engine and propeller painted and weathered. The prop needs a coat of matt varnish to be completed.

Almost ready for the paint booth.


Back from the paint booth.

All decals in place.

Next step is a subtle overall oil paint wash.

Raw umber oil wash done.

Ready for a couple of coats of varnish.


Finished


Comments
30 May 2015, 19:13
Thanks Carlos. Yes, the Academy kit is nice (I built the N version back in the late nineties) and the Eduard addition makes it great. I'm having a blast so far 🙂
16 June 2015, 19:12
Thanks Guido. I have a Tamiya Razorback and another Eduard Jug waiting in my stash but I'll probably squeeze in a Spitfire or two in between 🙂
16 June 2015, 19:31
Nice work... I have the Jugs over Germany kit on the bench... Need to finish deacaling 🙂
Do not forget to drill the holes for the pylons under the wing 😉
19 June 2015, 21:32
Thanks.
And thank you Christian for reminding me about the holes for the pylons, I had totally forgotten about it.
20 June 2015, 08:30
Thanks a lot fellas.
Kerry, I haven't seen it but I will most definitely do it. Thanks a lot for sharing this interesting video.
26 June 2015, 04:45
You have done a great job on all you have touched here, well done Mats. 🙂 👍
3 July 2015, 22:34
Ist time for warm up the engine! I'm watching for final result Mats.
15 July 2015, 20:17
Mats, a question: What do use as an adhesive applicator for affixing the little PE bits?
16 July 2015, 03:13
Thanks you fellas.
Leif, I normally use a thicker cyanoacrylate glue (it is like a gel) and I applicate the glue with a needle or a sharpened toothpick. Another advantage with the thicker glue is that it has quite long drying time (10-25 sec) so there is a bit of a time frame to correct the placement of the part (unless it accidently sticks to your finger; if so the drying time for the glue is 0,0001 sec…).
16 July 2015, 08:56
The engine doesn't seem to be large enough to spin a prop that size, or am I imagining that ?
23 July 2015, 22:10
The engine in your model looks smaller than it should, and have a look at these images and you will understand my statement.
google.com.au/url?sa..ust=1437781816777070
23 July 2015, 23:47
Thanks fellas.
This Academy kit has been around since the mid-nineties and is far from perfect but once everything is in place it will look like a Thunderbolt 🙂
24 July 2015, 08:25
Matts, My mentioning of the engine size was by no means a criticism of your build and I failed to mentioned the build and detailing. Sorry mate. 🙂
It is obvious, now I have come back for an other look, that you have put a lot of energy and research into it and the results are in and the work you have done is tribute to your skills. 🙂.
25 July 2015, 21:58
Thanks guys, much appreciated.
Kerry, no worries mate 🙂
The bubbletops were designated P-47D, M, and N. The P-47 Wikipedia page is a good starting point for anyone that wants to read more about 'The Jug'.
en.wikipedia.org/wik..lic_P-47_Thunderbolt
26 July 2015, 08:39
Thanks guys. Next step is a couple of coats of clear varnish and then it is time for my favourite part; decals 🙂
30 July 2015, 19:04
Awsome job mate i love these old girls not so much the razorbacks, the bubbeltops just look the part just like this model
4 August 2015, 10:50
The 360 degree canopy was introducted on the XP-47K however that and other improvement of the prototype were introduced into product as a block change to the D series at blk 25 Farmingdale.
4 August 2015, 10:59
Hi Mats,
wonderful result, so far!👍 Good that you recognized that the stick was wrongly installed on pic 1! LOL😉😄
4 August 2015, 11:38
Thanks fellas.
Holger, I didn't realise that the control stick was in the wrong direction in photo 1 until now. Good thing that I was more careful when I actually glued it in place 🙂
4 August 2015, 17:34
Thank you Bernd. As you say, the Academy Thunderbolt is a nice kit but the extra stuff that Eduard added in this boxing makes it great.
6 August 2015, 17:28
Impressive P-47 Mats. Photography is also very good. Nice sparkling pictures 👍
8 August 2015, 19:44
Thanks guys.
The colours I used are all Gunze acrylics; H53 Neutral grey on the underside, H52 Olive drab on the upper surface, and H13 Red on the cowling. Normally I would have painted the yellow stripes as well but I couldn't mix a good match to the number decal on the tail so I used the decal stripes.
8 August 2015, 20:42
Awesome work with all those etched parts, the result looks great!
14 August 2015, 19:10
Thank you all for your kind words.
James, I don't think you will regret this purchase. This kit has been a joy to build so far 🙂
15 August 2015, 19:01
Excellent modulated olive drab paintjob Mats, looks superb already !
17 August 2015, 18:48
Thank you all. I'm really flattered by all the kind and positive feedback.
I've spent some 80-odd hours (which probably are an average for me to finish a kit nowadays) on this Thunderbolt and I have enjoyed every second. Now it is time to figure out what to build next 🙂
24 August 2015, 17:20
Mats, looks like the thing could use air brakes. It looks really fast just sitting there🙂
25 August 2015, 03:28
Thanks guys.
I'll definitely follow the B-1 and He-219 builds but the next one for me will be a Marinefliegergeschwader Starfighter 🙂
25 August 2015, 18:30
Congrats for this very realistic finish! Crystal clear bubble canopy: do you have use Future, or polish wax or similar, Mats?
P.S. Intend you still to flatten the tyres? The most Jugs was really heavy🙂
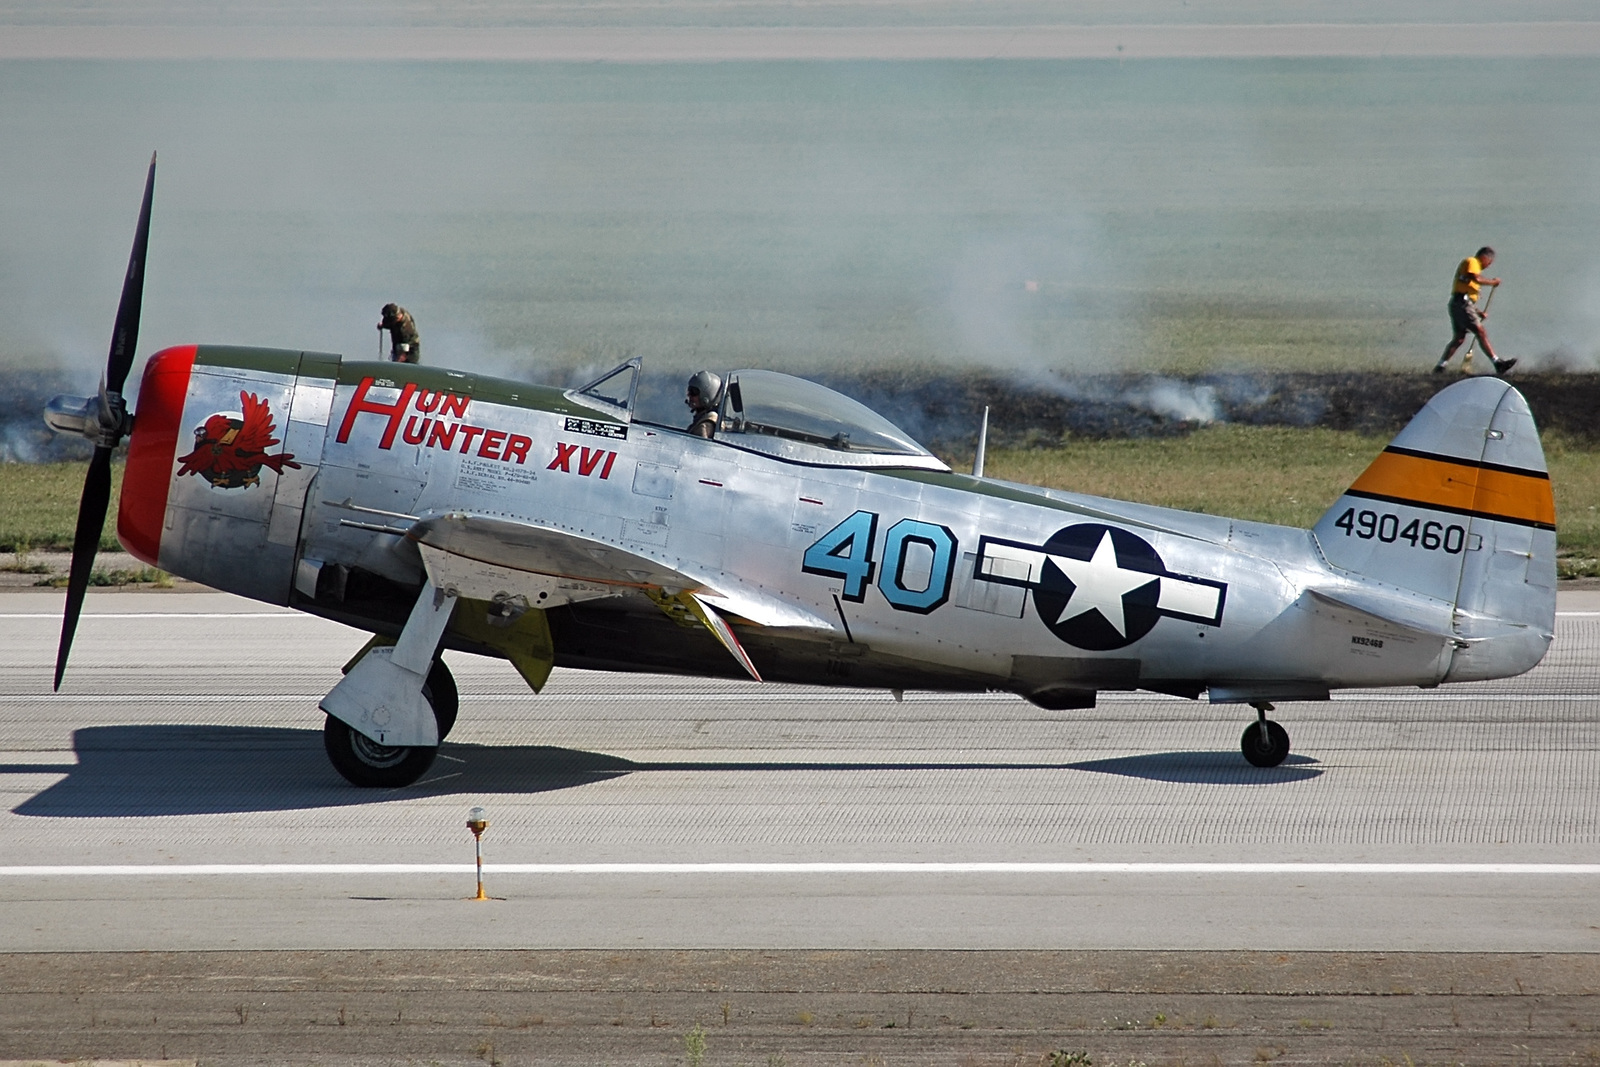
[img1]
25 August 2015, 19:51
the guy in the yellow T shirt has balancing skills on top of that rudder😉
25 August 2015, 20:04
I'm very curious what the " 'ke " means when you spell my name thus - "Chopp'ke" ?
not that I am offended or anything but it is a curiously consistent mis-spelling you use,
is it a Belgium term of endearment I wonder, who knows..... well, you might 🙂
26 August 2015, 01:13
ah come on Cliff, you've started that thought and now you must finish it ! 😄
especially now that I am curious as to what you might be thinking and fear not, I have a decent enough sense of humour about myself😉
26 August 2015, 03:04
Thanks Bernhard. I normally polish the canopy with Alclad micromesh polishing cloth up to 12000 grade and then put it in a cup of Klear/Future so it is completely covered. Take it out and let it dry and hopefully you have a crystal clear canopy. This one did not require any polishing so it has only been treated with Klear/Future. This treatment also prevents the plastic from whitening if superglue is used on the canopy.
I probably won't flatten the tires unless I put it in a diorama or other scenery but then I think I'll replace the wheel completely; I want that bulge in the wheel as well. It is quite easy to achieve that effect with plastic wheels but a bit trickier with resin wheels. Anyway, for now I stick with the ones that are on 🙂
26 August 2015, 17:41


