

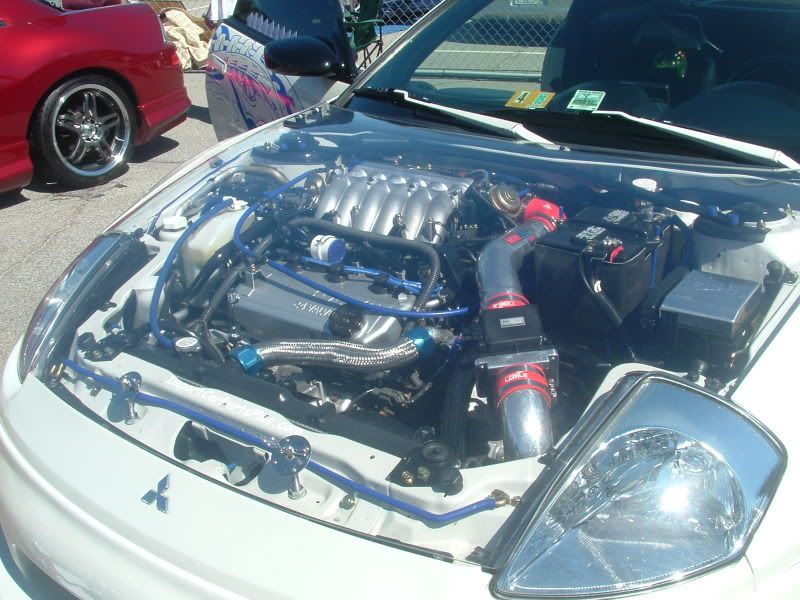
Project 040 -- Brian's Mitsubishi Eclipse


Comments
23 May 2019, 04:04
First time using an enamel, it was suggested to try it out on a scrap piece before using it on the car. These Zero Paints are buttery smooth, no thinning, .3 needle on a crap brush... Shot absolutely fantastic. and an awesome lime green!! Glad I made the buy!
23 May 2019, 04:12
And launch Operation Kermit Kar ! And ........................................... GO ! LOL!
23 May 2019, 04:27
It might be a day or two before I fully Kermit to this project Kar... Been binge watching Scrubs on Hulu, I may do some sanding while I watch, but not much... But I wanted to show my test of the color.
23 May 2019, 04:38
I would love to do this in the 1/16 but it ain't made! I started the 1st charger I made the correct front bumper for it and started to work the fenders for it. I can't wait to see this one done! Too cool Chris!
23 May 2019, 06:53
Pieces are clipped and sanded... Kind of odd on this one, the hood is made from clear instead of regular plastic.
25 May 2019, 00:40

That's neat... I still like the solid color hood better, but thanks for the info....
25 May 2019, 02:12
Question on enamels... How long do I need to wait after I spray the ZeroPaints until I clear coat it?... I've heard everything from mere hours to a week to let the enamel harden... What's the correct drying time.
25 May 2019, 02:15
Humidity is at 40%... Also, I put everything on sticks and separated to white and black primers for tomorrow.
25 May 2019, 02:33
Well that's what you get when you live on a peninsula surrounded on 3 sides by water 😛 I remember going to Disney World... I was sweating just walking around.... uggg. I'll take my low humidity.
25 May 2019, 02:55
My Suggestion would be, spray what ever needs to be Kermit green, Go back to Scrubs, then start you next project, then by the time your done prepping that project, green should be glossy and hardened. Then you can't go wrong.
25 May 2019, 04:12
So you're saying after all the Kermit layers are sprayed to let it sit for at least a couple-few days. Thanks for the heads up... I'd probably treat it like acrylic and start handling it after only a couple hours.
25 May 2019, 04:22
I have faith in Chris, the force is strong in him ! He can multi-task like a Boss !
25 May 2019, 04:23
Minimum of 24 hour, in front of a fan with a screen box over it. (screen keeps the fuzz and hairs out)
25 May 2019, 04:25

I have to agree, enamels need more time to harden! Lacquers and acrylics dry faster. I prefer a polished enamel on cars 1980 and down like I did for my dukes of hazard and others. To me it gives a more authentic look. IMO
25 May 2019, 14:05
I guess I cannot contribute any novelties about enamels hardening times, but the green looks just perfect somewhere between super-sour lime and burnt-out nuclear fuel rod... 🙂 Will be great on the full car!
25 May 2019, 17:10
Best method to collect/dispose of enamel and thinner 'run-off' during/after airbrush cleaning?? With acrylics, I just have a dirty water bucket that I clean into, then I just dump the dirty water outside in the gravel... I have a feeling I should not do that with enamels.
25 May 2019, 19:28
Just put it a glass jar. Option 1: Keep a lid on it so it doesn't spill. or Option 2: Leave the lid off and just let it evaporate on its own. The lawyers say in a well ventilated area. You proclivity to catching a buzz can determine how much ventilation you prefer. LOL
25 May 2019, 20:12
Kinda like that blue crap ya see at the barber shop, you can soak tools ,parts, I keep spray tips and nozzles in my jar to prevent drying and clogging.
25 May 2019, 21:32
Well..... $^$$@i@%^i$%^$@$#@&&%^%... Someone poached a package out of my mailbox and left the empty shipping envelope. Why do people have to suck so much.
25 May 2019, 21:37

Hahaha... and what really sucks, is that the mail was only in the box for about a half hour before I went to retrieve it.
25 May 2019, 21:48
That green looks really awesome Chris! Sorry to hear about your package. This will make you feel better:
Youtube Video
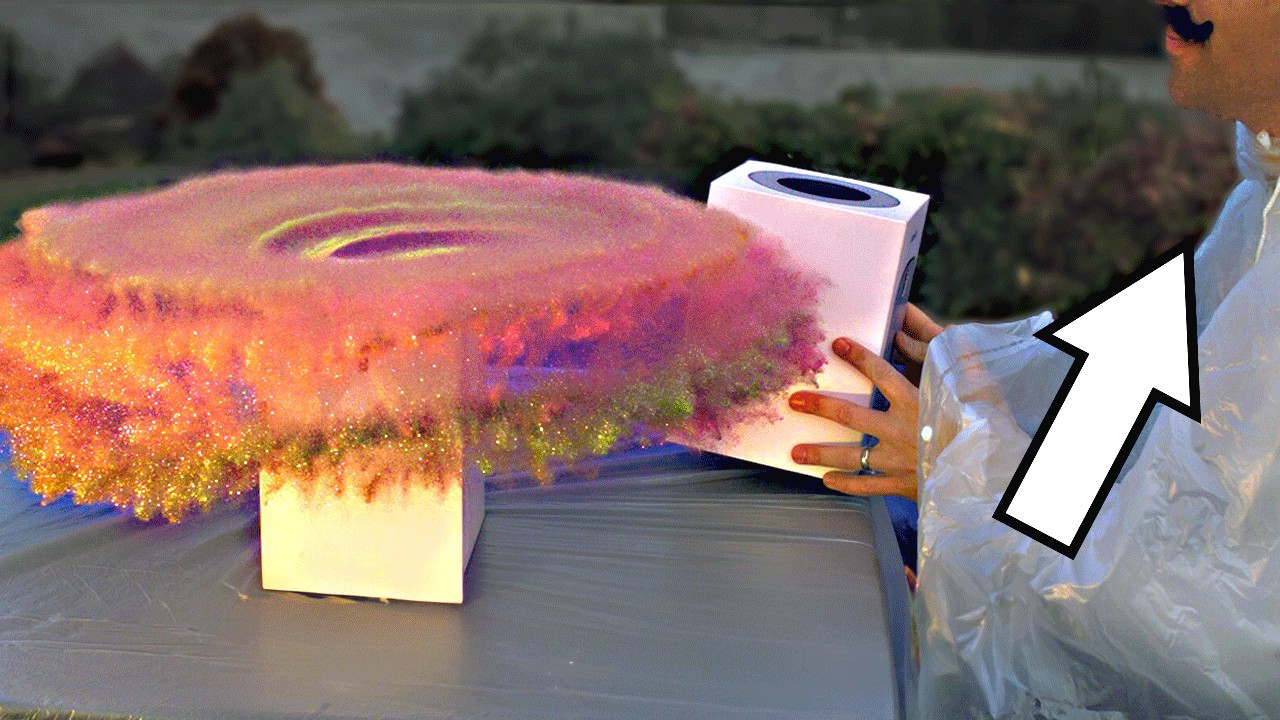
26 May 2019, 00:40
Hahaha.... Ya I've seen that one. Mark Rober is a freaking evil genius! Glitter/camera/fart bomb that activates when the box is opened! I love all his stuff! Have you seen his GIANT super soaker??
26 May 2019, 01:01
All the black pieces are primed. They'll be painted flat/semi/gloss black tomorrow. There was only a few white primer pieces so I painted them (steel/aluminum etc).
26 May 2019, 01:24
So! Did your Bandeeto make off with any valuable to your work effort or vital to you ?
26 May 2019, 02:31
Not much, just a $7 selfie ring light that attaches to my phone. I need more front light for my photo booth, if it works well, score. If not, oh well cheap experiment. amazon.com/gp/product/B078P9Q82H
26 May 2019, 02:38
Do you have a link/picture to what you're thinking? Sorry but it's a pretty generic statement.
26 May 2019, 18:59
Got all the blacks painted, I'm going to watch some TV for a couple hours while they dry, then work on the interior decals and details and work on any steps that I can do while I wait one more day on the body pieces to harden.
26 May 2019, 19:01
like this, similar. Has a ton of light cheap easy. I found them parts store and close out storeshttps cheap. this on isn't bad, free shipping. And they are close to your home.
Ebay.com Item - Red Blue Green RGB RGBW 5m 10m 3528 5050 150 300 600 LED Strip Light
26 May 2019, 19:08
Gotcha, I actually have an old roll of this stuff with remote. It was the lighting I used before my current lighting over my desk area. I'll MacGyver something out of this stuff if the selfie ring doesn't work. I'm kind of hesitant to attach anything to the booth itself since the booth folds down flat. I don't want extra bulk, wires, etc if I can help it. I got the selfie ring today, it's pretty bright with 3 brightness settings. It just may just do what I want it to 😄
26 May 2019, 19:19
ok, selfie ring light is worthless, even as a selfie ring lol, so I ordered a set of these... They can sit in the corners of the booth once it's open and no mucking about with the booth itself. amazon.com/gp/product/B07DVP53G2
26 May 2019, 20:30
I'm really F'ING upset/sad/frustrated... I mucked up the window frames and black bled through. I just covered up the bleed through with more green enamel, I didn't know what to do to fix the mistake and now it looks like complete crap 🙁. In retrospect what should I have done to fix the bleed through?? (I'll sand it a bit when it drys, but it'll still look bad.)
27 May 2019, 21:46
Aww man, I feel for you... But I think after a short emotional cooldown, proper sanding & re-priming it could be brought back to it's proper glory..? Would be a pity to lose it! In any case, wish you good luck!
27 May 2019, 22:13
The spots above the door handle and above the wheel are mostly covered by a decal, so hopefully with some sanding (what process do you mean by proper sanding? can you explain?) the car'll look halfway decent. 😄
27 May 2019, 23:07
I would put it in the purple lake. It has been my experience that enamels need left alone for at least a week. (I sometimes let months go by)
27 May 2019, 23:20
No purple lake!!! no no no... man the next step is supposed to be clear coating, so close to being done with paint. If sanding doesn't get me to my halfassed expectation of a fix, then I'll drive it into the purple lake 🙁 But I'm not looking for perfect at this point and most will be covered by decals...
27 May 2019, 23:40
We'll just call it a Chris *special* 😛... It'll fit nicely next to all the 39 other *specials* ... Wheeeee... It does frustrate me That I haven't had a single airbrush job without some sort of muck up. Don't worry, I'm still enjoying it... I just wish I knew what I was doing wrong in the airbrush process... I've watched so many YouTube videos to try and figure it out.
28 May 2019, 01:45
I've put this project aside for a couple days to let that stuff harden before I try sanding and finishing the car. I've been thinking of prepping and starting the Lexus LS400 (AMT/ERTL 6002, 1:24) or Peterbilt Model 359 Conventi..actor (Revell 85-1506, 1:25) . Thoughts?
")
")
28 May 2019, 01:49

Chis, may I suggest using a tack cloth before painting. They use them on real cars as well. I think Hobby lobby started carrying them or an auto parts store in the body work section. Hope this helps. Also for what it's worth, the AMT trucks are more detailed. I started that kit, the tires suck, the rest is o.k. Sorry for not paying attention on the frog car. It's hard going from acrylics to enamels. I started modeling with enamels before acrylics were made so I'm used to them. Other than cars and trucks I sometimes use enamels for a base coat so when I do the weathering, on top with acrylics I can use acrylic thinner to adjust the paint and not kill the base paint. I've done this with my Pirates and military models. Again I hope this helps.
28 May 2019, 02:20
I use a micro microfiber towel to wipe down any crap... But any particulates/crap you've seen is sputter from the airbrush.... I guess I wasn't thinning enough. But that's gotten better. Enamels.... a different beast all together... I have, and still will try to stay away from them, and stinky AF. But I really wanted the color-matched paint from ZeroPaints, which unfortunately, is enamel.
28 May 2019, 02:33
By "proper sanding" I meant the application of a skill-based, result-driven technique/magic, after which the surfaces look even on an atomic level and lines have clean edges and consistent depth... Contrary to the process I often happen to apply, resulting in treacherously good initial appearance unpainted, allowing some doubt after application of primer and finally turning into a vivid mountainous landscape with dried-lake sized air-bubbles showing up after the addition of some weathering 😄
28 May 2019, 05:56
Thanks! I'm too damn neurotically linear to start the Lexus before the Eclipse is done. I tried, but all I can think of is finishing the Eclipse. To that end, I did a little sanding, made it look worse. damn. BUUUTTT... I'm going to see if I can get the decal on that side to cover this spots. Shot Future and am waiting a couple-few hours for it to dry then decals.
28 May 2019, 18:44
Well ! There always is the alternative solution !
media.gettyimages.co..53839423?s=2048x2048
28 May 2019, 19:15
He wanted the Movie car and well.................... That is "Technically" the movie car, I'm only here to help ! LOL !!!!!!!!!!!!!!!!!!!!!!!
28 May 2019, 23:18
So the decal partially covered up the blobs, and very much distracts from them. So in my crazy used model car lot, I'll call it a win. 😛 😄
29 May 2019, 00:44
All the decals are on, and the protection layer of clear has been sprayed. Now the pieces can chill 'til the morning, and the building can commence.
29 May 2019, 04:27
Love that green, Chris, most lairy! 🙂
"These Zero Paints are buttery smooth, no thinning, .3 needle on a crap brush"
Good to hear, but I think that they're lacquer, not enamel (if there's a difference?).
After James' problems with lacquers and a 0.2mm I bought a cheap(er than my H&S) airbrush with a 0.5mm nozzle for ZP lacquers. Not least because they use a 0.5mm themselves.
zero-paints.com/FAQs..plication_Guide.html
29 May 2019, 18:15
Thanks Nathan and Nigel! Whether they are a lacquer or enamel, they smell and take too long to work with/dry for an impatient person like me 😛 The ZP FAQ says a .3 needle is fine, and worked great, unless I'm misreading your statement. For an overall general piece/body sprayer .5 would be great, just don't get trigger heavy. 😛 I really should get a 2nd brush with a .5 as well.
29 May 2019, 19:11
I found this (mostly to inform myself) about the different kinds of paints. It says Zero Paints are indeed a lacquer. But I found reading about the other types informative as well 🙂 blaze.re/paint-types/
29 May 2019, 19:14
I think 0.3 is fine. James' problem may have related to going to a 0.2. I just decided to err on the side of caution...not just because of the nozzle, but also having a different brush for lacquer so as not to taint my acrylics when I inevitably cock up the cleaning!
29 May 2019, 19:16
Poor James and his .2 problem, that really sucked. And I agree on the 2nd brush for lacquers, it kind of made me nervous to put the Zero Paint through the brush when all I use are acrylics. Was worried something would go wrong (Thankfully it's only a $20 airbrush).
29 May 2019, 19:31
Aaaaaaaaaaaand we have pieces! Build Time! Look how shiny that body is! 😄
29 May 2019, 19:39
Yes, then the lettering and 2 little circular decals on top of that. On the hood under the last of the letters is a small hump shape which the decal didn't like... I played with micro sol/set to get it the best I could over the hump and flatten out. I think I did alright. 🙂
29 May 2019, 20:10
Thanks Greg and FINISHED! I'm really happy with the car. and I'm really glad that I bought some additional photo studio lights for front lighting, it really makes a difference I think.
30 May 2019, 00:42
You have a way with those huge decals Chris! Its not an easy thing. I like this one with the super green!
30 May 2019, 00:47
The green is trippy, the first couple of coats you spray are a really cool yellow-green, like on that spare piece I did early on. I think it took 5 coats to get that solid green.
30 May 2019, 00:51
And lakes of Micro Set is my secret. I slop that stuff on like crazy because not having to worry about dry-out while you work is key.
30 May 2019, 00:55
Looks good after all that! What it's worth, I would've drilled out the muffler tip, and put a Kermit figure in the drivers seat! LOL
30 May 2019, 04:30
You know what? I will. That tip is hollow so an easy fix to drill. It'll look better... I didn't even think about it. Thanks Tim!
30 May 2019, 04:37
It's Foreign, so I still vote for the bullet holes and scorch marks ! LOL ! Looks Great Chris !
30 May 2019, 04:58
Tim... Sorry... I had the frog and everything but then... I ran him over 😛 (would be toadly awesome if I had a scale frog to use) Thanks Bob!!!
30 May 2019, 05:16


