

Dingo 2


Comments
3 5 December 2014, 16:02
The first steps are easy but cumbersome, with filing and deleting several pin ejector marks.
8 December 2014, 16:21
Why don't you make some small changes and build a Belgian vehicle?
8 December 2014, 17:47
Because they always appear dull green... Maybe I still change my mind.
8 December 2014, 18:17
Very nice, really great what you make out of that Revell thing. 🙂
22 December 2014, 22:38
Thank you, Matthias. Sometimes, "thing" is actually the best description for that kit. None of the doors would fit, I had to warp them back with pincers.
24 December 2014, 23:29
Yep, I believe you. Unfortunately for some kits there are no real alternatives available in plastic. Especially some Bundeswehr vehicles are only available from Revell - like this one. Otherwise there's only Y-Modelle with resin kits. Time for other manufacturers to make a better kit... @Meng Models: I hope you read this... 🙂 🙂
But Steve, respect for adding all the details in PE and Resin - that makes it expensive and I would not have done it. But your results are stunning so I'm looking for your next update.
25 December 2014, 03:24
I have included a comparison this time, of the cheap kit parts and the expensive resin replacements. I'm sure I can persuade you of the necessity to replace these dull flat Revell tyres, who will crack over a given time period, by these resin jewels with their elaborate inscriptions and ripple marks. I also primed the interior, so the shinyness is all gone.
25 December 2014, 23:29
Now the rear end of the Dingo is on the bench. Eduard has made some fine wheel blocks to replace the pit-ridden parts Revell makes us putting up with. I sharpened the wheel hubs on the inside to make them look more metallic.
29 December 2014, 11:52
Thanks, Jens. Now I replaced the entire canvas section of the loading bay by a framework, because I found the Revell tarp unnaturally looking at the edges.
30 December 2014, 01:48
Looking good!! That Dingo will be heavy when finished, so much metal parts.
30 December 2014, 02:13
Nicely done , what material will you use to cover the loading bay? A kind of fabric?
30 December 2014, 10:46
I will try sheet metal, formed over the original Revell part and trimmed to fit to the side of the loading bay.
30 December 2014, 11:59
This year starts with a large update about the painting of the interior. Colors used are Tamiya's NAVO green faded with Dunkelgelb, Vallejo Black with some grey for the Revell "anthrazit" parts and Vallejo bluegrey for the dashboard. The MG3 was better in quality but needed a custom clearpart for the searchlight.
3 January 2015, 13:39
The weapon station has been taken care of. It looked too much like an upside down shrine with the ten commandments... I used a combination of spareparts, with some Flakscheinwerfer 36 binoculars. The rearview mirrors have been redone to look sturdier.
4 January 2015, 16:48
It looked too much like an upside down shrine with the ten commandments... Great comparison! But you are right, it looks way better now you modified it.
Have you seen the new tool revell dingo that will come out soon?
4 January 2015, 19:03
Yes, I saw it was the 3.3 version with the hardback and a different weapon station. But I don't know if there are any other modifications to the sprues. Is there a review yet?
4 January 2015, 21:00
I drybrushed the interior. On the straps I used tape strips first.
6 January 2015, 16:59
I'll have to do with the warpy side windows, too complex to scratch. But the tarp has now been completely redone, so it's got a decent inside now and the edges will appear strapped tight like they should.
7 January 2015, 22:38
Some little bits repainted on the doors. Also, the interior of the cargobay has been shadowed.
8 January 2015, 23:25
Thanks, Stefan. New update with the addition of sheet metal spall liners. Revell made the ones in the doors but there are lots of them on the inside of the hull too.
11 January 2015, 11:34
A great job so far, Steven! Very good painting - and the build of the PEs and scratching are great anyway! 👍
11 January 2015, 12:00
Here you go. Paint is faded with lighter colors like dark grey, Dunkelgelb and Wood Brown.
18 January 2015, 23:34
Pictures 130 and 133 show the masking process, with gum. But it was not sufficient to prevent overspray everywhere.
19 January 2015, 15:29
Hi, Steven!
A question about your masking gum: Can you use it again, even though it has already been sprayed with paint?
I have the Tank Putty from MX and don't know if that is unusable after use or can be re "kneaded back" to the unused remainder in the can?
20 January 2015, 17:47
The strange fact is that this gum remains almost unchanged after five years of constant spraying and reapplying. The only thing that degrades it is sawdust, making it kind of wiry when stretched.
20 January 2015, 18:06
Decals and AK wash have been applied. I will use some baggage from Blast to make the cargo bay more rewarding to look in.
20 January 2015, 21:34
Steven, you did a really great job. Scratchbuild and PE's are awesome. Can you telll me which gum it is? Who is the manufacturer?
21 January 2015, 05:07
It came in a small shiny perspex box in two halves very useful to collect small PE parts and may have been Faber-Castell. I bought 4.
21 January 2015, 05:47
Great work! Are you planning on going to a modelling event in Flanders, so I can see this one in real life?
21 January 2015, 14:07
Thanks. It will probably star on most of the Flemish and South-Holland events. If you attend IPMS Antwerp, it should be there.
21 January 2015, 15:47
All three colors having been drybrushed, the Dingo was sprayed Anti-shine varnish from Armypainter. Either it was too cold or my spray-can nearly exhausted but at first it seemed the Dingo developed a nasty case of smallpox. Good thing I put an indestructible layer of primer, Tamiya Paint, Parket Plus and matte varnish on before I started scratching. And now you see the results make up for the tedious painting process...
22 January 2015, 00:02
Hey, Steven ...
... So far, so good! Become very fashionable 👍, though still somewhat "clean" - but that is my own view.
What is not quite right, are strongly bent antennae.
Even while driving this stand straight. So they are bent more than when they are guyed. Can you fix that?
25 January 2015, 12:26
Thanks. I have to fix more than one thing so I could disassemble the antennae and use the Revell-furbished silver wire for it. I'm also preparing a small roadside-styled baseplate.
25 January 2015, 13:19
I decided that the Dingo earns its own baseplate with a barb wire roadblock on it. I made it like some pictures of the training base where this vehicle is stationed, a worn, stony road with some potholes in it.
25 January 2015, 22:30
The vehicle stands on the road and is therefore treated with a dust filter. I still have to finish the barb wire.
27 January 2015, 22:11
Diorama finished and Roland's comment about the antennas has been counted in the end result.
28 January 2015, 21:45
Steven This project has been a pleasure to watch, and I like the fact that you listen to the comments of others! But i have one small remark. The vehicle and the diorama look both splendid but the wood from the barbwire looks like matchsticks. Is it possible that you could darken the colour?
29 January 2015, 15:37
The wood is already darkened considerably. I first used transparent yellow and then sprayed Iraqui Sand over it. Then I did a panelline brown wash on the contact zones only to create shadow. It's not bare wood what you see. The more color I spray now, the stranger the barb wire will look.
29 January 2015, 16:20
Thank you for this response! After looking at the pictures this time, I saw that the flash of the camera makes the wood look more brighter.
29 January 2015, 17:42
Anyway, I 'd rather have taken the ending pictures outside but for the hideous meteorological conditions these days...
29 January 2015, 23:24
Great job, congratulations, I bought this kit in last Christmas.
30 January 2015, 00:16
Thanks, Andres, I wish you a lot of fun with your own Dingo and I hope I have been able to give you some ideas for it. This week, you will see another important addition to my diorama.
31 January 2015, 21:28
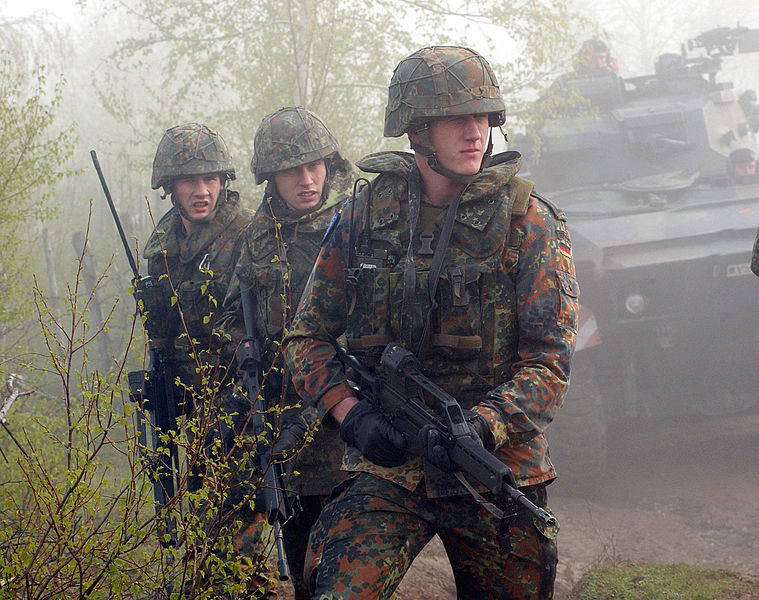
This is the bonus I talked about. This guy will demonstrate the large dimensions of the Dingo.
[img1]
2 February 2015, 22:43
The figure is primed black and painted NATO green. Some shadowing is done with a mix of the base color and black.
8 February 2015, 00:30
Now this project is really finished. The Djiti figure is added tot the dio and some pigments are applied to the tyre profiles.
13 February 2015, 19:08
Album info
I'm upgrading Revell's 1/35 Dingo 2 with the Eduard interior and exterior sets.


