

YA-7F Corsair II


Comments
16 31 August 2022, 07:52
Any in-progress pics for how you did the conversion? Here is a 1/72 build: britmodeller.com/for..vs-ya-7f-corsair-ii/
Has some nice info of the real thing. Would be very interested how you did yours.
1 September 2022, 06:21
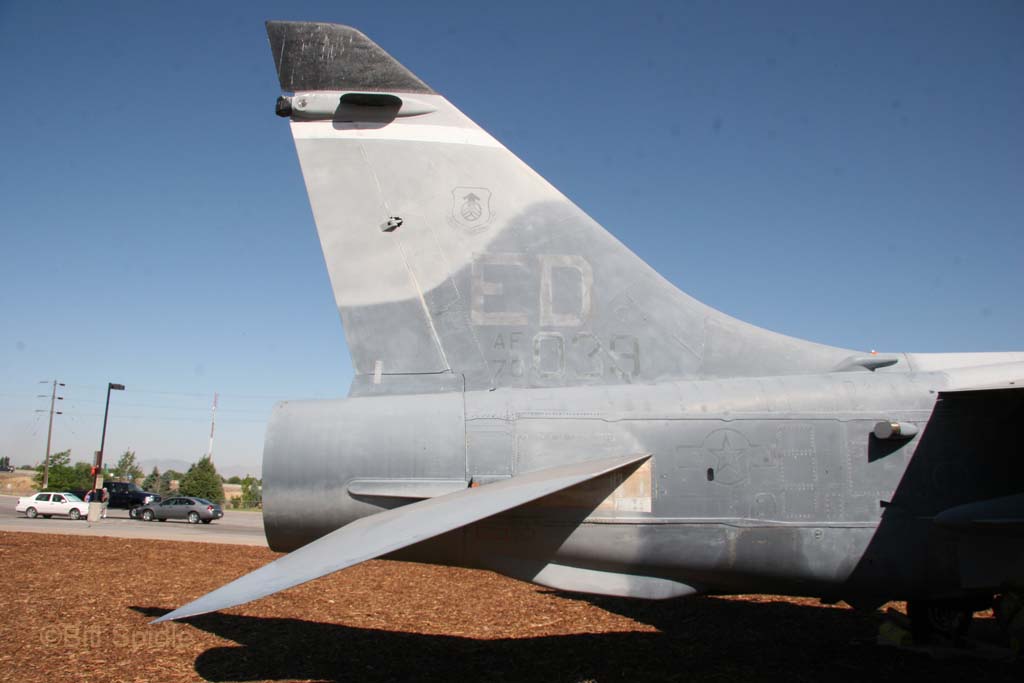
Good idea. I've added a couple photos. First one shows where I made the cuts. I printed a plug (about 2cm as I recall) for the forward fuselage, then printed a whole new aft end from the wings back. I'll add more pics as I go along.
The vertical tail cap is scratch built, as are the wing strakes.
1 September 2022, 07:57
Cool idea 3D printing these extensions. I guess you make your own decals too?
1 September 2022, 08:14
Yes. I make laser and ink jet, whichever fits the need. For this one I can use some of the kit decals too.
1 September 2022, 17:16
My weakness is painting. I'm using Vallejo acrylics, and it's taken me a long time to get decent results. I'm planning to switch to lacquer in the future.
1 September 2022, 17:19
One big problem with this kit is the intake is the wrong shape. I didn't notice until I'd already started. I think it's too late to fix. So now I'll put all this work into a kit with a badly shaped intake.
1 September 2022, 17:27
I was under the impression that the canopy of these kits was the main issue, not the intake.
1 September 2022, 17:41
The canopy does look a bit square, now that you mention it. The intake is definitely squished vertically. It should be almost round.
1 September 2022, 17:44
Just posted a new photo of the nozzle. I designed the rear fuselage to match the Bregun F100 nozzle. (I don't find Bregun in the marketplace list). EDIT: Ah, stupid me, it's "Brengun".
1 September 2022, 17:45
There's a fix for the intake:
CAT4-R48065 - 1/48 A-7E/D Co..kit (CAT4 CAT4_R48065, 1:48)
")
1 September 2022, 18:17
Thanks! I don't know if I have the mojo to cut off the current nose and install a new one. I'll think about it.
1 September 2022, 18:20
OK, I had time to think about it and I decided that I'll probably never finish this unless I put a correct inlet on it, so I ordered the correction kit. Installing it on an already-built kit will be major surgery, but it's the only way forward for me.
1 September 2022, 21:10
Hi David. It took me ages to achieve acceptable results with an airbrush. The gamechanger for me was switching to Mr. Color thinner or for extra smooth finishes Mr. Color leveling thinner. I use Mr. Color and Tamiya acrylics. Both behave well with the above mentioned thinners. Occasionally I use Thomas' Kolbs technique to finish a paint job with a thin mist of pure levelling thinner, which smoothens the paint even a bit more. But be gentle with it, otherwise it will of course dissolve the paint completely.
Of course there are a zillion ways, but maybe this might bring you a step further to the desired results.
Cheers and good luck with your build.
2 September 2022, 07:42
Why not use your current kit as a test bed and make a second kit with all corrections? The flare buckets in the rear need some rework too IMHO. Should be more pointed at the rear and not symmetrical:
[img1]
Starting a new kit saves you all the headaches of installing that intake correction in a build-up kit
I found this great walk around, I guess you've seen it but never hurts to mention:
primeportal.net/hang..039/index.php?Page=1
2 September 2022, 09:21
Thanks for the tips, Michael. I've ordered some Mr Color Leveling Thinner. I live in a very dry climate, so from what I've heard from people in a similar climate is that I should add some extra thinner to account for the dryness. I've also watched some YouTube videos and learned that the best way to spray acrylics is to make the first couple of passes super light.
Have you had trouble with paint lifting under masking tape?
Have you had trouble with decals silvering because the surface is a little rough?
2 September 2022, 16:22
The Tamiya tape doesn't seem to cause issues with lifting paint although make sure it's thoroughly dry before applying.
Decals silvering seems to be mainly the older ones which I've had a number of times. I do tend to use Micro Sol pressed down with a cotton bud, this seems to help. 🙂
2 September 2022, 16:28
Thanks tyu, you're right. The best way forward is to improve the fuselage design and start over. Of course if I do that then I can also look for a kit with a proper inlet shape. I've heard there is such a kit, but I don't know which kit.
2 September 2022, 16:28
David, that would be the Hasegawa A-7 kit and they are long OOP and very hard to find, especially the A-7D ones. And that is the one you need. I would stick to the Hobby Boss one since all the hard work is done and you are ironing out the last wrinkles.
Regarding paint: I also struggle with water based acrylics. Not sure if adding Mr Color thinner to Vallejo paint would work, most of the time I added non-brand thinners to Vallejo paint it went to goo.. I tend to stick with the brand's own thinner. Very happy using MRP laquer based or AK Real Colors as a great alternative, very forgiving.
2 September 2022, 17:12
I second tyu. The - very smelly - MRP paints are great and the AK Real Colors give good results too.
2 September 2022, 19:12
On a whim I checked amazon first and saw both the HobbyBoss and Hasegawa kits available at about the same price, so I ordered the Hasegawa kit. Since I need to update the aft fuselage mesh anyway, fitting to a different kit will be no problem.
EDIT: I also ordered a new Brengun F100 nozzle and tail pipe kit.
2 September 2022, 20:04
This project is now cancelled. Version 2.0 will start as soon as the kit arrives.
2 September 2022, 20:29
You found a Hasegawa A-7D? Great find!
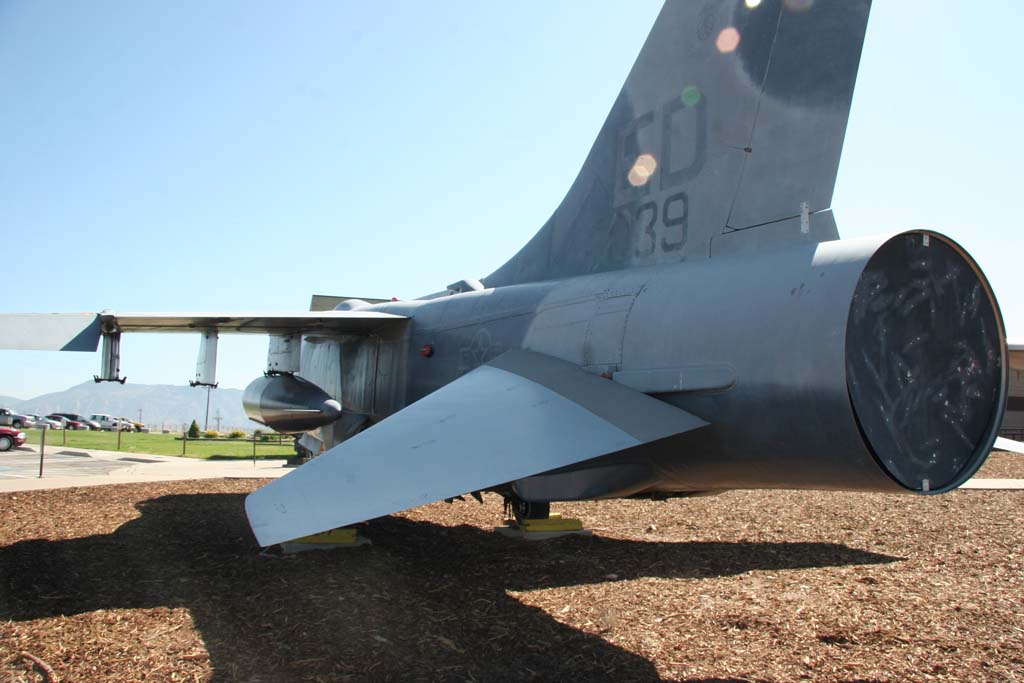
Something bugging me about the appearance of the 1.0. Did you also extend the rear fuselage? If you attached your 3D printed rear to the cut-up fuselage as pictured you didn't extend it. Found this image of a OOP conversion set. Rear fuselage plug is positioned between the wing and the scoop on top. This plug is angled so the rear sits higher as the real plane does. Have a look here, also a view of the conversion kit:
worthpoint.com/worth..-7f-resin-1885298498
And a Vought brochure drawing:
[img1]?auto=webp&optimize=high&quality=70&width=1080

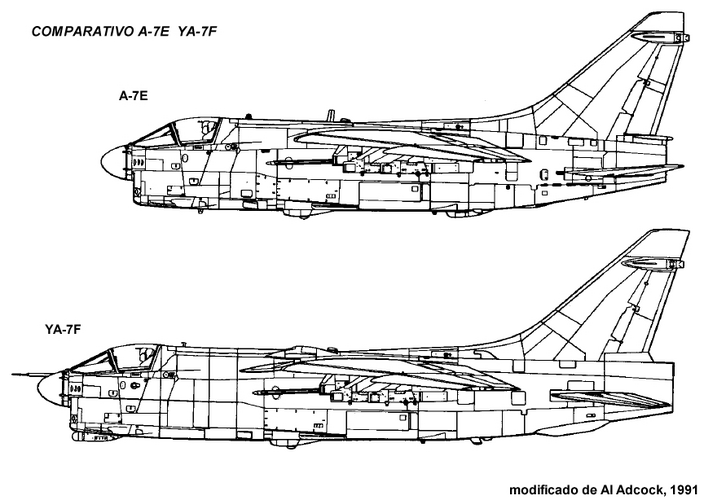
Profile of A-7E (alsmost identical to the A-7D) and YA-7F:
[img1]
I always wanted to do YA-7F but never had the courage to tackle it. I was planning to use 2 identical kits using a similar method as this:
[img1]
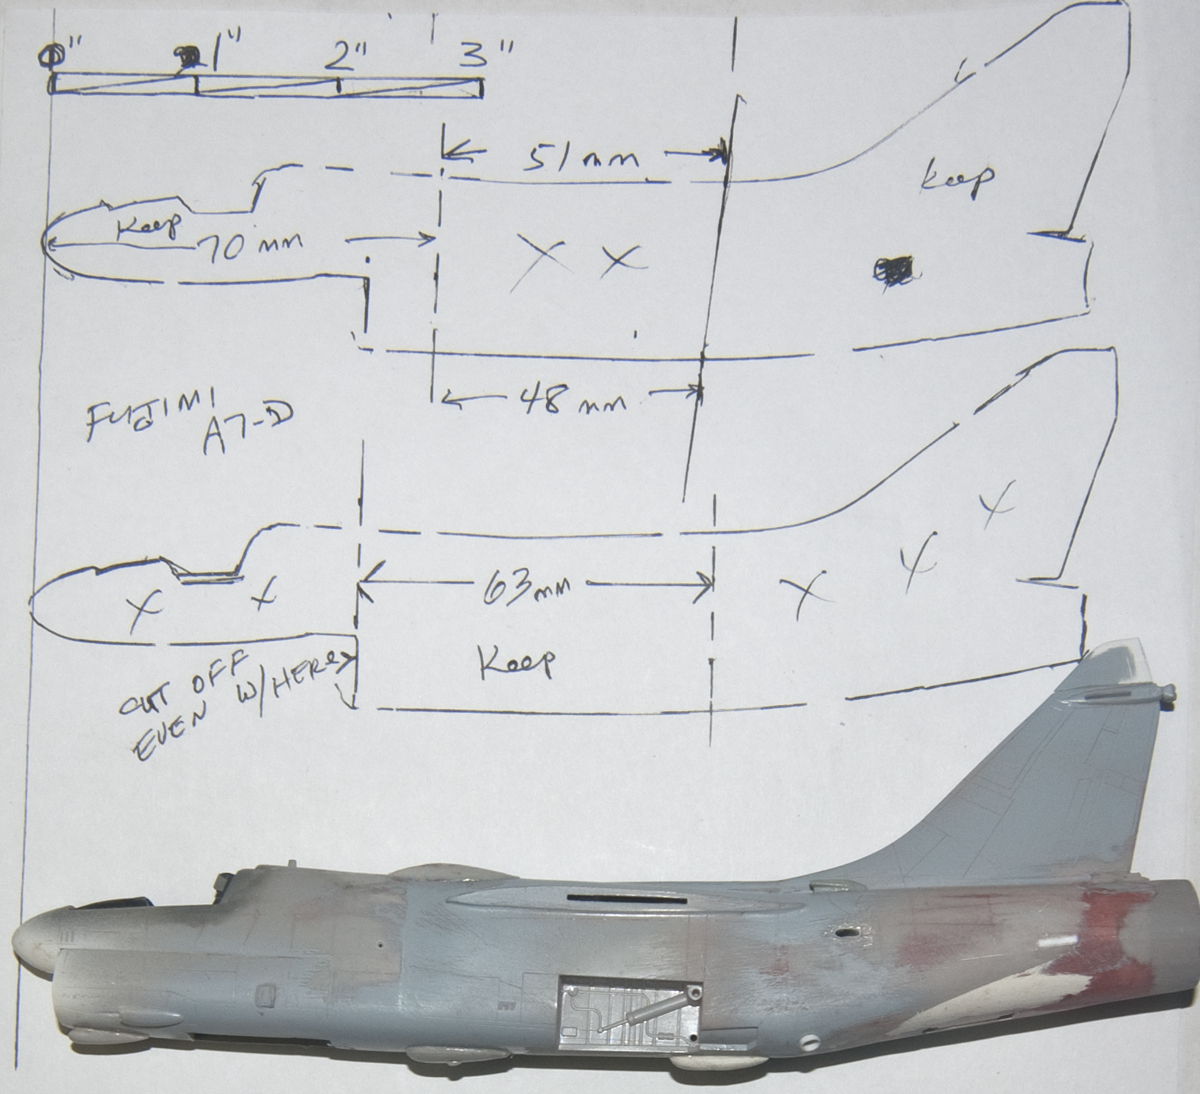
But always put off starting due to my very poor scratch building technique/results.
Following your 2.0 project with great interest.
3 September 2022, 07:49
I read about the fuselage angling up, but after studying the side views I decided it doesn't angle up. The bottom is the same but the top goes straight back. That's how I designed my new rear fuselage, and it looks right. Combined with the forward plug the overall length is correct.
EDIT: I just posted a new photo - a comparison of this build with a profile view (same as the one in tyu's comment above)
3 September 2022, 08:13
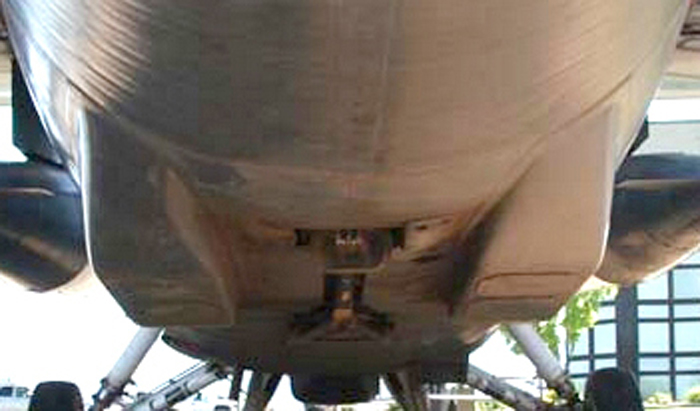
You will find out when it is on its wheels if you are correct (or not) about the angle. I can see that small kink in the top fuselage. It is minute but over the remaining length of the aft fuselage this results quite a difference in ground clearance at the tailpipe. Look at these picture just where the wing ends you can see a kink in the top fuselage profile:
[img1]
[img2].
No matter what way you choose: still following with great interest.
Edit: interesting read:
thedrive.com/the-war..et-recycling-program
3 September 2022, 08:27


