

Messerschmitt Bf 109

Started painting the cockpit.
Painting with white before applying yellow. I have some bad experiences with trying to paint yellow on top of dark colors.
Painting with white before applying yellow. I have some bad experiences with trying to paint yellow on top of dark colors.

Instruments panel with one decal applied. Not sure whether to add another decal as well. The plain painted version looks good enough to me, maybe even better than the decal.
The hairs from the q-tip wanted to stick on the decal... managed to get rid of most of them.
The hairs from the q-tip wanted to stick on the decal... managed to get rid of most of them.

I had already wet the decal for seat, when I realized that the seat isn't fully assembled yet. Dragged the decal quickly out of the water... hopefully it still works after drying up.

Decal successfully applied. Plus a bit of panel-liner.
I have to admit, this decal is far from realistic at this zoom level - the raster gives it immediately away 🙁
I have to admit, this decal is far from realistic at this zoom level - the raster gives it immediately away 🙁

The yellow turned out good I think.
My painting work not so good... though perhaps a bit unfair to judge at this magnification level.
My painting work not so good... though perhaps a bit unfair to judge at this magnification level.

Another half of fuselage interior finished.

Cockpit assembly...
There's a large ugly black patch on the bottom of the steering handle. A drop of black wash I completely forgot about and only noticed after all had been sealed with a varnish 🙁
There's a large ugly black patch on the bottom of the steering handle. A drop of black wash I completely forgot about and only noticed after all had been sealed with a varnish 🙁

Cockpit assembly complete.

Main fuselage finally glued.

Cockpit installed.
I almost glued the wings in place before realizing that I need to put in the cockpit first. Huh... that was a close one.
I almost glued the wings in place before realizing that I need to put in the cockpit first. Huh... that was a close one.

It's finally starting to look like a plane 🙂

Canopy masking completed.

Preparations for the painting of the inside of the canopy, to ensure the paint doesn't reach the outside. Might have been simpler if I had first just masked the inside of the canopy, so I wouldn't need to worry about accidentally removing the outer masking.

Canopy inside painting completed. Plus one related part in the same color.

I'm pleased with the result - no leaking of paint to the outer side of canopy.

Ready for painting.

Ready for painting (the underside).

Before painting.
Never used lacquer paints before. Hope I don't screw up.
Never used lacquer paints before. Hope I don't screw up.

I think I screwed up 🙁
There's all this fine texture covering the whole model. Not at all a smooth finish.
There's all this fine texture covering the whole model. Not at all a smooth finish.

This orange peel texture is quite bad.
I must have sprayed it wrong in some way. Perhaps I was too close... the instructions told me to spray at 25..30 cm, but at this distance the paint barely hit the model at all, so I moved closer.
I must have sprayed it wrong in some way. Perhaps I was too close... the instructions told me to spray at 25..30 cm, but at this distance the paint barely hit the model at all, so I moved closer.

Things have gone downhill from here... I ran out of paint 🙁
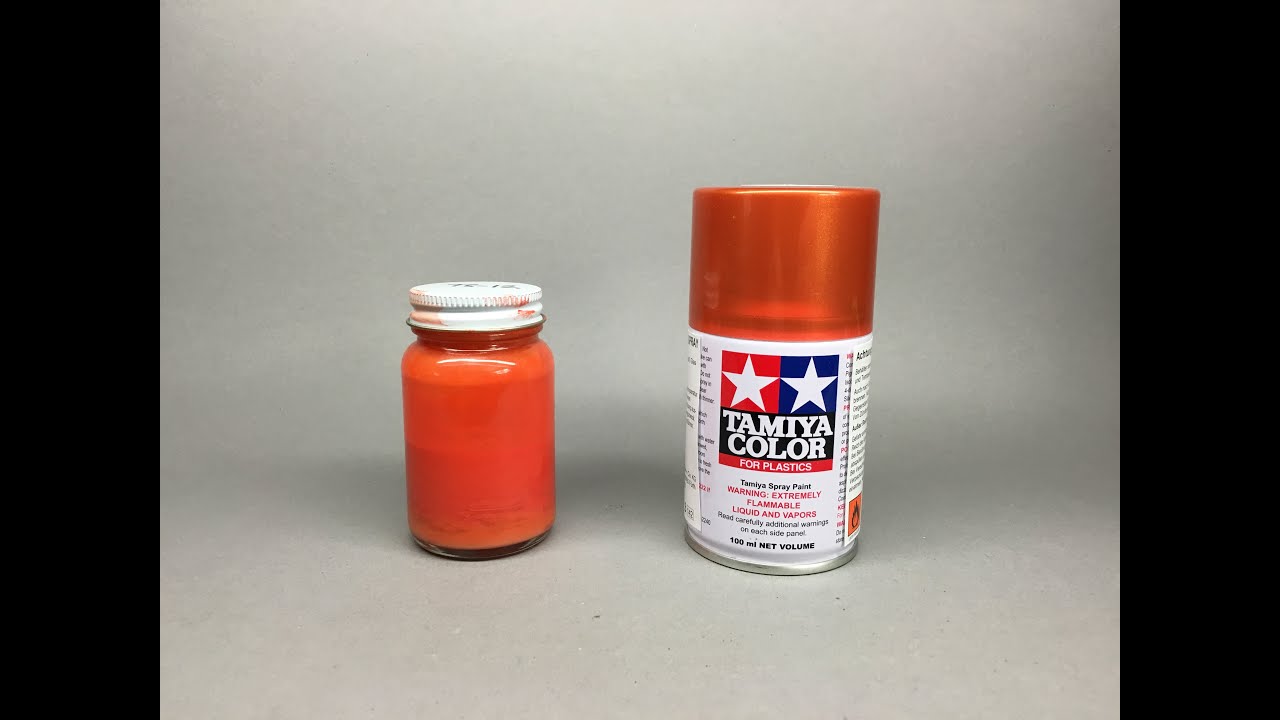
The spray can is empty now. I can't believe it stores only so little. I didn't even manage to finish painting the underside of this tiny 1:72 model. It's the most expensive paint I've ever bought.
More specifically though there's no more gas in the canister. There's probably more paint though locked in there. It says 100ml, while those smaller 10ml acrylic bottles last a long time for me.
I think I wasted a good deal of it when I followed the instruction of turning the can upside down and letting out gas to clean the nozzle. I had trouble getting it to just blow out air... there was always paint coming out when I pressed it upside down.
Perhaps the can I had was a fluke. Or perhaps it was too old... it had been sitting on my table for many months.
Guess the orange peel effect was a result of running low on propellant. My initial test with a piece of sprue turned out fine. But as I went on, things got worse and worse...
Now... do I attempt it again by buying another can of this terrifying paint? Do I attempt it with a different paint? Or is the whole model ruined and only good for a garbage bin 🙁

I think I'll try to go back to good old acrylics. Replacing the AS-5 with XS-23 which I used earlier on my IL-2 model: IL-2 Shturmovik | Project by nene (1:72)
It's a bit darker color, but close enough for me.
It's a bit darker color, but close enough for me.

Ready for painting the wings.

First color applied to wings.

Yellow is still a bitch.
While I had trouble with painting yellow on top of darker paint, I thought perhaps I have better luck when painting directly on plastic. Nope... think again. Had to paint a shitload of layers to get a barely decent color.
While I had trouble with painting yellow on top of darker paint, I thought perhaps I have better luck when painting directly on plastic. Nope... think again. Had to paint a shitload of layers to get a barely decent color.

A bits of metal.... which will be barely visible on the final model 😛

Masking in prep for painting landing gear holes.

Painting of the holes and landing gear itself as well.

Look good to me. The middle part will get covered up, so the rough painting there won't matter.

Experimenting with "soft masking" for the first time.

Turned out quite good I'd say. Definitely better than if I'd attempted to free-hand it.

Painting a darker stripe on one of the panels. All good here.

Now the tricky part: free-hand airbrushing of the fuselage camouflage pattern. That's the first layer with light gray.
There's a problematic darker spot a bit behind the cockpit. Had a bit of paint spillage there. Hopefully I can slightly remedy it with the next darker layer of the camo pattern.
There's a problematic darker spot a bit behind the cockpit. Had a bit of paint spillage there. Hopefully I can slightly remedy it with the next darker layer of the camo pattern.

The other side turned out better. Although again I had a bit of a spillage, this time at the front, but not as noticeable.
Comments
19 1 May 2021, 20:24
Following, interested to see the result of yellow on white. I've had similar issues when trying to paint yellow over dark paint. 👍
7 May 2021, 20:32
You're doing good there Rene! A couple of notes on your spray can adventure: 25-30 is definitely waaaaay too far from the model. The paints hits the model while it starts to dry, hence it has no time/solvent to flow into a smooth layer. If using a spray can use one or two light misting coats followed by one or two 'wet' coats. The Tamiya lacquer spray cans should normally result in a smooth solid layer if used this way. Squirting some paint on a piece of cardboard or wiping the nozzle with some lacquer thinner on a cotton bud before starting to spray should normally clean the nozzle without the need of holding the can upside down after a painting session. But, since your result was already gritty, there are a couple of things you could try if this happens again in the future. First, 'simply' sand/polish the grit away. This might leave some paint built up in panel lines and rivets, but should generally result in a much smoother surface. Secondly, load your airbrush with lacquer thinner (preferably Mr. Leveling Thinner or Tamiya Lacquer Thinner) and mist the model with pure thinner. Since lacquers never cure, but merely dry, this revives the paint so it can flow in a smooth layer. (Caveat: I only know this works with paint that just started flashing off, I don't know about fully dried paint) Third, use 91% IPA on cotton buds or towels to wipe the model clean and start over.... When I F... up loose parts, I just submerge them in a cup of alcohol and wipe them clean before starting over. When starting over, either use the spray can again or......... decant some paint in a cup, let it gas out (the dissolved propellant needs to evaporate) and pour it into your airbrush cup. On the note of lacquers, did you know Tamiya Acrylics can be thinned with lacquer thinner? because of the hybrid nature of this Tamiya paint line, both acrylic (and alcohol) and lacquer thinners can be used and the paints behave accordingly to their thinning medium. I hope this can be of help to you in your future endeavors. 🙂
Oh! By the way, did I mention your Bf looks good? 😉 👍
2 June 2021, 03:33
Thanks for all the tips Patrick! Very much appreciated.
I guess if I do take another trip to the land of lacquer paints I'll try to use them with an airbrush.
2 June 2021, 20:38
Keeping the can upside down to clean the spraycap will empty the can. I learned that the hard way as well.
For decanting, try this Youtube Video
I always thin with 20-20% mr levelling thinner, but that depends on needle size, temperature, humidity, etc. These paints can go on ultra smooth
16 June 2021, 06:14


