The Spark of Hakimpet - Arma Hobby TS-11

One of thefirst thing you have to do is to polish the whole kit. It's surfece is like an orange's skin.

An other important step isto scratch build the nose wheel bay, baceuse the manufacturer forgot to do it.


The emerald color panels in the cockpit needs some more masking than the usual.

Progress on the wheel bay.

The cockpit coming along nicely.

Wheelbay and tub in place...

I glued the fusalage helves together in 3-4 separate steps for the best alignment of the joints. This was the first time I used Taiya extra thin cement and I was satisfied.

We have to sand down a good milimeter from the inside to bring the winghalves in level.
This is not a hidden trap, the manual shows to do it - and it is right.
This is not a hidden trap, the manual shows to do it - and it is right.

You need the cleanup on the wingsurfaces too.

At this pont it started to look like an airplane - but there are some manace sinkmarks to fill.

Here it is. The master pitot kit. After use I have mixed feelings about it.
Either the gun barell and the pitot tubes were a new adventure to make fit.
Either the gun barell and the pitot tubes were a new adventure to make fit.

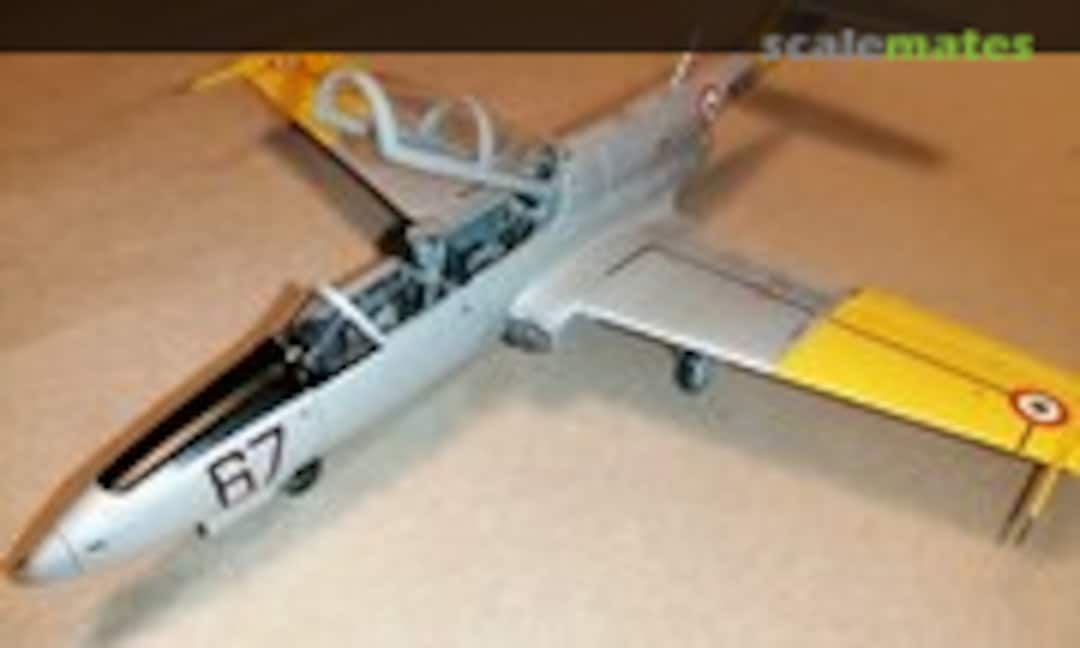
The airframe is ready!
There was some gap at the fittings but all that was at panel lines. This time I gave a try for a new method. I filled the gaps with Gunze Surfacer and after it set I wiped off the surplus with a alcoholic paper hanky.
There was some gap at the fittings but all that was at panel lines. This time I gave a try for a new method. I filled the gaps with Gunze Surfacer and after it set I wiped off the surplus with a alcoholic paper hanky.

To istall the aftermarket pitots I had to cut a socket for both. The pitots have pins to insert. To fix it I plenty used superglue gel let dry for a day and grabed some sandpaper.

Some more gapfilling - although not to much

This is the kits own canopy mask.
None of them fits!
None of them fits!

Here is the result of the first layer of Surfacer.

Two coats of mr Base White, a neat polish and some yellow paint.


I gave a chance for the Humbrol 27001. This paint is not polisable, this is a to be polished one.

Have a second look on the painting!
On the left there is the raw spray painted Humbrol 27001 and on the right you can see the result of some gentle polish with a cotton cloth.
On the left there is the raw spray painted Humbrol 27001 and on the right you can see the result of some gentle polish with a cotton cloth.


Comments
29 2 September 2023, 08:18
Watching of course! Wrestled the mistercraft blob of plastic and looking forward to how the Arma Hobby turns out. Robert was super kind to give me the expert set with some more goodies, so looking at other builds is quite informative.
3 September 2023, 12:08
Szép munka! 👍
Érdekesen csillog az ezüst, matt lakkal zártad le?
29 September 2023, 17:41