

Tamiya 1:48 Corsair

Painted - pre-decals. I used Airix 78 Cockpit green - because it's what I had, and the green areas got a touch of a shade afterward. Bit of drybrushing of gunmetal on the switches.

Painted - pre-decals. I used Airix 78 Cockpit green - because it's what I had, and the green areas got a touch of a shade afterward. Bit of drybrushing of gunmetal on the switches.

Cockpit

Engine cylinder banks - painted these black first off with a drybrush of gunmetal applied afterwards. These are mostly going to be hidden behind the cowling so it was just a question of some interest. NExt time I build I might think about adding some cabling/pipelines.

Altimeter, roll angles, speedometer etc all added in a jiffy with a pretty ok Tamiya decal. I might have preferred the visual texture of the raised dial surrounds to have come through better - but I havent patience for painting those so I just added the decal!

Connecting the front and rear parts of the cockpit


Next goes into the fuselage

Cockpit safely wrapped up in the fuselage


I was glad to have only dry-fitted the undercarriage as it was much easier to add the rear undercarriage doors without the tailwheel in the way.

Similarly, dry fitted the main wheels only. Decided it'll be easier to paint them, and the wheelwells if they're not glued in until later on.

Wings! Took a sec to realise.that I mixed up.the left flap with the right wing (just.in time!)....so take care.if you're building one.

Progress to now has been enjoyable although i'm not happy with how the starboard wing ended up fitting. Leaving gear off for painting. Pilot figures next step, then masking priming and starting the paint process.

Oblig finger mark. Grr.

Brush painted. Now to varnish and add decals


45 mins a side. And I dont like humbrol decalfix.

The navy blue is toned down a lot with the decals on, but I still think it feels a little dark. Not to worry.

Really don't like decalfix. Will try one of the other products soon as I can. The navy blue is toned down a lot with the decals on.


Comments
12 9 October 2021, 11:51
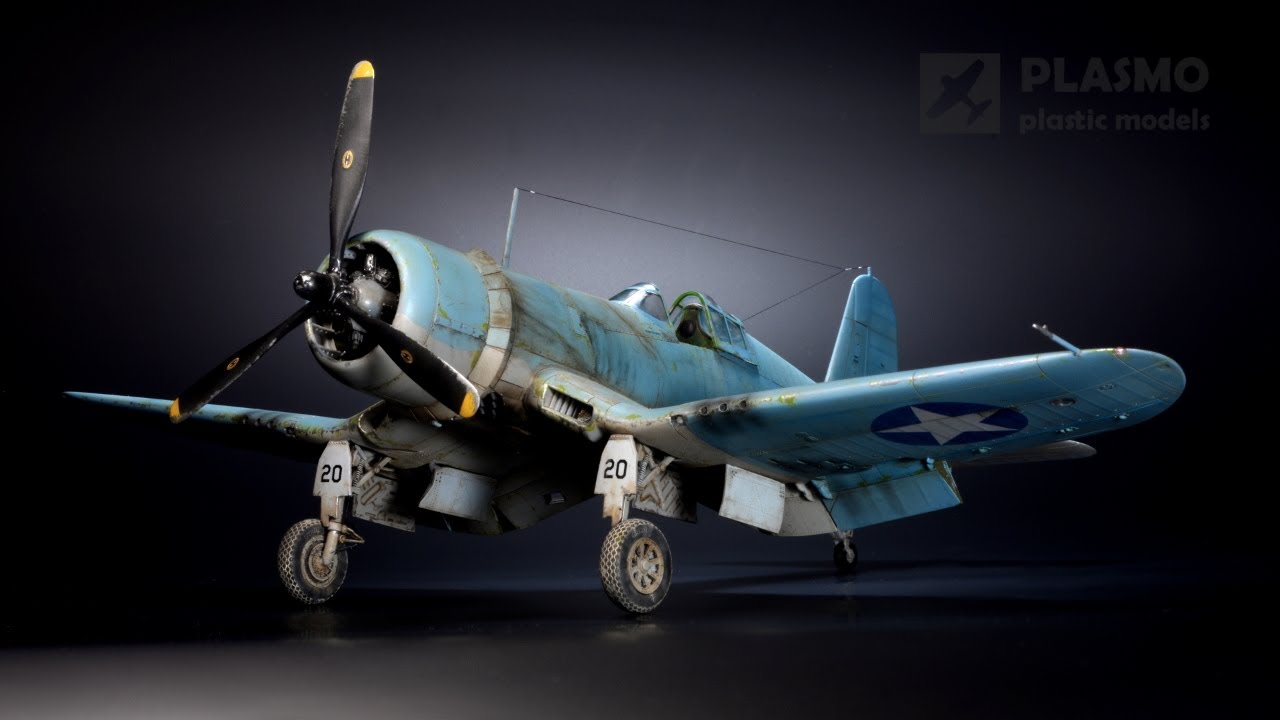
Plasmo is building the same aircraft and just published his video here....
Youtube Video
10 October 2021, 17:27
Agreed 100%. In comparison, Im puzzled as to whether to weather and how to start!
20 January 2022, 07:57
Album info
A build of a Tamiya Corsair.kit.

