

Tamiya 2.5 Ton 6x6 Cargo Truck

Kits have been purchased, and will start as soon as my P-51D Mustang is completed.

My first attempt at a rust effect using spare parts. Tried using liquid masking but too much pressure removing it took some of the rust. Glad I practiced first.

Winch is attached, rusted up and splashed with a little grease.

I read a comment somewhere here about despising the painted-string-as-cable option. I concur. So awkward to work with.

In hindsight I should have painted the bulk of the engine in olive drab, but I like the look in semi-gloss black.

Do I work ridiculously slow? Can't believe this is all I accomplished in 90 minutes of work today.

Noting that the top of the engine wasn't going to match, I masked off and sprayed to better blend.

My wife looks at this and wonders how it can take so long to get apparently so little accomplished. Anybody else think that rust spot on the bumper looks like a dinosaur?


Next project I hope has more assembly time and less painting time. This slow pace is both relaxing me and stressing the crap out of me at the same time. The rusting is getting better as I progress, though.

After spending about three hours painting multiple passes and rusting up the rims, I realize how much I liked the vinyl tires in other kits. But these are probably better for keeping the frame level.

Thankfully everything is sitting level after the wheels have been attached. A couple were stubborn getting into place, but it all worked out.

I'm still a bit worried about that fuel tank. There's a lot of unbalanced weight on a small attach point. I think I've got it settled in, but I'm sure I'll be re-gluing several times before this project is done.

A few spots to touch up here, but work has started on the interior. The floor didn't quite weather as well as I had intended, but I'm happy with how the seats turned out.

I've never been that great with figures. Overall I think I'm improving but in retrospect I should have gone with a lighter wash for the details. Something more like a darker shade of the main drybrushed coat.

I think I need some dirt in there to soften the whiteness of those decals.

Took me a couple of fits to properly recognize how these panels were supposed to go together. Of course, once I had them right it seemed painfully obvious.


A little too much cement around the glass, but nothing I can't live with.

The natural lighting in this shot shows the rust spots quite well. I will still have to touch it up in spots to give it a bit of a streaked look on the sides.

I thought I'd try a base coat of desert yellow to the wooden planks to distinguish them a little from the rust - base metal parts. We'll see how it turns out.

Worked well enough. The wood parts are a little shade different from the metal and wore well with some light sanding. I decided to model one bench down and one up to break up the symmetry of the kit's shape.

The cargo body came together nicely, and is ready to be loaded with goodies.

While the cement on the rear fenders was drying, I touched up the rusty spots on the body with a little Tamiya X26 Clear Orange. It worked well for the streaks and drips, too.

A little bit of accessorizing out of the box. I have a full set of drums, bags, and other goodies to build for the back.

That clear orange helped bring a little depth to these bags, too. Along with a dark wash and some highlights with XF-60 Dark Yellow.

The weathering of the back deck came out to my liking, with a good mix of rust, dirt, and oil stains.


Decals applied. Debating whether to damage them up around the rust spots or leave them clean like they've been reapplied. I like the clean look but it might contrast too much with the condition of the vehicle itself.

Two of my least favourite things... lots of tiny parts, and plenty of repetitive instances. But it will be worth it in the end.

Completed the base rust coat on the metal, and the base khaki coat on the cloth.

The rug monster ate himself a gas cap somewhere along the line. I'll just hide that one toward the bottom of the pile so it can't be seen. Don't have the materials (or the skills yet) to scratch build a new one.

I feel like I got some good colour variation on these so they don't all have that same drab khaki look. Again the clear orange helped out, and blending in a little clear green and olive drab helped distinguish the bedrolls from the tarps.


Comments
10 July 2017, 14:26
Never rusted something, but I know the feeling of working ridicously slowly.
25 July 2017, 07:37
Thanks for the feedback, gents. While taking longer than expected I'm enjoying this kit.
7 August 2017, 14:57
Rust Rust Glorious Rust !! 😄
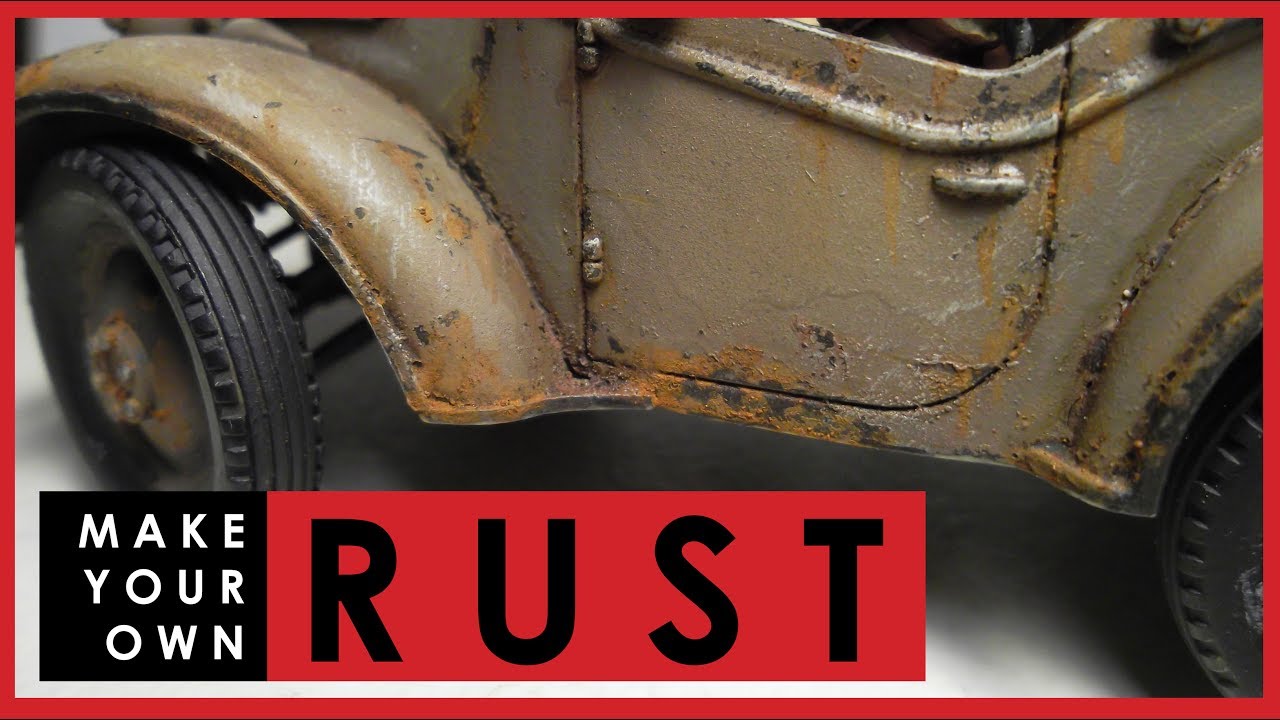
here's a trick I am definitely going to try at some point ! 🙂
Youtube Video
24 August 2017, 21:39
Cool technique, Choppa. I might just give that a try. Looks like that channel has some other great tips as well. Thanks for bringing it to my attention. Cheers.
25 August 2017, 10:19
Feels good to finish another project. 30 hours total work. Some things here and there I would have liked to have done better, but overall pleased with the results.
9 September 2017, 21:05
Thanks James. I think having a good kit to start with makes a big difference. My next project is a Revell, which I expect to be a bit of a change from the Tamiya kits I've been used to.
9 September 2017, 22:52
Album info
A practice project of sorts, looking to really weather the tar out of this one, using the reference images found here at Scalemates.


