
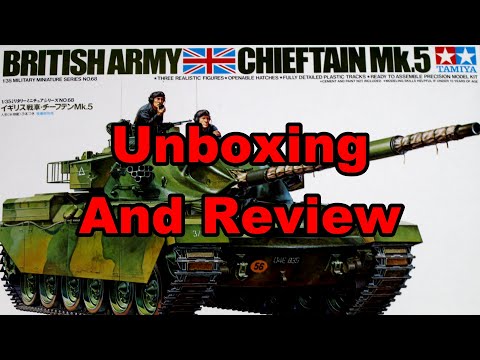
British Army Chieftain Mk.5
Tamiya | No. MM168 | 1:35

Facts
- Brand:
- Tamiya
- Title:
- British Army Chieftain Mk.5
- Number:
- MM168 (Also listed as 68|3568)
- Scale:
- 1:35
- Type:
- Full kit
- Released:
- 1975
- Barcode:
- 4950344995486 (EAN)
- Packaging:
- Rigid box (Top opener)
- Topic:
- Chieftain » Tanks (Vehicles)
Markings
Chieftain
Chieftain Mk.3
 British Army (1660-now)
- 00 EB 57
BATUS, Suffield, Alberta
- 1 RTR, A Sqn. 04 EB 35 Al Capone
1975 - Tidworth
dark green/black - 17/21 Lancers 00 EB 54
1975 - Fallingbostel
Box contents
Plastic sprue (Dark green), Decalsheet (waterslide) (Multi-colored), Vinyl (Black)
Dimensions:
350x220x60 mm
(13.8x8.7x2.4 inch)
Weight:
430 g (0.95 lbs)
Product timeline
Tamiya
Instructions
Download 830Kb (.pdf)
Marketplace
Online shops

USD 20.64

USD 24.00

USD 24.00

USD 27.60

CAD 28.95

€ 18.50
Show all offers » (13 in total)
Alternative SKUs for Tamiya MM168:
35068-000 | TAM35068 | 300035068 | 35068 | M35068 | 4950344995486
Note: Prices and availability are indications only. Also check if the product actually matches!
Related products
")
Chieftain Driver’s Interior Set for Meng Model, Takom, Tamiya
Scorpion Miniature Models (SMM) 1:35
SMM3560D 2022 New tool ")
")
")
")
All related products » (49 in total)
In-box reviews
External reviews
Advertisement
In-box review
Armorama
 Review Disgruntled Duck
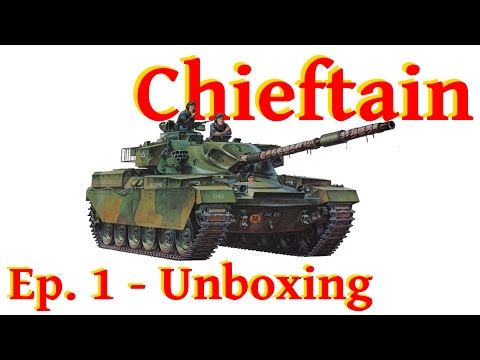 Review Big Modeller
All reviews » (4 in total)
Magazines
")
")
")
All magazines » (4 in total)
Projects
21 images
Chieftain Mk.2
1:35
Finally, the book is closed. Very quick to build and quite fun despite some inaccuracy, still Chieftain looking for me!


Project: Chieftain Mk.2


All projects » (22 in total)
Gallery


All articles » (9 in total)
Reference material
")
")
All books » (11 in total) All walkarounds » (17 in total)