

Panzerkampfwagen VI Tiger I
Info
- Name:
- Panzerkampfwagen VI Tiger I
- Category:
- Vehicles » Tanks
- Used from:
- 1942–1945
- Used by:

- Manufacturer:
 Henschel
- Also known as:
- Sd.Kfz. 181
Hot kits
")
Tiger I "Michael Wittmann's Tiger" Normandy 1944 Late/Late Command Production w/Zimmerit 2 in 1 Sd.Kfz. 181 Pz.Kpfw. VI Ausf. E
Takom 1:35
2201 2024 New parts ")
Tiger I Early Production Model with Steel Wheels w/zimmerit Gruppe "Fehrmann" Sd.Kfz. 181 Pz.Kpfw. VI Ausf. E
Takom 1:35
2202 2024 New parts ")
Tiger I Mid-Production w/Zimmerit Sd.Kfz. 181 Pz.Kpfw. VI Ausf. E
Takom 1:35
2198 (TAK2198) 2023 New tool ")
Tiger I Panzerkampfwagen VI Tiger I Ausführung E (Sd.Kfz.181) Frühe Produktion
Tamiya 1:35
35216 (216) 1997 New parts ")
Sd.Kfz.181 Pz.Kpfw.VI Ausf.E Tiger I Command Tiger Michael Wittmann Early Production
Takom 1:35
2195 2025 New parts ")
")
TIGER I² BOX Early + Late/Late Command/Michael Wittmann + 1/16 Michael Wittmann
Takom 1:35
2201W 2024 Model set ")
Pz.Kpfw. VI Ausf. E Tiger I Initial Production Upgrade Edition w/Full Interior & Cutaway Parts
Rye Field Model (RFM) 1:35
RM-5131 2024* New parts Products
")
")
")
")
")
")
Tiger I full interior kit Initial/ Early/ Middle/ Late production 4 in 1
Rye Field Model (RFM) 1:35
RM-5141 2025 New tool ")
Workable Track Links For WW2 German Tiger I Early Production
SSMODEL 1:72
72827  (Yan Model PE35159)")
Muzzle Brake for German 88mm KwK/Pak Early Type for Tiger I, King Tiger(3 pcs)
Yan Model 1:35
PE35159 2025 New tool Multi-topic (2)")
")
")
Tiger I transport tracks
Tankbrusher Scale Modeling 1:16
162503003 2025 New tool Digital: 3D data file")
Tiger I wheel hubs for AHHQ
Tankbrusher Scale Modeling 1:16
162503002 2025 New tool Digital: 3D data file")
Books
")
")
Tigers - Construyendo las maquetas de Ryefield
No. A.MIG-6274
Mario Eens, David Pérez, Fabio Marini, Huy Kh...
2021 ")
")
")
Gallery

Letzte Instruktionen – Ein Tiger bei Kursk
Verschiedene Hersteller 1:35
by Andy Hartung on Modellversium


View all gallery articles » (381)
Walkarounds
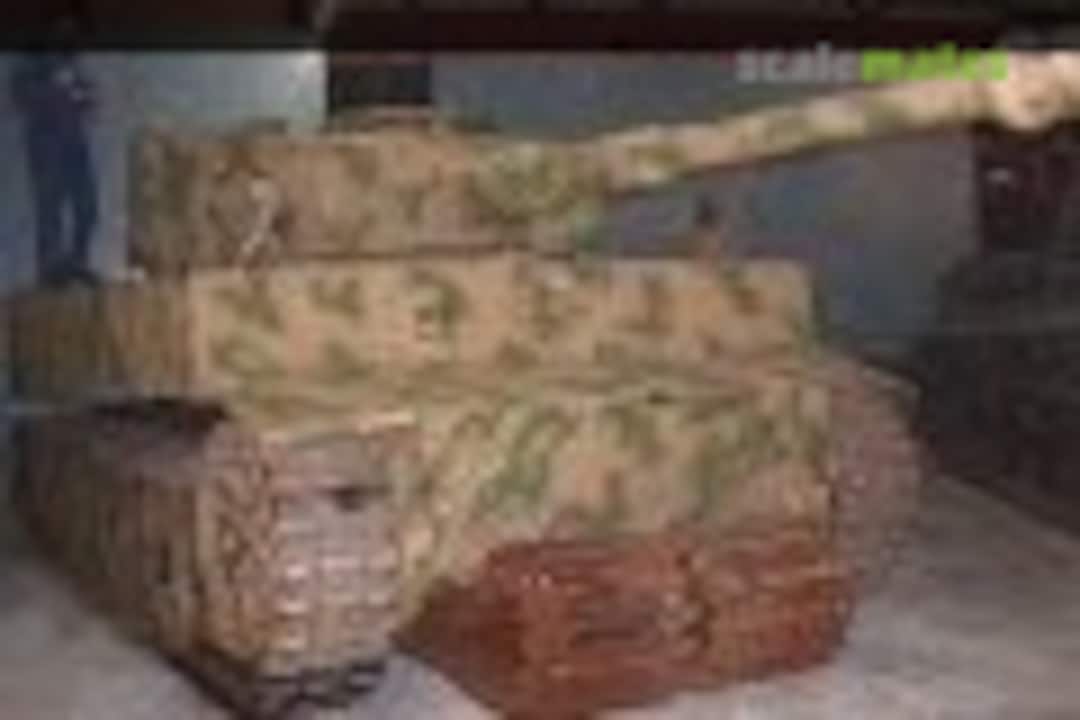
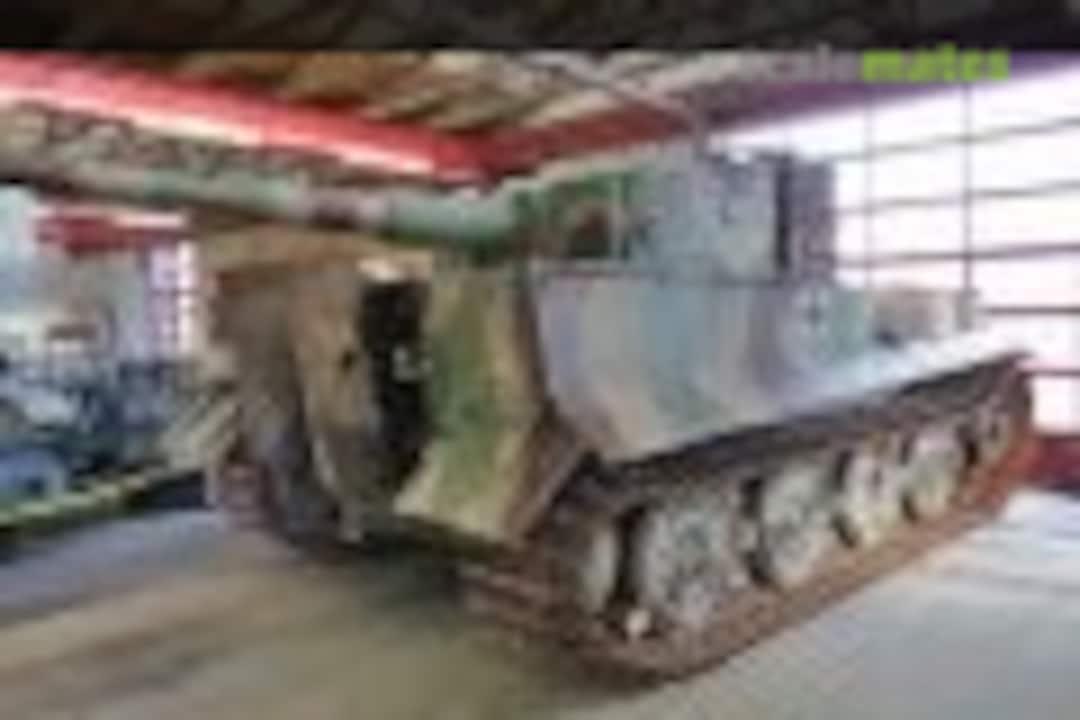
Pz.Kpfw. VI Tiger I Ausf. E (late) Sd.Kfz.181 auf Verladekette
Deutsches Panzermuseum Munster
Deutsches Panzermuseum Munster
by Thomas Hartwig on Panzer Modell
Images: 42 2003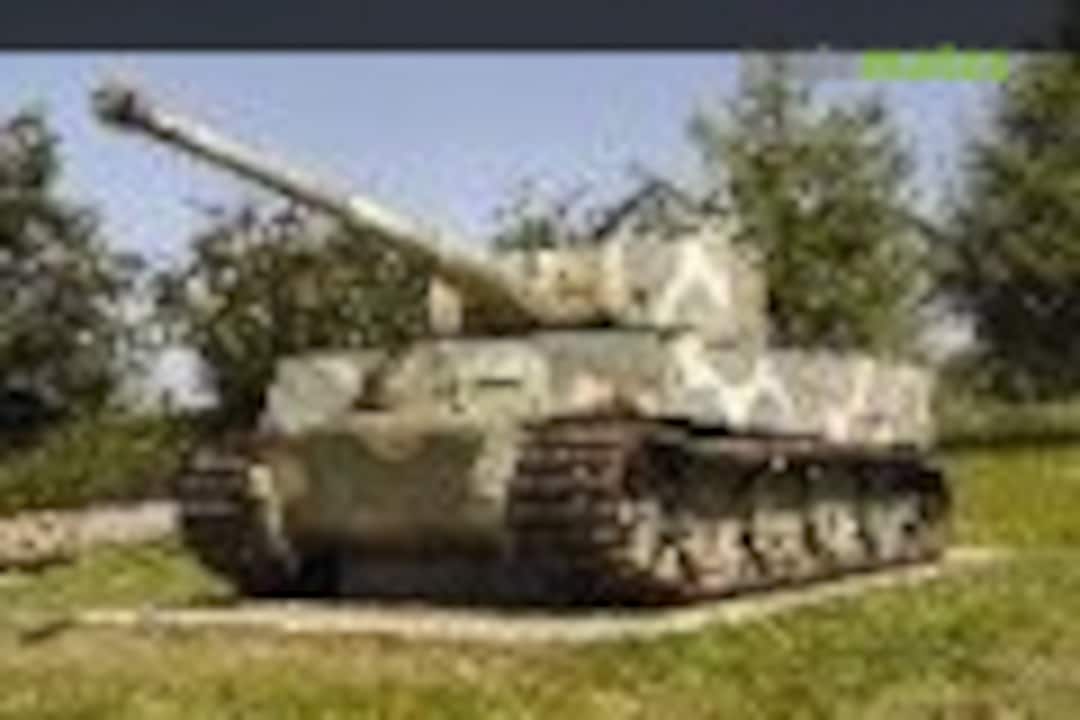
Pz.Kpfw. VI Tiger I (late) Sd.Kfz.181
Deutsches Panzermuseum, Munster, DE
Deutsches Panzermuseum, Munster, DE
by Thomas Hartwig on Panzer Modell
Images: 62 2013