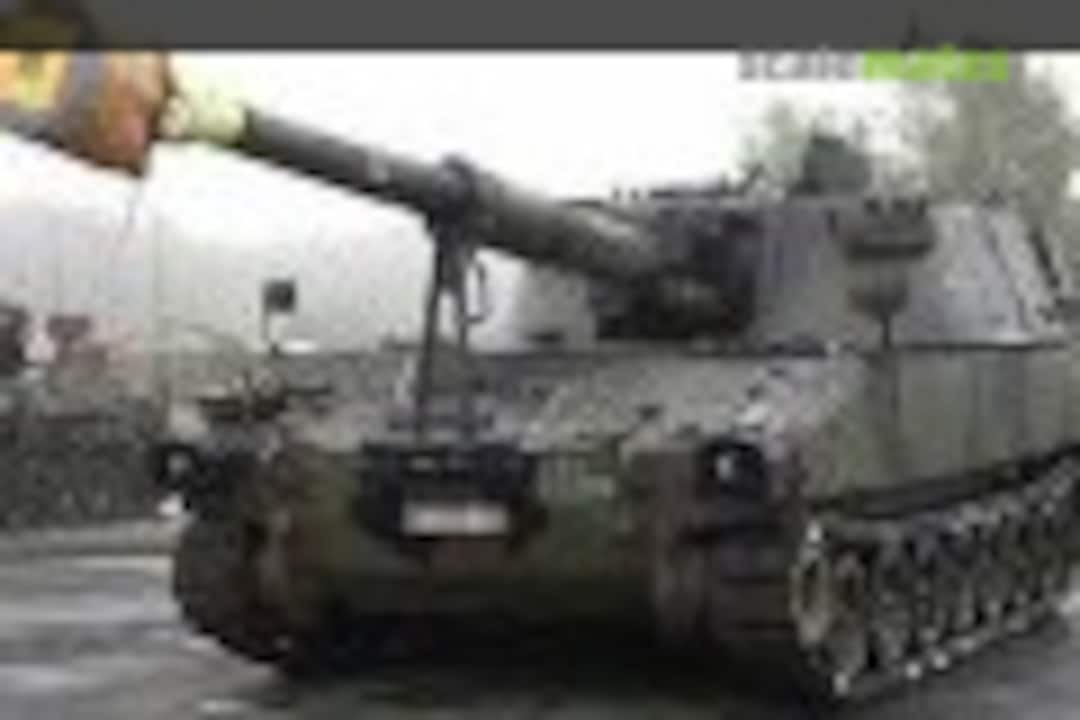
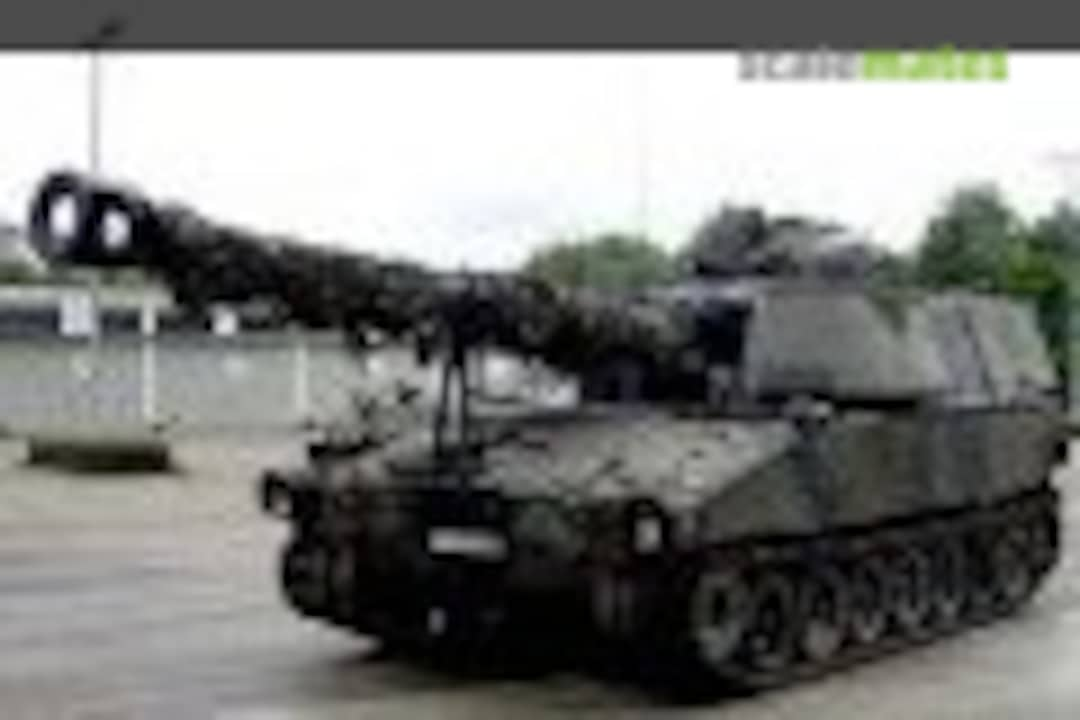
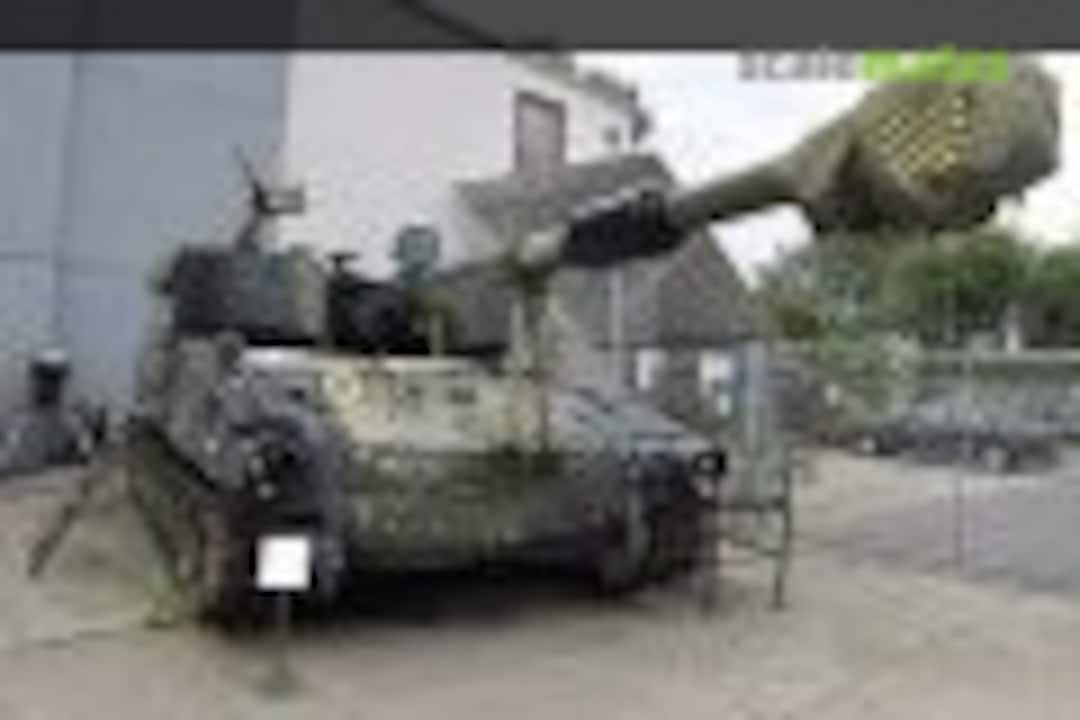
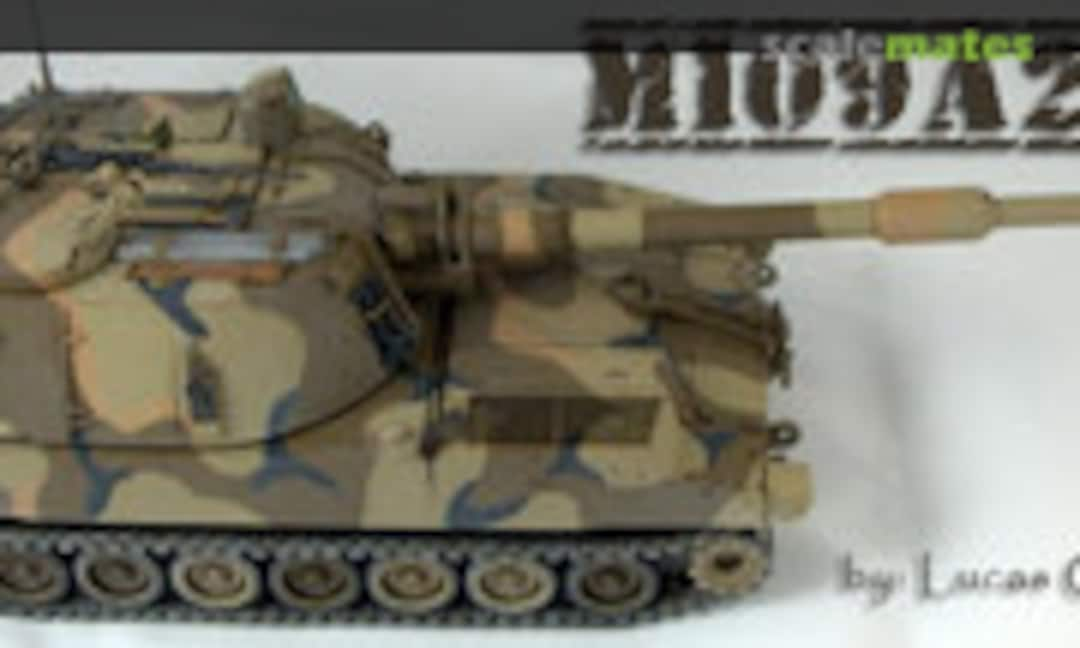
M109
All you need to know about M109 from a scale modeler perspective. search-solr.php?lang=en 50 50 /search.php?q=*&showsection=no&page=topics&fkSECTION[]=Topicstopic.php? 50 100|50| View all books » (10)Info
Category: Vehicles - Self-propelled artillery
Vehicles - Self-propelled artilleryAlso known as: 155mm Self-propelled Howitzer Used from: 1962–Now Used by: Manufacturer:
Model: M109 Hot kits
+
+
+
+
+
+
+
+
Products
+
+
+
+
+
+
+
+
+
+
+
+
Gallery
+
+
+
+
+
+
+
+
Books
+
+
+
+
+
Walkarounds
+
+
+
+
+
Wikipedia
Find on Wikipedia »Mates
News Feed
January 24, 2021
January 12, 2021
December 17, 2020
Very impressive once again Neuling
What you create ona relative small area with your modelling and fotografic skills is amazing December 16, 2020
Very impressive looking Paladin, and the additional stowage items are a nice touch with the assorted hi-lites looking particularly well done.
I have both this kit and the aftermarket tracks. How were the tracks to work with?
Yes, definitely a beauty. James is right, the stowage looks great too and adds to the overall look.
Very nice indeed, realistic look thanks to well controlled weathering, a beauty!December 5, 2020
Treehugger,
I first primed with a rattle-can flat black enamel primer from the local do-it-yourself store. The Krylon ColorMax brand that I use is inexpensive, lays down well, and sticks to brass and metal better than anything else that I've tried.
I use a Badger 100G gravity feed, double action airbrush. I use Tamiya paints thinned with Mr Color Leveling Thinner. I find that this thinner results in a thinner, smoother coat than the Tamiya thinner. I airbrushed panels on the the upper surfaces with Tamiya flat white mixed 1:1 with Mr Color Leveling thinner as a "pre-sun". This leaves the black in all of the recesses, edges, and vertical surfaces for shadow effects. I find this less work than priming with light gray and then pre-shading with black. I next applied Tamiya XF74 JDSF Olive Drab thinned 1:1 with Mr Color Leveling Thinner as the base color. This is applied in multiple very light coats starting in the center of each panel and expanding out. On the vertical surfaces, I spray at an angle from the top down allowing a bit of the black to show through at the bottom edges. Things like the underside of the barrel don't get any of the base color - the black looks like natural shadow. The goal is to allow a bit of the black and white to show through as sun and shade. If you think that you need to add another coat, stop and put the airbrush away. The black and white have to be a bit exaggerated at this point or the weathering process will make it disappear.
The dot filter provides depth of color and and some streaking. It can only be applied to a flat acrylic finish - it doesn't work on a satin or glossy finish. I use Winsor & Newton oil paints and Mona Lisa, a very "mild white spirits. I squeeze a small amount of of each color of oil paint onto a square of card board and let it set for about 20 minutes to allow the cardboard to absorb some of the oil in the paint. For an OD finish, I use, Yellow Ochre, Gray, Green, White, Blue, Burnt Sienna, and Burnt Umber oils. The white and blue have a big impact, so I use very few dots of these. One panel at a time, I use a toothpick to put a very small dot of the colors on the panel - a little goes a long way. I use lighter colors on the upper surfaces and the upper side of the vertical surfaces and darker colors on the lower half. Use a flat brush slightly moistened with white spirits to drag the oil dots down the sides of the model. On the horizontal surfaces, I just swirl it around. I use the browns on the panels that the crew would walk on to get into and out of the vehicle - in this case, the patch to the driver's hatch. It gives a ground-in dirty look. The beauty of the oil paints is that you have a very long time to work with the paint, and if you don't like the way a panel looks, just brush it off with a bit more white spirit and start over
I cut up a plastic yard sign into 5cm squares as paint mules. These are primed and ready to test and practice my painting and weathering process on.
I hope this helps. Let me know if you have questions.
Rick
Rui, Spanjaard,
Thanks. The weathering on this one gave me problems trying to represent the red-orange soil of Vietnam. I initially had it too orange and it just didn't look right; but, I kept modifying until I got the effect that I was looking for.
Rick
Thanks for the detailed info, and congrats again. I think you nailed itDecember 3, 2020
October 15, 2020
October 3, 2020