
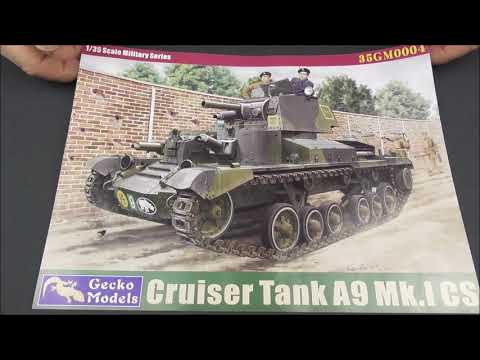
Cruiser Tank A9 Mk.I
Gecko Models | N. 35GM0003 | 1:35

I fatti
- Marca:
- Gecko Models
- Titolo:
- Cruiser Tank A9 Mk.I
- Numero:
- 35GM0003
- Scala:
- 1:35
- Digita:
- Kit completo
- Messo in commercio:
- 2018 Nuovo stampo
- Codice a barre:
- 4892667350033 (EAN)
- Argomento:
- A9 Cruiser » Carri armati (Veicoli)
Contenuto della confezione
Plastic sprue, Fotoincisioni, Asta, Corda, Foglio di decals (applicabile con acqua)
Dimensioni:
410x245x90 mm
(16.1x9.6x3.5 inch)
Peso:
930 g (2.05 lbs)
Genealogia
Gecko Models
Istruzioni
Scaricare 9834Kb (.pdf)
Mercato
Negozi online

USD 76.49

USD 62.49

USD 72.24

CAD 89.95

€ 50.92

€ 53.95
Mostra tutte le offerte » (9 in totale)
SKU alternativi per Gecko Models 35GM0003:
GM35003 | 35GM003 | GM 0003 | C35GM0003 | GKO350003
Nota: Prezzi e disponibilità sono solo indicazioni. Controlla anche che il prodotto corrisponda effettivamente!
Prodotti correlati
")
Tracks for Cruiser A9 Mk.I , Cruiser A10 Mk.II
MasterClub 1:35
MTL35241 (MTL-35241) 2020 Nuovo stampo Argomento multiplo (2)")
Cruiser A9 Mk I / Cruiser A10 Mk II ACS tracks
Friulmodel 1:35
ATL-182 2019 Nuovo stampo Argomento multiplo (2)Recensioni in-box
Revisioni esterne
Annuncio pubblicitario
Revisione in scatola
Armorama
Collegamento non funzionante
Panzer Modell
 Revisione Modellbau-Koenig
Riviste
")
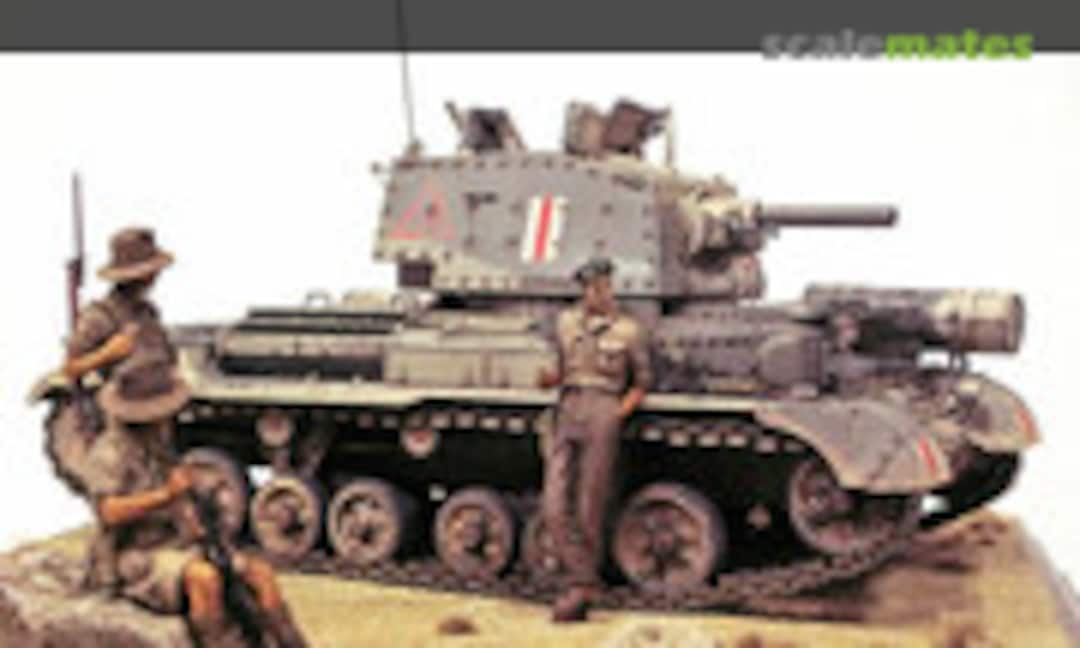
Progetti


Galleria
Commenti
Ron Garcia:
You are completely right! I have had exactly the same experience. The tracks are a pain in the ass and the suspension is not much better.the exhaust and this strange bracket. What a shit.
I am glad that I have finished the project. A lot of small - unnecessary - parts. Maybe it's me, but I don't understand why it would be great to glue 1mm parts to 2mm parts.
Why the hell do you have to distribute the parts over what feels like 10000 sprueces named Ha Hb Hc ?
1 February 2023, 22:46
Finishing my British armor stash, I realized this tank was missing from my collection. Not wanting to wait forever for the Bronco version from China on eBay, and since I never built a kit from Gecko, I picked up this one instead. The kit was nice but challenging!
The tracks were NOT fun! Cutting and cleaning three items per link is tedious. Putting them together was worse. I believe they are supposed to be workable. Good luck with that! You would have to use the tiniest drop of liquid cement on the edges where the top and bottom links trap a pair of mating pins. Capillary action alone will suck the cement right next to the pin rendering it rigid quickly. I didn't care if mine were workable or not; I just wanted them to have enough flexibility so I could wrap them abound the running gear. Testors liquid cement was great for this as it has a slower setting time. Putting all those links together, takes a long time. A six link jig is provided but it is pretty useless. Being styrene like the tracks, the jig will quickly accumulate cement and glue itself to the tracks. You pretty much have to put them together two to three links at a time on whatever surface works best for you. Did I already mention tedious?
The only other pain was the exhaust. It would take too much time to accurately describe how overly complicated it is. I will give one tip, though. The two PE parts 11 will not fit on the attachment pins once parts Ea55 and Ea56 are glued together. My suggestion is to cut both parts out, cut each into thirds where the holes for the attachment pins are, and then glue the three separate pieces to the completed exhaust. I didn't figure this out until after I had enclosed the exhaust in the grille and left them off. Those parts are used to attach the braces to the rear of the tank. I managed to get the braces to work without them, but it was time consuming. I'll just sum it up by saying, "Have fun!"
Those two things were the worst part of the kit. Everything else was straightforward except for the jack block bracket. There are two arms that require at least eight bends each in the PE. I gave it a shot just to see what would happen. Predictably, the first arm broke off after the third bend so I tossed the whole assembly. It will look fine without it, and since it was one of the last steps in the kit, it was time to move on.
A partial interior is included as well as a figure, but I didn't use either. The interior because I'm just not into that and the figure because it is molded in a desert uniform and I was modeling a France 1940 version. I do plan to try it with another kit, though.
Comparing this kit to the Bronco A10 is interesting because of the PE. Both companies used PE for parts that the other company molded in styrene (but not everything). Which leads me to say that both kits would have been a whole lot faster to build if they would have skipped most of that PE and used styrene instead.
Overall, you'll get a nice looking model out of this kit. Would I ever build one of these again? Not in a million years!
16 January 2023, 01:55
Materiale di riferimento
")