

Double-kit work log

All the engine and engine bay pieces all together. The GPModelling engine came still on the 3D printer supports... removing them was quite elaborate and time-consuming.

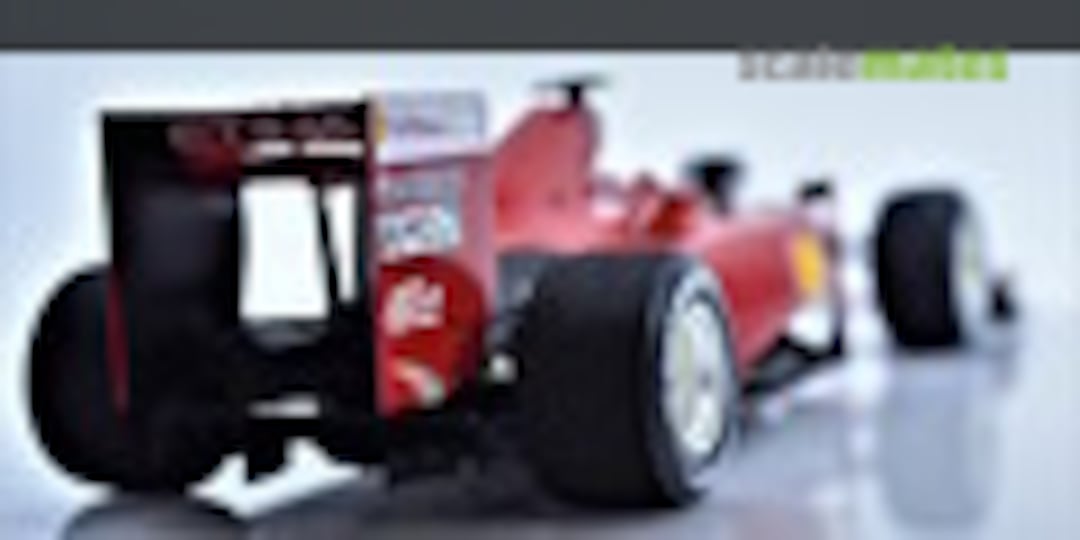
Removed the bits to allow the engine bay to sit and show the engine as instructed

Removed the bonnet.

After an initial light priming, I realised that I would need to file the rear tank lid since I have that from the PE detail-up, and the logo that sits on the B pillar, since the Sanremo version does not have it (I think it's the street version that has it).

I will need to remove the front grill to be able to install the PE parts.

Started by drilling some holes on the corners.

Used a balsa saw to remove the grill, I will then use a scalpel and a file to complete the work with more precision.

The front grill is now off. Once this was done, I had to dry-fit the PE bits to make sure they would fit correctly (they did).

I scribed the doors' panel lines and airbrushed the lines with black, this will reduce the effort at the end.

Finished with the priming.

Back on the engine, painted the whole engine block. Had to find some reference pictures to understand how the colouring was done.

all engine parts are painted and ready to go

all engine parts together, bottom view

engine block, front view

engine block, rear view

Drilled and installed the main spark plug lines and crafted some holder to give them a more ordered look. In the meantime, I also bought some Kevlar decal and wrapped the intake.

painted and prepped the engine bay, installed the few needed elements, and wrapped the cockpit air intake with the Kevlar decal I bought

Everything is now ready. There's a few additional details I will likely sort out at a later point, but overall I'm quite satisfied with the result.

A new challenger enters the arena! This is a 1989 kit from Protar (before Italeri bought it) that I held on to all this time. I think it's time to crack it open, as I can't suffer having it here anymore.

The kit will definitely require some adjustments but not too much, as I don't want to spend too much time on it. This kit (Protar) will be used for a muddied-up version, while the Hasegawa as a clean version of it.

I will have to get new rims as for some reason these had melted! I wonder what happened!

Dry fitting it, doesn't look so bad... definitely slightly different than the Hasegawa and much less precise on the details.

Let's get on with the interiors. The difference between the two kits is quite stark. Roll cages are sorted and cleaned.

dry fitting the Hasegawa rollcage

Dry fitting the Protar rollcage

getting the pattern for the back of the seat on the Hasegawa for the Kevlar decal

Finally decided to crack open this Flat Base Rough to give a more "fabricky" effect to the seats

The difference is sensible. Left with the new base, right the plain colour.

Same on the Hasegawa kit: left with the new base, right the plain colour.

Painted the details on the Protar kit, maybe one of the nice parts of the kit. I wish there was more of this.

Creating the pattern for the Kevlar back of the seat

The Kevlar pattern

And done!

Now Hasegawa provided some PE details for the 5 points belts and some plastic sheet that needed to be cut. I felt like was really building them.

Very happy with the final result!

on the Hasegawa kit I decided to scratch build the radio.

the radio and the cable

I preferred painting the dashboard by hand instead of using the decals over the PE

the final result, displaying also a terrible attempt at a Lancia logo (which didn't come in the decal sheet).

Now time to close down the Protar kit: I used the Tamiya cans for it. TS-86, Pure Red over light grey primer, IMO the best close-match.

As I'm doing the dry fitting for the underside of the Protar I realise that this kit is using the road version of this car rather than the rally version. The difference is quite sensible, but at the same time, I also decided I won't change it.

The original rims had a hole to get the drive shaft into, a cap will be used on the opposite side to fix them in place. The front wheels had no steering.

Since I decided to use the Hasegawa wheels on this kit I had to improvise to be able to place them correctly

So I used the original caps that I glued after cutting off part of the drive shaft. Neat.

Here is the final result. Like it never happened.

Now I'm left with the last few bits to be painted and mounted on the body. The more I look at this kit the more I think there's been a lot of choices and not all of them were good.

Time to do the window trims

I also realised that the front part is all black, instead of having just the window trim. This will be fixed later.

I also realised that some of the housing for the lights will require a bit of sanding on the clear parts to be able to be flush with the rest.

The front bumper is done, just needs to be clear-coated.

The driver's door could be _theoretically_ opened. This wasn't properly engineered, and I then decided to glue it on.

The crazy bit: part of the hinge that should have allowed the door to open is locking into the body and effectively become one of the side indicators.

Using white to do the base for the front grill red trim

The front grill done, albeit painfully.

The body ready for the decals.

I ended up sanding off the other side indicator, now I am going to scratch build it.

The left side indicator was applied and painted as needed.

While the instructions showed some sort of mirrors, I had none, so I had to scratch-build them as well.

Dry-fitting the side mirrors I just built.

The Protar body just needs to be clear-coated!
Comentarios
23 11 August 2023, 14:39
thanks JV! I would like to say that the detail kit from GP Modelling is really good.
27 October 2023, 07:22
Album info
This is the progress while doing two kits simultaneously, albeit from different makers: Protar and Hasegawa.


Group Build
Pro Race Car Group Build
8. Agosto 2023 hasta 31. Enero 2024
8. Agosto 2023 hasta 31. Enero 2024