

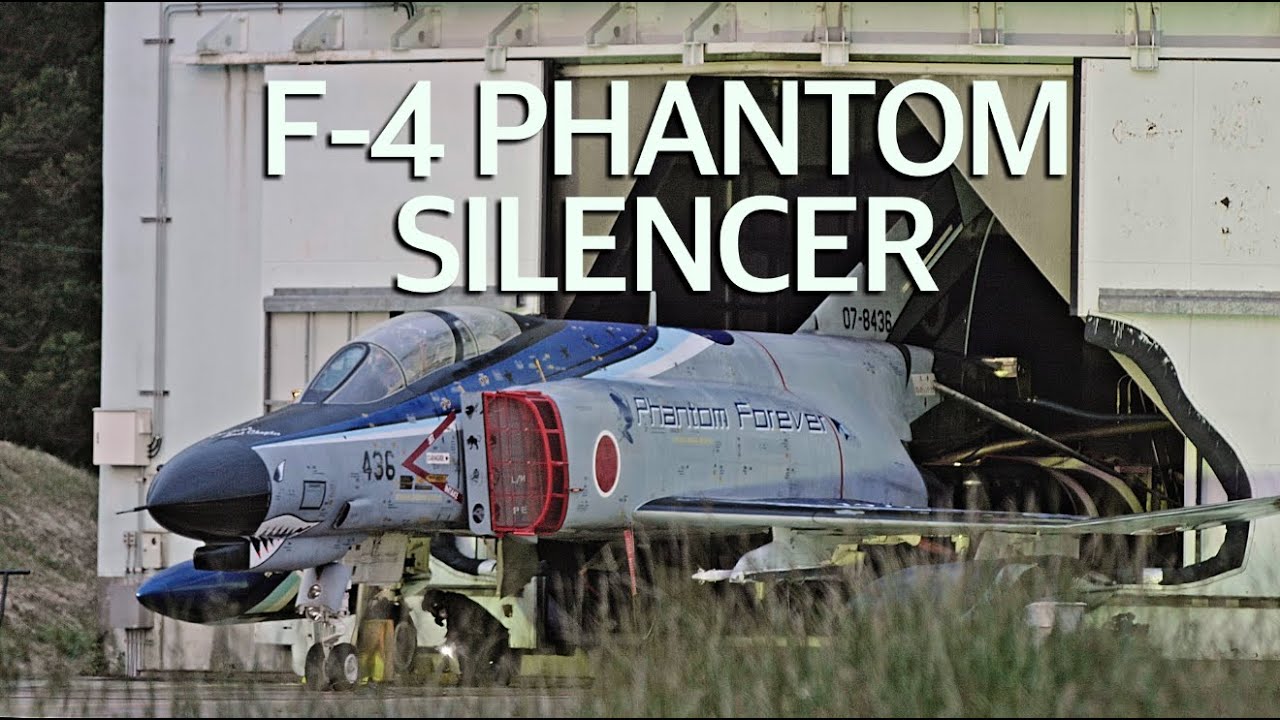
Phantom Forever WIP


That WSO's side stick came very close to being lost

After all of that stress the WSO's right hand side console stick is pretty well camouflaged by the side panel. You'd have to know to look for it to see it. if lost a piece of stretched sprue would probably fool all but the most discerning experts.


Some minor fitting required for the cockpit


Pained and washed. The colour of the plastic is so close to the cockpit colour that you could easily get away with not painting it. The cockpit sidewall is barely going to be visible even with an open canopy

A little wash to highlight the details


That join for the RAM air intakes requires a little filling and sanding


Behold my feeble attempts to photograph what little engine detail will be visible once the model is complete

Behold my feeble attempts to photograph what little engine detail will be visible once the model is complete

Behold my feeble attempts to photograph what little engine detail will be visible once the model is complete


After a test fit it's clear these ejector pin marks on the back of the intake vein will be far more visible than you'd think and need to be taken care of.


Комментарии
52 1 November 2021, 14:20
My initial impressions of the kit are fantastic. Instructions are clear and detailed, fit is precise requiring virtually no clean up. Everything is asymmetrically keyed so it only goes together the correct way and you can't accidently use the wrong variant parts. I'm really going to enjoy this one.
2 November 2021, 14:11
Good to hear that. I have probably 4 in my stash so I'm really looking forward to your detailed documentary building process.
2 November 2021, 14:47
Nice!
Add this build to the running SCM GB, unless you plan on finishing it before 2022 👍
2 November 2021, 14:52
Only one rule: Has to be an F-4 🙂
One recommendation: Mainly done in cy 2022
Link: Scalemates F-4 Phantom II Group build 2022 (1. January until 31. December, )
3 November 2021, 13:47
So if I were to do more than a certain percentage or get impatient and finish before the end of the year it's not a hanging offence?
3 November 2021, 14:34
Hahha Gidge, of course not. Its all for fun. Just do a most hated box of your stash in the two Months and you will have maybe a better feeling.
3 November 2021, 15:32
At the rate I'm progressing finishing before the end of the year is probably ambitious anyway
4 November 2021, 00:29
Take your time, dry fit ten times instead of once, fill the seams four times instead of once and it will pay off big time in the end for such a nice model 👍
4 November 2021, 04:23
Dear Gidge, that is 60 (!!!) pictures in 5 days without any descriptive comments about what work has been done (if any) and the cockpit is not even done yet. I can't even imagine the total picture count of this project when completed. I tried to follow your Super Hornet project and quit because of the sheer amount of pointless, non-descriptive posts that it ended up with, 748 images in total! This project has 21 pictures of a (partly) assembled bare cockpit alone! Please, if it involves nothing less than cutting it from sprue and glueing it i see no point in posting except maybe one of a completed assembly. When there are issues in assembly you have encountered and how to resolve these issues I can see a reason why you would post. And even then a descriptive comment would be most informative for the people who have this kit and would prevent them from making similar mistakes. And if you don't want to do that is fine with me but: mods please make available the blocking of posts from certain individuals. I am definitely not waiting for these (repeated) pointless posts in my news feed.
5 November 2021, 16:09
These posts aren't only for you Tyu. I use mine as MY build log, for ME to remember. ( I'm old and forgetful these days) Let's all be thankful that we want to share this strange hobby of ours, if you don't like it , don't look…
5 November 2021, 16:31
@tyu
1. Click Gear Icon (same line as Like button)
2. Click "Hide post"
3. Relax
5 November 2021, 17:03
please have also in consideration that if we all create albums with hundreds and hundreds of pictures, our webmaster will not be able to keep up adding storage space. so, feel free to post what you want, but also try to make sure it has purpose 😉 we all want to keep this site alive
16 November 2021, 14:57
By the same token, a few hyper detailed galleries were a big help to me when I was stuck trying to work out how to do things on similar kits. I'm only trying to do the same
16 November 2021, 16:11
Agree, is that also counting for posting 5000 ideas and never complete a kit 😉?
16 November 2021, 16:27
just watched this beautiful clip with some nice close-ups of this particular bird, maybe some inspiration for you:
Youtube Video
Really nice work so far! 👍
8 December 2021, 22:20
Thanks mate. I've seen that video. Very handy to see videos rather than just sold before going to paint so you can see the same surfaces in different light
9 December 2021, 12:17
Such a difference to see the Japanese making videos and not the Americans. No shouting, no loud music, even the colours are in tone with eachother.
Very nice videos from a photographers pount of view.
31 December 2021, 12:10
Nice progress so far! How is the fit so far? Looking not to bad at all!
5 January 2022, 07:18
The fit is pretty good IF you are super vigilant about cleaning up parts where you cut them of the sprue. This kit is well engineered but it expects you to be on your game and test fit everything. Particularly the cockpit or you'll have fun fitting the fuselage if you're not precise.
On the bright side everything is asymmetrically keyed to make it impossible to accidently install parts the wrong way or to accidently use parts from the wrong Phantom variant. The engineering is nothing short of impressive and can't have been cheap to develop.
5 January 2022, 10:32
I like your progress Gidge... thanks for sharing this with a lot of pictures 👍!
5 January 2022, 23:10
For your peace of mind Gidge, that tyu guy criticizes everything. He doesn't even post anything, no projects or finished models nothing! So don't worry about him, he also pretending to be someone else.
Keep up the good work mate!
6 January 2022, 09:24
Thanks mate. I appreciate the support. Life got in the way of this project for a bit but I've got some time and momentum now. Support like yours really makes a difference!
6 January 2022, 13:11
Engines are in. Those strange three photos are me trying to photograph what little exterior engine detail will be visible on the finished model
6 January 2022, 16:32
Just bought one of the ZM phantoms, the detail is incredible. This has become my reference thread. Thankyou for ALL the detailed photos Gidge..😎
6 January 2022, 18:07
Your welcome David. You'll have fun with it.
The one trap is they expect you to be precise removing gates from the parts. The cockpit is a very tight fit in the fuselage so if you're a little bit laxed with it you can have problems fitting it if you're diligent and test fit everything you'll really enjoy this kit.
6 January 2022, 23:36
Album info
Work in progress album for the Zoukei-Mura F-4EJ Kai Phantom Forever kit


Group Build

F-4 Phantom II Group build 2022
1. Январь до этих пор 31. Декабрь 2022
1. Январь до этих пор 31. Декабрь 2022