

Heinkel He 51


Commenti
72 5 May 2023, 03:26
Interesting subject. This is not seen very often. I will follow your progress.
5 May 2023, 06:01
Thanks for the support guys! working on the upper wing right now just waiting for the cement to settle then I'll connect the floats which will be torture but it'll all be worth it in the end. 😄
17 May 2023, 23:52
Looks great! Beginner questions: how did you know what to add for the rigging? What general technique did you use?
19 May 2023, 03:43
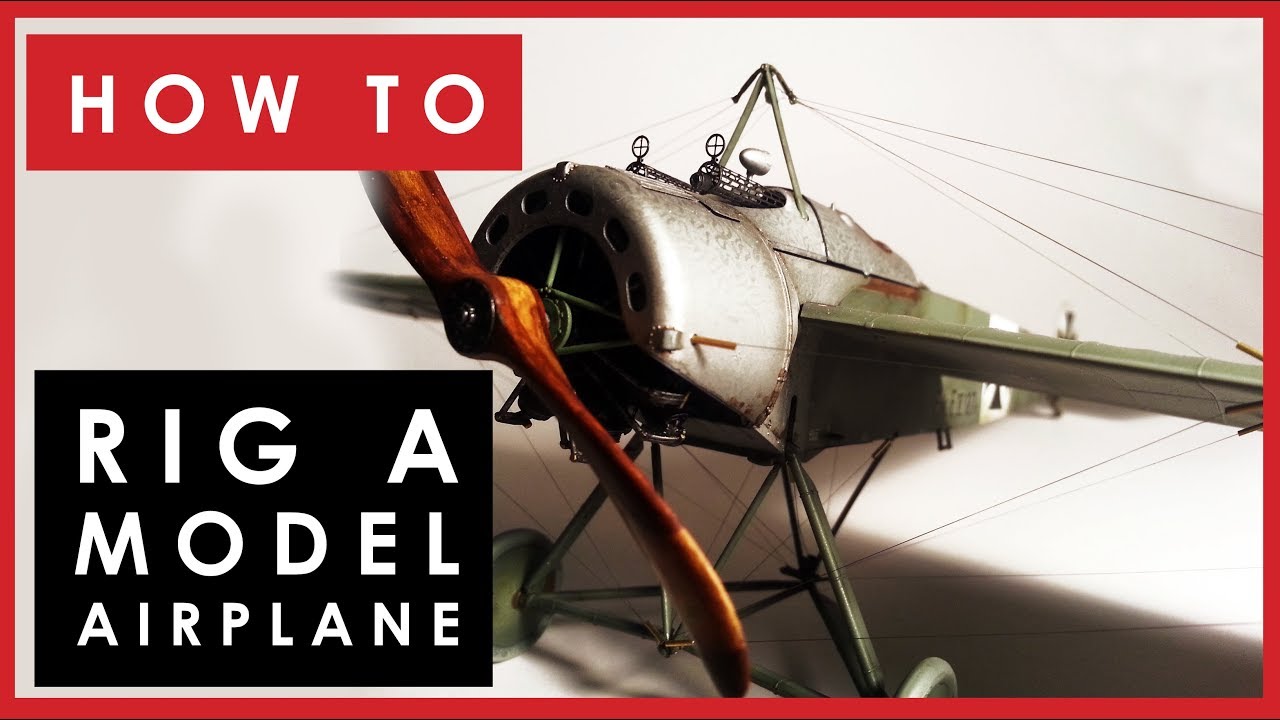
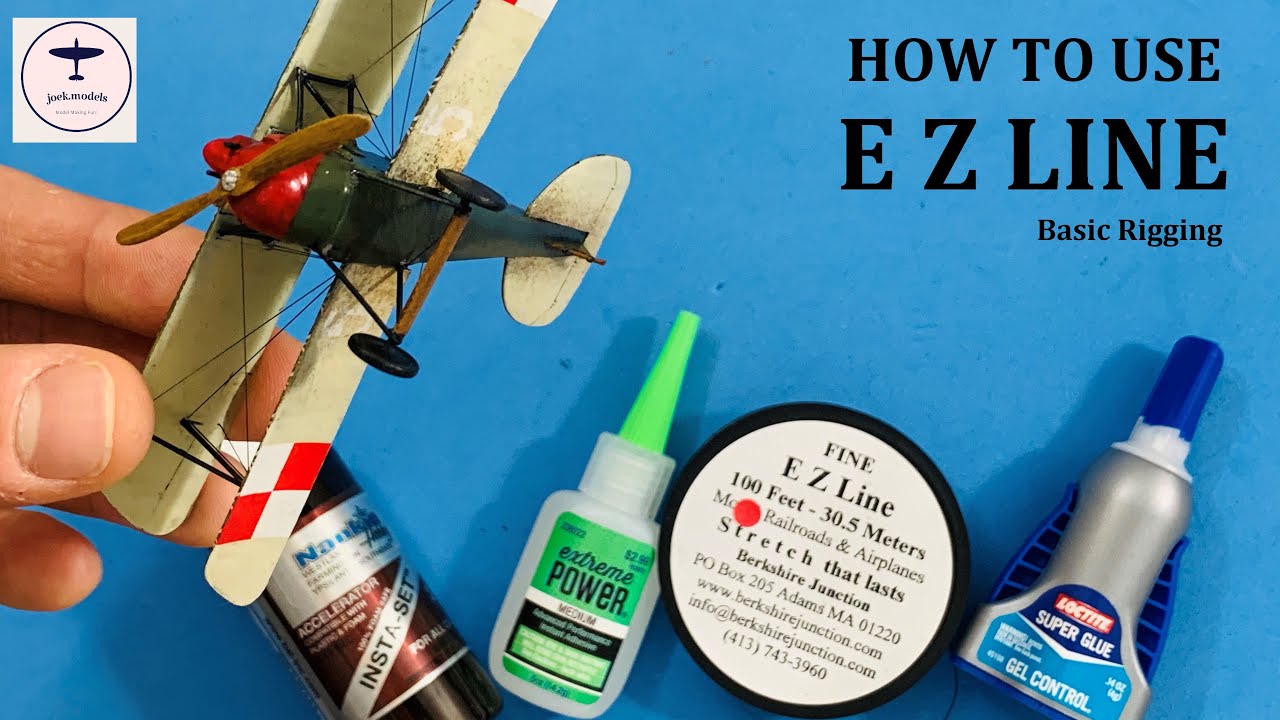
Thank you for all the very nice comments! And for your question Monte, first I cut the wire to size but it should always be a little longer than needed, then I take the tip of that wire and stick it into a bubble of super glue either on a tray or from the super glue bottle, after that we need to place that wire somewhere so lets say you have two points on the model, point A and point B, I would gently lay the side of the wire with super glue on point A then you let it dry for a few seconds after that I take a needle and put it in the bubble of glue then I dab some glue onto point B but make sure that it's a very small amount of glue it dries faster the less glue you use. Then I use a tweezer and pick up the other end of the wire. I'll usually have another tweezer and grab the tip of the wire with the other tweezer. you want to make an L shape so you're holding two points on the wire. Then the bottom of that L is placed on point B. That way you can put a lot of pressure on point B by pulling on both sides so that the wire makes contact with the plastic underneath the glue. After holding it in that position for about five or ten seconds it should stick and you're done. Now you have to trim the piece of wire that's hanging off the side of point B. I apologize if my explanation doesn't help. There are a few YouTube videos that I can link just in case. Rigging videos: Youtube Video Youtube Video Youtube Video.

19 May 2023, 13:13

