

Light Tanks Groupbuild


Always overlooked, priming/painting the rubber parts of the wheels/masqking/painting the hub and repeating the operations on the other side...

The hull with the base paint ( Tamiya XF-58)

Same paint on the turret

More fun with the search of paint's modulation

For that, I added some XF-55 on the base paint. I started with a 70%-30% mix on the side of the hull. On the top of the turret, It must be around a 50-50% mix

As it was last week, with the Bison decals trapped between 2 coats of gloss varnish


Then the catastrophy last week-end

First I tried some streaking effects using AK/AMMo products

No joy, it almost didn't work

The I sprayed some Kursk mud to at least achive a dusty look: It has just darkened the paint, and there's still some glossy patches, even after 2 coats of matt varnish

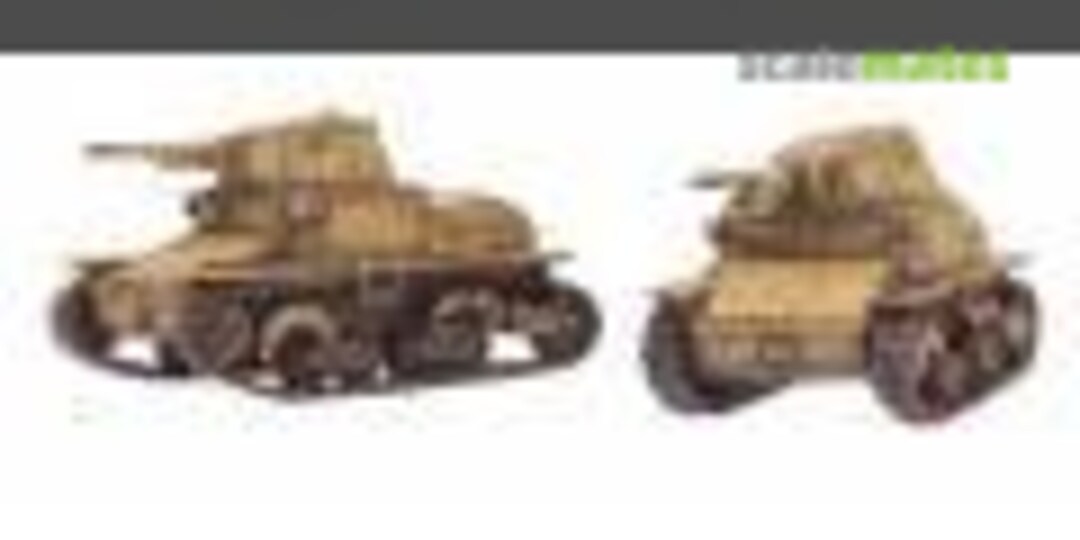
The base I may use with the kit
Commenti
22 September 2014, 17:29
A nice build, with no big problems. You just need to correctly identify wich bogies come front and which one come back.
The kit MG are good, but I didn't want to bother cleaning them: that's the only reason for their replacement.
The only item needing replacement is the gun, as the plastic muzzle brake is not that great.
22 September 2014, 17:35
keep posting here Lionel,for the moment its a beauty...open hatch ??
12 October 2014, 20:01
mmm...., i notice something here ...WHERE IS THAT PART on pages 3 nr E29/30??
hihi,its a pain in the ass to make it correct on this one
Good luck with your tank
13 October 2014, 15:34
Hi!
I just painted the top hatch apart, to avoid some tricky spot to paint. I had a hard time too with the 2 mud scrapper: they are hard to put in place when everything is assembled.
I think I completly messed with this kit : the streaking/dust coats are a catastrophy, and I'm not sure if I will keep with kit as iti is, or if it will be better to remove the paints and do it again as a German tank. last possibility: recovering the accessories and put the rest in the trash bin...
13 October 2014, 17:03
Hi
If that was my tank,i go for winter weathering!
(Worn effects or heavy chipping of AK or use hairspray best of all)
The rest u known i think....
13 October 2014, 20:25
It looks like an heavy coat of dust goodd hide the problems... I think I'l go that way!
Thanks for your comments
14 October 2014, 16:54
Project info


Group Build
Light Tanks Groupbuild
3. Aprile fino a 31. Ottobre 2014
3. Aprile fino a 31. Ottobre 2014