

SR.71


Commentaires
28 31 December 2022, 15:07
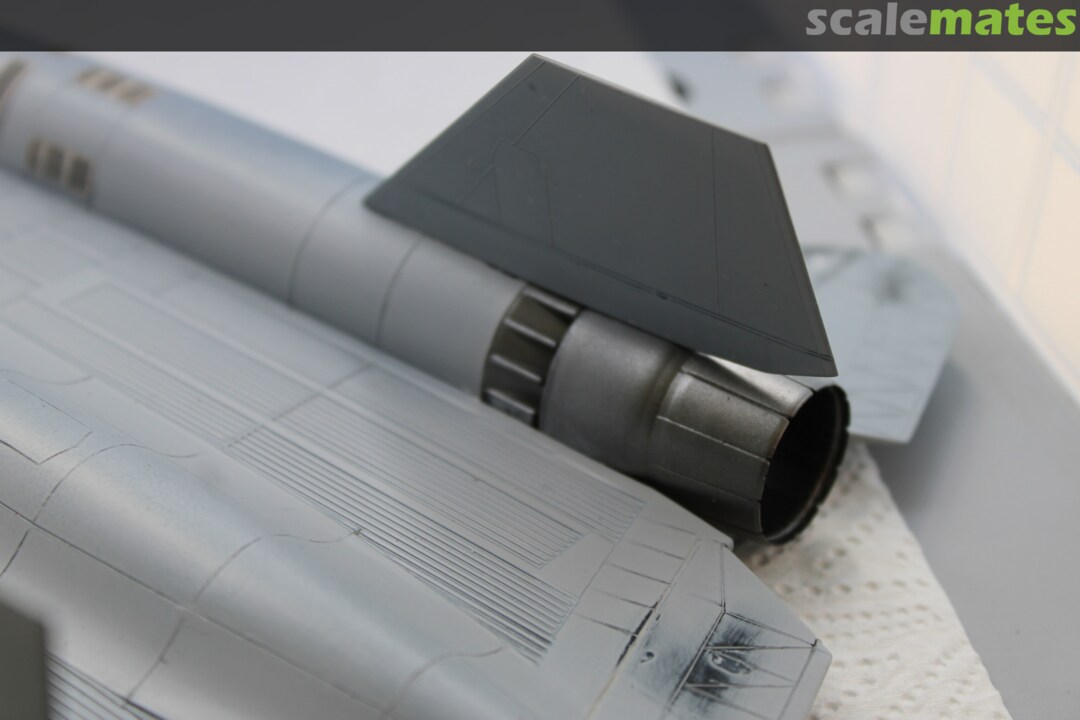
I started to rescribe every pannel lines ... if I knew it was going to take a whole month I would have lived with the raised pannel line proposed by Italeri.... not even sure it will provide a good finish as I did a lot of mistake (I used a needle and used raised pannel line as a guide). Let me know what do you think and if you have same experience
21 February 2023, 17:12
You can fill in the "mistakes" with a small amount of super glue (take your time and use as little glue as possible).
A toothpick or needle is a good tool to apply it. Once it's dry a quick sanding will get you a nice suface again.
A light coat of primer will also help you spot where more work is needed.
Good luck, it's definetly going to test your nerves.
21 February 2023, 17:38
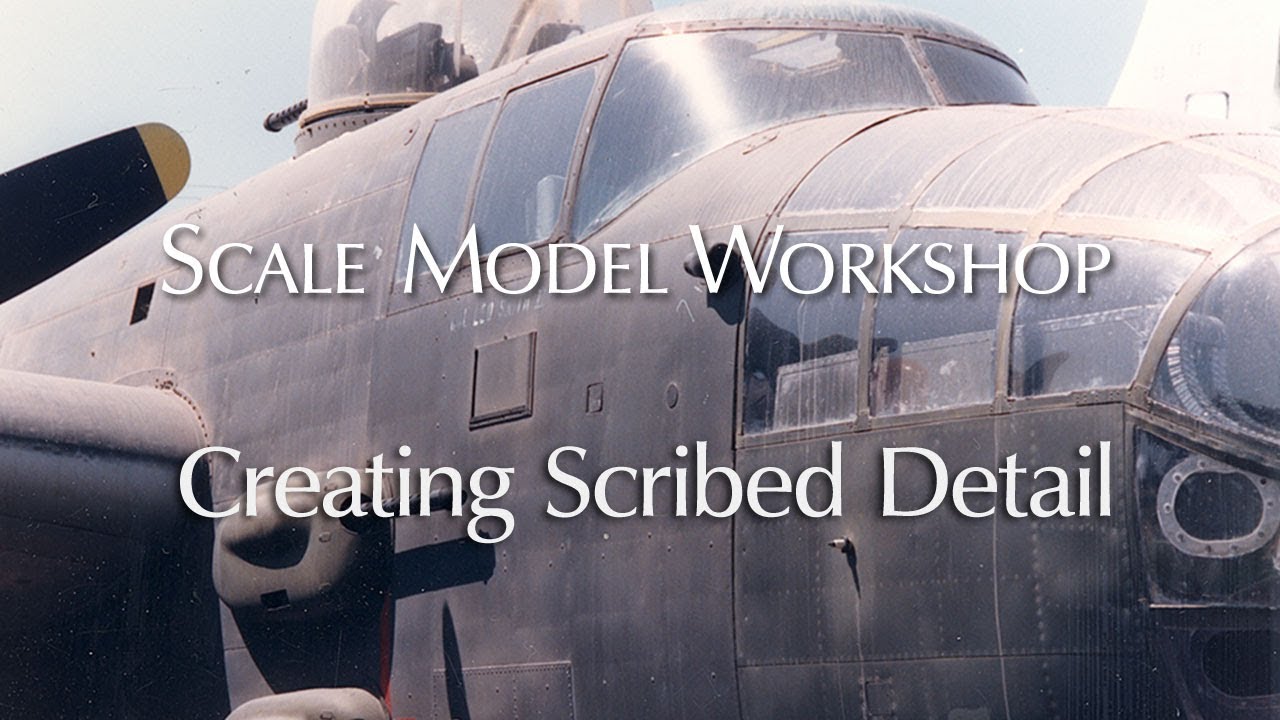
You might have an easier time if you just scribe into primer paint and not plastic. Unsure how thick the layer of primer paint has to be to, for the panel lines to have noticeable thickness. Paul Budzik apparently used that technique. Haven't yet tried it myself.
Video set to timestamp starting with "Scribing paint"
Youtube Video
21 February 2023, 17:40
Good luck Pierre! I was tempted to re-scribe on my own kit, in the end decided to to try and highlight the panels as if they were very dusty (yeah, am lazy!) Probably went overboard on the weathering but I was fine with the end result.
22 February 2023, 09:33
@treHuger, many thanks for sharing ! @ Clement thank you for the tip. I realise I could have done better with lighter scribing and using guide rather than the raised panel line as a guide. This generated a lot of mistakes (see the pick). So based on your advise here what I will do this week end : I will cover maximum of the mistakes with dissolved putty/superglue and sand. phase 2: white/ light grey primer, black paint and light rescribing to get to the primer. I am way out of my comfort zone here but will try. please let me know what do you think.
25 February 2023, 02:50
@ Gareth : thank you for your comment ! i think you took the best decision to get the best of this kit. The amount time required to rescribe while this Italeri kit needs heavy filling and sanding to get a smooth finish is too much (for me). If I have to do it again I will opt for your choice or get the revel kit...
25 February 2023, 02:59
@ Finn thank you I will need all support/advise, I can get for this one. I will post more pics in the coming days whatever happen good or bad results !
25 February 2023, 03:01
I did a little bit of re-scribing. It does help a little if using thick adhesive tape for the purpose. This product is like a roll with some adhesive plastic on it and one can cut off bits and stick it to the plastic, such that the tape forms to the plastic shape but still curve along the plastic in a straight line. You might also want to try out different tools for scribing, one might work better than the other.
What worked for me, is to be very careful. Repeating the same line several times, focusing on making a straight line, and not focusing removing plastic. Using little pressure, or risk the carving piece racing off and away from the straight line I wanted.
Having said that, I am no expert on this. I have a couple of projects I want to do some re-scribing on, but one has to have its existing panel lines filled in (weird thick and uneven panel lines).
25 February 2023, 04:41
I started the first layer of putty to fix the pannel line srcibbing at the same time I finish the photetch. this will be long
26 February 2023, 10:00
thank you all, i am very slow. so here the first priming and correction of imperfection. next step black color... to be continued
3 May 2023, 19:55
I've never got rid of such an amount of raised detail, but given there are no complex curves on the surface of the SR-71 my approach would be to sand it away using flat files or, better, some DIY flat sticks. Just grab a piece of styrene bar and glue a strip of sand paper to it with CA. Evergreen 0,6x0,15 bar works well for me because it's broad and flexes a little so you can adjust the strenght of the sanding. I use 800 grit wet paper for a start, de-clogging it periodically with a hard bristle brush in a glass of water. Please see pic 31 in my CL 415 album:
CL-415 MP MMEA | Album by drmeizoso (1:144)
I think this way you could remove the lines pretty fast leaving no dents, as it usually happens when using scalpel blades or scribers. Then you just have to swipe a sanding sponge to smooth everything up.
If you want to keep track of the original panel lines you can first take pictures of the original lines as a precaution, then sand, and puncture the intersections of the lines with a needle when you are almost done but the remnants are still visible. This way you just have to scribe following the dots afterwards, checking the pics for reference if in doubt.
As for the scribing part, I can recommend Border's cemented carbide engraver 0'15mm for 1/72 and any scribing tape (HIQ parts, Dymo, cello tape...) as a guide.
Keep the good work! Of course I'll follow this, it's a personal favourite!
3 September 2023, 15:18
Album info
project for a friend

