General dynamics A-16C

This is the only shot I have before I stripped it. it was painted in European 1 camouflage originally but a couple of years later I repainted it gunship grey.

Stripping the 20 year old paint with Fairy power spray.

2 coats of gunship grey, 2 coats of clear matt, 1 coat of clear gloss and 2 coats of the original camouflage. It took a few days work to shift this lot!

Engine exhaust stripped easily.

More power spray... lots more.

Starboard wing top surface fairly clear, This was started first as an experiment to see if the power spray would work.

The fictional 40mm gun pod I designed and made back in 1992 for the centerline stores position. Needing a bit of TLC.

Added some new details then filled and sanded it.


Lots of good old Green Putty!

20 years ago, without the almost limitless array of detail parts available from manufacturers and the ease of which these parts can be procured through online retailers, DIY was all the rage!

Lots of sanding, all by hand, all with 800 & 1200 grit wet and dry.

Alternating green and white putty to make sure the layers blend.

I made the spine years ago by gluing small sections of sheet over and internal frame. If I was to make this again I'd vac-form it or resin cast it, this took a lot of work back then so I was reluctant to scrap it.

Wheel bay doors scribed & the centerline store holes drilled. The brass hole in the door is a tube that was used to mount it to a custom made base years ago. I'm going to be using this to mount it again.

All I've done to this is add the notches and groves to the very end of the pipe. All the other detail was added when it was first built, 211 individual parts!

A bit of a clean up, some putty and sanding.

Replacement nose strips added.

Nose strips lightly sanded to blend then in.

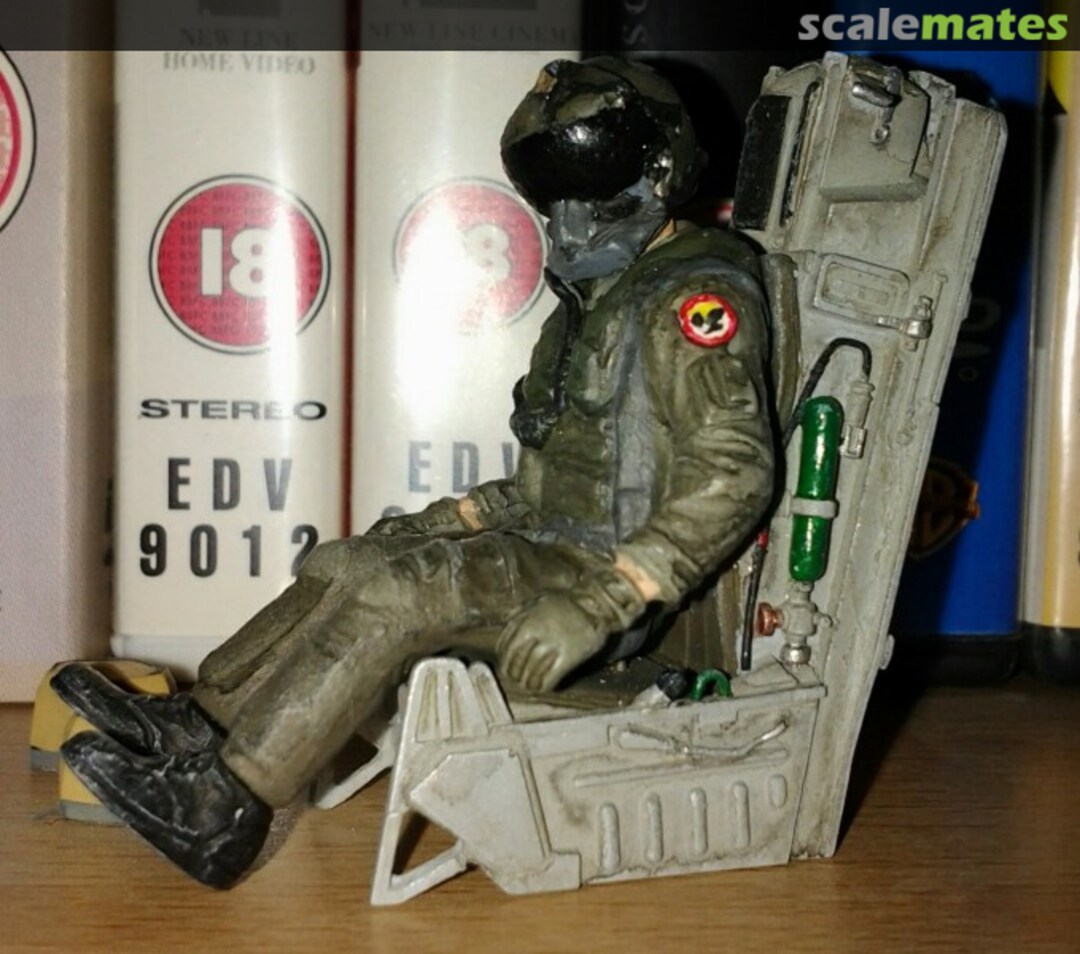
My modified kit seat next to it's Reheat Models replacement.

The seat was great to work on, it came with a full set of nicely etched buckles.

Soon to be test fitted into that cockpit!

A few little odd and sods for external decoration.

Fictional rails for the AGM-65s plus a few more detail bits and the chopped up pilot.

Totally fictitious but so is the aircraft, I was having fun! Looks a little "Steampunk" in the back of the office.

Test fitting seat and pilot. Pilots arms were separated at the shoulder, elbow and wrist, his feet were cut off as well. All the pieces were then drilled and copper wire used to hold the parts together.

The pilot was fitted with two pins to temporarily attach him to the seat, I then used tweezers to pose him.

A bit of white putty on the joints.

The rails were damaged in transit so I fixed them with a little plastic strip.

Filled and sanded, I layered some super glue over the filler, sanded that and buffed it for a smooth joint.

Painted. Because I used copper wire as pins, at this point the pilot could still be detached from the seat

Detailed and weathered.

The "office" cleaned up, and the rear painted and dry brushed.

Most of the detail was scratch built 20 years ago including the throttle control.

The large screen on the lower centre console has a 1:35 scale Verlinden map in it!

I originally made the model with canards like those fitted to the F-16 CCV and AFTI but these are a new design. You can see the scratch built light and the intake extension in this shot as well.

I coiled some copper wire to make rings, glued them in and sanded them flush.

Tiny aerial on my little finger!

Started to fit the scratch built external details.

Integrated HARM targeting system.

Finished pilot sat in his office. The seat straps were a nightmare to do, I used the buckles supplied with the seat and masking tape for the straps. The buckles are threaded and loose not glued.

Fictional HUD made, fitted, painted and weathered.

I used an iridescent sequin to make the HUD glass, gives it a nice anti-glare effect.

Line up of the armament I'm hanging off the A-16, the 40mm pod now has it's scratch built pylon attached. The are four fictitious AA missiles to go on twin wingtip launchers as well.

Close up of the sensor detail I put in the AGM-84E's nose.

Having already sprayed the first colour, I masked up for the darker grey and put down three layers.

I did a paint scheme similar to one of the development F-16s, serial: 75-0747


Looking a lot better with some paint on.


A few of the decals on.


Finished!
Comentarios
1 2 April 2013, 11:21
Album info
Theoretical model based on the 1980's A-16A/B and 1990's F/A-16C projects.


