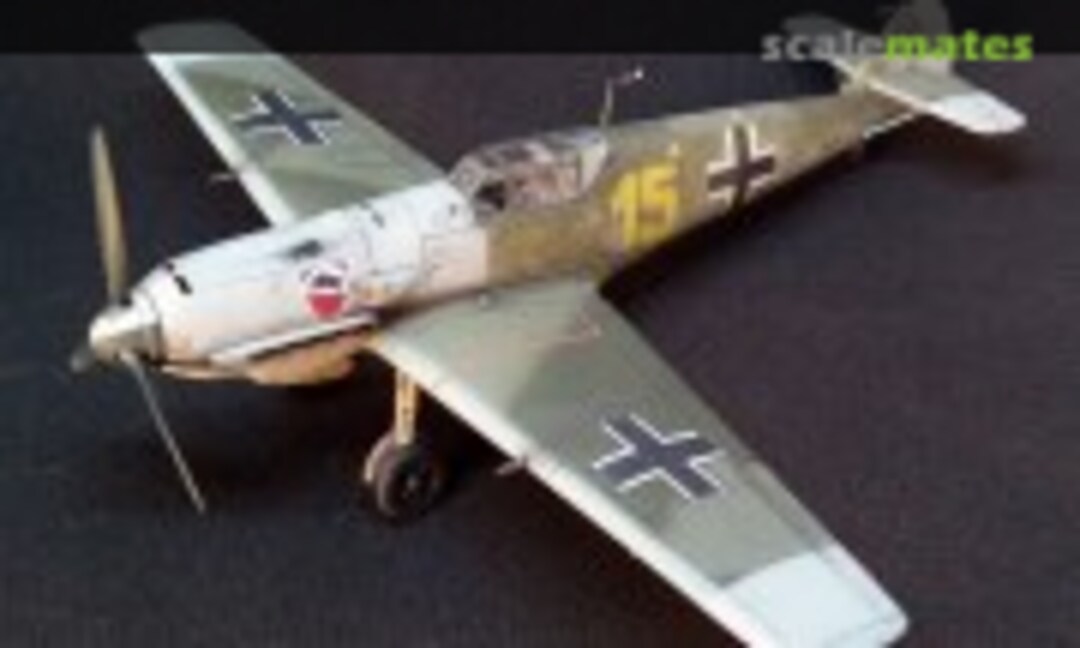
Messerschmitt Bf 109E-3 yellow 15 III./JG 52 Karl Wolff

This is another Barracuda Studios Speed Build, had to be finished for February 14.
It will be absolutely OOB
It will be absolutely OOB

I slightly modified the wheel's rays, flattening them

Cockpit and instrument panel as from the box, not a very neat painting but the canopy is in one piece closed only option...

a small gap, but the fuselage width is correct and will match the canopy in this way. I think I misplaced the rear wall in some way


Dryfitting, will have to use some filler here

This is a first for me! AZ moulded a small "channel" inside the rear part of the canopy: this is a frame and is correct, infact the E-3 rear canopy was a one-piece of plexiglass, and the horizontal frame was inside only! Earlier version has only the top one, later has also two other side one: from the E-4 onwards the plexiglass panels were divided in three pieces and framing was more conventional.
Thanks AZ, in this way you made painting that easier!
Thanks AZ, in this way you made painting that easier!

Surfacer already on!
The surface details look good to me.
Will have to be more careful next one and test and dry fit wings and fuselage better before committing to glue.
The surface details look good to me.
Will have to be more careful next one and test and dry fit wings and fuselage better before committing to glue.


this part is the one that needed more attention, filler, file and sandpaper, not necessarily in this order...

Preshading with Tamiya black, dark yellow and white.
White color were appropriate.
Next move tomorrow, masking...
White color were appropriate.
Next move tomorrow, masking...


Masked, RLM65 painted on...


First part of camouflage done, now I have to decal the fuselage and then do some mottling around the crosses and numbers 15...

Decals on, tomorrow I will seal them and then will try to airbrush some mottles around them...


Ready for the last decals.
Running out of time....
Running out of time....


Panel line done, waiting for a flat coat and some dot oil filtering


the Cellphone pics doesn't capture fully, but oil dots filtering is done. Tomorrow last flat clear coat and, hopefully, final bits and pieces on in time for the deadline....(?)


Finished in time!!!
Not my best one, but I enjoyed the build.
Not my best one, but I enjoyed the build.

This kit is not bad at all, but it has some 'short run' flavour: fit is sometimes vague, difficult to find the right place were to glue some details, etc.

The antenna mast doesn't have any pin or locating point... you just have to find a place for it... and hope the glue will keep it in place and straight!!!

Tail plane alignment is not so easy as it should, as per the wings dihedral.

Gear legs are shorter compared to the SH offering, but share with it the fragile assembly and positioning


Kit's decals are very thin, react well to MicroSol but tend to curl, so be very careful when you transfer them from the paper carrier to the model...


Коментари
21 4 February 2021, 01:05
I'm in Andrea. Looks like it will be an interesting comparison with the Special Hobby E. The 14th Feb deadline would terrify me!
4 February 2021, 22:41
@Neil Patrick: Consensus seems to be that the Special Hobby Emil is the better of the two (and best in 1/72 in general). AZ Emil is still accurate and cheaper though, just the details are softer.
7 February 2021, 08:05
@Yes Man: Agreed and Andrea's build of the SH kit proves it I think!
7 February 2021, 09:37
Thanks for sharing this build review of new AZ. Pity the SH doesn't offer such interesting decals 🙁 (e.g. the Swiss ones)
11 February 2021, 09:10
thanks everybody for your comments! I finished the build tonight: I wrote some notes about it in the picture, it is a nice kit but not so easy as I hoped.
I have a couple more in the stash and will build them as a OOB quick build just to relax with some of the beautiful camouflage that the Emil sported!
Ciao
Andrea
14 February 2021, 23:48
Nice work Andrea. Although the kit had some shortcomings, your result is very nice - especially for 1/72. In particular, your mottling on the fuselage and tail is very convincing.
15 February 2021, 01:51
Thx Jim and Jurgen!
I will take a small pause from Emils now... maybe will start the 262 Group Build sooner or later...
15 February 2021, 08:28