

Mi-26S - Flying Liquidator


Comments
51 8 August 2021, 11:16
After unpacking and putting it back in the box several times, I finally begun to assemble this huge helicopter.
Aw man, I really don't know where to display this thing when I am finished but I could not wait any longer either.
I did some assembly of the cargo bay and parts of the cockpit.
Custom decals are already printed. I'll need to scratchbuild the spraying gear for this helicopter. Because I could not find many (and good) pictures of the sprayer I'll take crop sprayers for aircraft as reference. Some guesswork and imagination will be involved as well.
Similar problem are the tanks for the decontamination fluid. I don't know how they looked, yet. So in worst case I'll display the helicopter with closed cargo ramp.
15 September 2021, 20:58
Welcome aboard mates. 🙂
Grab something to drink, this project will probably take a while not sure.
17 September 2021, 06:32
For this kind of stuff I have a lot of time to watch 😉 Following with interest!
17 September 2021, 07:03
Welcome. 🙂
I did some more work on this one.
Cockpit is done with Eduard PE. It's a bit of a shame because it will be almost impossible to see after the windows masks have been removed.
But I took some photos before banishing it inside the fuselage.
I think the most parts of the construction are. Cargo bay is painted and received a generous amount of blue-black wash.
While I was cleaning it, I realizied that most of my acrylics came off. This is why at some point I stopped cleaning the wash from the bay. It is far too dirty for my taste, but as the doors are closed it you won't see it. I tried to take a peek trough the windows, but it is impossible to see anything.
Maybe I shouldn't have done all that work with the cargo bay at all...?
As the fuselage is now glued together some clean up is necessary. There are some gaps and I am not sure I can fill them all perfectly (probably not).
I had to fight the windows and scrape off some plastic to glue it to the cockpit. It had to be bent to conform to the shape of the aircraft.
The fit's not perfect but I think it does the job...
Additionally, I tried some riveting as the kit itself is completely free of rivets. Well... not sure If I should continue with it. I tried to use some masking tape as a guide but that didn't work. It is probably not thick enough. Maybe some good pre-shading will make the surface look more interesting.
Next will be parts of the landing gear followed by the spraying equipment. I also need to get the colours right, not sure if I have the right ones at hand.
Maybe some mixing will be necessary. Until now I could not find any "more recent" pictures of the aircraft. I think it had to be scrapped like "Yellow 09" because it was radioactive as well.
18 September 2021, 15:51
the eduard parts value the whole right, always a good decision 👍
20 September 2021, 17:29
Update: Antennas, tubes and ladders attached.
I also began with the construction of the rotor blades and I am still considering when to paint what, because the main rotor glued together is too big for my spraying booth.
Filling and sanding are hopefully done, too. I don't like these steps because I often lose too much detail and there are still a few gaps I could not fill. Oh well...
As the landing gear struts are now attached I can begin to take some measurements for the spraying gear.
From what I could see from the reference photos, the spraying gear was attached to the landing gear.
Luckily, I can still add the wheels later.
I was considering to do some flying presentation, but the rotor blades are already nicely bent downwards as they would be when the helicopter is on the ground.
Thank you, Neil. 🙂
24 September 2021, 15:33
More assembly done. I think that really should be all now.
While masking the windows before applying my primer I pushed one of them inside the cargo bay. Looks like I screwed up glueing. No chance getting that one back...
After that I decided to use my liquid mask fror the rest of the windows.
Everything is primed and pre-shading also applied. The spraying gear has also been attached to the belly.
This helicopter barely fits my spraying booth and priming it was a pain. I broke off one of the ladder parts twice not sure if I can fix it again.
I hope painting the camo scheme will work better as I can concentrate on smaller areas.
3 October 2021, 18:25
this is the first time i´ve seen such a pre shading pattern, I'm curious what it looks like later 😉
that already has something for itself..., perhaps i´ll try it out once too 😁
3 October 2021, 18:38
Interesting pre-shading👍. I noticed in picture 41 you are using AK's putty. How has it worked with you? My own experiences has been bad because it being polyurethane based wetsanding was not possibe, because water makes it rubber-like and soft.
3 October 2021, 19:42
Haha, Simon and S M. Makes me happy to inspire some of my mates. 😉 😄
Not sure how it will work out in the end, to be honest. For the camo scheme I'll try apply the colours with marbling and work on smaller areas. Hopefully this will create some nice shading and different tones.
S M, working with AK putty was fine so far. I can not say anything about wet sanding, as I never tried that.
During the assembly stage (glueing), sanding and painting I always wear my gas mask and I'll try clean my work space once a week to get rid of the dust.
Though, when handling resin in the future I think I should always sand it wet, even with a mask...
While AK Putty it is nice for smaller gaps and easy to clean with a cotton swab I don't recommend it for gaps larger than maybe one or two milimeters. It is too soft and will quickly disappear inside the gap. So sometimes it is necessary to apply it several times.
From time to time I remember to protect the details around it with some masking tape before I begin sanding. 😄
What kind of putty do you use? It is always nice to have some alternatives in mind.
Youtube Video
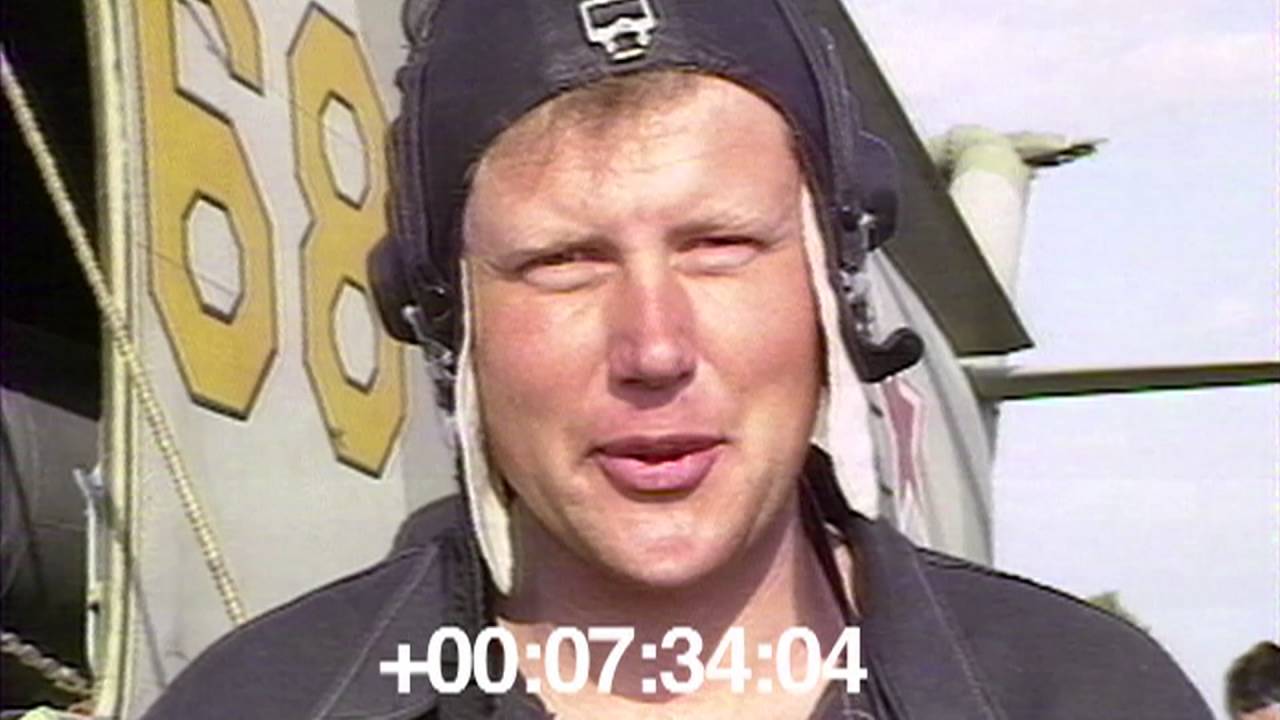
Here is short video about the helicopter pilots. It also features 68 which is subject of this project.
4 October 2021, 18:14
Fascinating video 😄 About the putty I'm using several for testing and different adhesion properties. For small gaps I have Vallejo plastic putty and MRP Mr.Filler liquid putty. For bigger gaps I have Tamiya basic putty and old Revell putty. I have also used epoxy putties (orange Tamiya, Milliput, Green stuff and Brown stuff) for bigger gaps, creating more parts and for resin models. I originally bought the AK putty because I thought it would stick on resin parts, but it didn't.
edit. I have also Mr.Surfacer 500 but it works only for very thin gaps and surface scratchs.
5 October 2021, 16:07
Got some more work done on her.
Application of the camo is more or less done. I tried to spray it free handed without a lot of masking material. In the end it was okay, but I have some splatter because I was not able to thin it perfectly. Hopefully I an hide it a bit under some washes and filter.
For the camo I used Tamiya XF-71 IJN Cockpit Green, mixed with a bit of Flat White and XF-67 NATO Green for the darker parts of the pattern.
I considerend XF-61 Dark Green at first, but it was too dark. For her belly I used Blue-Green from Hataka's Red Line. Again some eyeballing with the colour. I was aiming for the colours seen in the video and reference photos, while it is not perfect, I think it is okay. Mixing colours and finding the right ones is still pretty much uncharted territory for me.
Sadly, in the end I don't think much of my pre-shading is left to see. I tried to apply the others colours kind of in a marble coat, but I believe I drowned most of the pre-shading in the process. It worked a bit better on the underside, though.
I already assembled the rotor but did not attach it to the helicopter yet. Both barely fit the spraying booth but I should manage.
Though considering the joy of building 1/48 scale modern jet aircraft that I discovered, I probably need to expand the booth for future projects. J-20 and YF-23 are not exactly small in that scale.
Thanks James and S M.
Yes, I need to place her on top of one of my shelves, hopefully there is enough space.
@S M
So, Tamiya Orange putty works good for filling holes in resin parts?
11 October 2021, 17:40
don`t mind about the preshading mate, always looking forward! 😁
spend some more time in weathering effects, then it will work i think
good results so far! 👍
i will remeber your preshade pattern 😉
11 October 2021, 18:13
The Camo looks good although the pre-shading got a bit lost 👍. About the putty, i dont have experience with Tamiya polyester putty 😳 I referred to Tamiya epoxy putty quick type, that is orange in colour. I guess it works filling holes in resin parts. For saving the putty I use it only if there is a lot of gaps to fill.
11 October 2021, 20:05
Thank you, mates. 🙂
Decals are WIP. I had a setback with my printed numbers 68. The opacity is not strong enough and it was easy to see the camouflage behind the decals.
Instead I plan to create two paint masks to spray the numbers on the aircraft. I hope that works out...
I also had to remove two of my decals as I was too focused on the decals seen in the instructions instead of pictures of the real helicopter. I had to remove the white stripes between the Red Star and the cargo bay door as the original aircraft didn't have those. It is easy to see where the decals once were, the place has a nice shine to it but I think I can cover this under more Clear, Flat Clear and oils paints.
Also considering a simple vignette as they always are a nice addition to a model. And with that rotor diameter it won't really make a difference regarding shelf space.
19 October 2021, 18:24
it`s nice to see your progress!
a small base is always needed 😉
and if I look at the rotor, you don't need a shelf, but a garage 🤣
19 October 2021, 20:05
Little progress here.
I tried to find a way to spray the numbers on the aircraft instead of using a decal and printed the number again on normal paper, which I used to create my masks.
At first I tried to place the cut mask and use liquid mask the keep the holes of the numbers 6 and 8 from being painted.
That did not work well and it seemed like the liquid mask somehow reacted with the clear varnish and changed the green tones.
After that I decided to cut more masking tape and place that inside the numbers, which worked better.
Masking was followed by several thin coats of Flat White and Flat Yellow.
Not sure how I sould to the black border around the numbers as it is pretty delicate. I guess I will try to cut another set of masks.
Any mistake will probably be very visible.
24 October 2021, 11:07
Okay, I painted the black border around the aircraft number, with a brush.
It is... somewhat acceptable from afar. I really do suck with the brush... 🙁
Pictures will follow soon.
14 November 2021, 09:09
Next time make 2 masks. A slightly larger one to spray black, then the smaller one to spray white. Just make sure you fill in the black, to get an even background for the white
14 November 2021, 09:21
Thanks Martin, I will try that next time. 👍
I also made the mistake that I did not use more tools to get straight lines while cutting my masks. That made it even harder to make new masks for the black border.
Damn it, I used rulers before, why did I not this time...? 😄
Maybe a cutting plotter is a useful investion in the future.
Update: Wheels are on, tail rotor fixed, main rotor is not fixed yet, and will not be fixed at all(so I can take it off for easier handling).
Here as well it is time to start with the dio.
14 November 2021, 19:48
Little display plate in the making.
As much as I screwed up the numbers I won't trash this thing, though I wanted at first. (Also, I can not afford a trash container for this huge whirlybird. 😉) Far too much time and work put into this one already.
So I will finish this and hopefully save it somehow. Some weathering can always hide some stuff.
First try with the text did not work. I tried to print every letter without any support and without putting them on some kind of plate. Of course they broke when I tried to remove them from the building plate.
15 November 2021, 19:02
About the masks, you can buy A4 size masking paper, design the numbers in the computer, and then print it in the masking paper. Then you can cut it with a modeling knife.
Of course you can also cut it with one of those cameo cutting printers. But certainly a more expensive way of doing it..... (I played with the idea of getting one myself....)
15 November 2021, 19:49
She's done. I finally finished the base, right on christmas eve.
In the end I did a very simple display base done with some AK Concrete Texture as I became quite exhausted with this project, to be honest.
The frame was made with basla wood I gave some coats with heavily thinned umber oil paint to darken it.
I tried to weather the wood and plate but I am not very happy with the result. Lately I lost a bit of my mojo with displays and dioramas. I've been restarting the diorama for the Tesla Tank three times already and this one was no exception. Maybe I do a new one later and keep it clean.
It is really hard to take pictures of this large helicopter. I can not light this one good enough for nice pictures. I may do some later outside, when the weather's better.
It is even too big for my new glas cabinets, so I will need to place it on top of it. 😄
This one was a fun project, though it was really frustrating at times and I made a lot of mistakes and some are pretty obvious.
The last picture shows the helicopter with the MiG-21 and Su-57 for scale reference.
Despite all flaws I am happy I did this and I will display this bird proudly and visible in my home. 🙂
Youtube Video
Thank you all for your encouraging words, help or just for stopping by.
Merry Christmas everyone!
If you don't celebrate it, still have a wonderful time with your loved ones as the end of the year is drawing near.
Cheers, mates! 🙂
24 December 2021, 08:33
Congrats mate, and despite the issue you had with the numbers, it looks awesome. Nicely done 👍
24 December 2021, 17:18
There's always a few things to overcome in every build. And some builds end up mostly being that way. Great result!
24 December 2021, 17:26
Despite the drawbacks, it looks great. And the plate in the base with the name has been fantastic. Congrats and Merry Christmas!!
25 December 2021, 18:54
Thank you very much, mates. 🙂
Your kind words are much appreciated. 👍
26 December 2021, 08:57


