Logo
scale modeling database | stash manager
bughunter
bughunter
DE

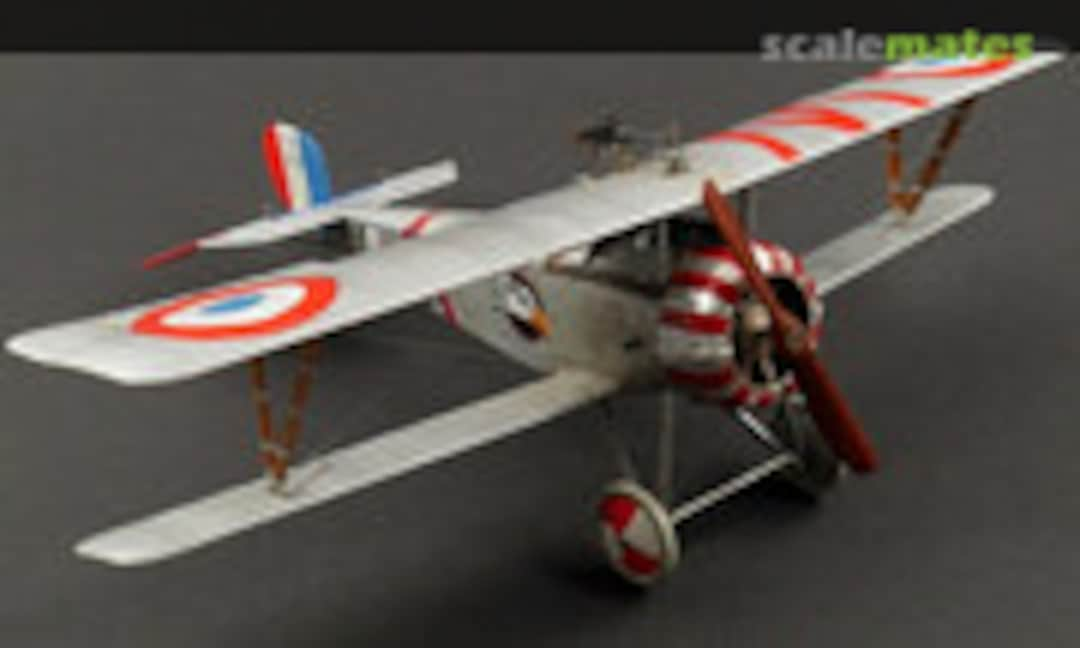
WIP Nieuport 17 Flyboys

Album image #1
No need to scratch with such parts. 
 

Album image #2

Album image #3
Last field not wood but linen!!! 
 

Album image #4
Corrected and washing. 
 

Album image #5
And nothing visible! 
 

Album image #6

Album image #7

Album image #8
First painting, some parts not yet mounted. 
 

Album image #9
Cowling to thick, as usual. 
 

Album image #10

Album image #11
Not its ok 
 

Album image #12
Cut out and new hinges. 
 

Album image #13

Album image #14
Actual state. 
 

Album image #15
With more parts the engine diameter grows. 
 

Album image #16
24mm alu and a lathe are a solution! 
 

Album image #17

Album image #18

Album image #19
drawing line barely visible! 
 

Album image #20
Tight fit. 
 

Album image #21
Engine fits. 
 

Album image #22
Dividing head on milling machine. 
 

Album image #23
The result. 
 

Album image #24

Album image #25

Album image #26

Album image #27

Album image #28

Album image #29

Album image #30
Happy little accident ... 
 

Album image #31

Album image #32

Album image #33

Album image #34

Album image #35

Album image #36

Album image #37

Album image #38

Album image #39

Album image #40

Album image #41

Album image #42

Album image #43

Album image #44

Album image #45

Album image #46

Album image #47

Album image #48

Album image #49

Album image #50

Album image #51
Intake pipes are replaced by real metal 
 

Album image #52
3 layer wood for the V-struts 
 

Album image #53
struts are created. 
 

Album image #54
A 100% crop of a wikipedia picture: [img1]


Album image #55
Soldering a brass ring with brass plate. 
 

Album image #56
More original compared to Eduard. 
 

Album image #57
Struts are painted, metal is prepared and glued to the wood. With brass pins the struts are plugf to the upper wing. 
 

Album image #58
Cover of the hinge below lower wing. 
 

Album image #59
Struts masked for painting of securing stripes. 
 

Album image #60
Huge square holes take the struts. 
 

Album image #61
My work compared to the original. 
 

Album image #62
Small metal outlets (from a Camel PE) 
 

Album image #63
added to the elevator. 
 

Album image #64
Control horns added, details painted. 
 

Album image #65
New struts made frome flattened brass pipe. 
 

Album image #66
Struts mounted. 
 

Album image #67
Control wires done. 
 

Album image #68
Parts for scratched skid assembly. 
 

Album image #69
finished ... 
 

Album image #70
and mounted. 
 

Album image #71
Strong enough to carry the model! 
 

Album image #72
Wooden windscreen frame. 
 

Album image #73

Album image #74

Album image #75

Album image #76

Album image #77

Album image #78

Album image #79

Album image #80

Album image #81

Album image #82

Album image #83
The front part of the Vickers is soldered kit from Part. 
 

Album image #84

Album image #85

Album image #86

Album image #87
There is a small coil on top of the barrel. 
 

Album image #88

Album image #89
Turned/milled fuel and oil caps. 
 

Album image #90

Album image #91

Album image #92

Album image #93

Album image #94

Album image #95

Album image #96

Album image #97

Album image #98

Album image #99

Album image #100

Album image #101

Album image #102

Album image #103

Album image #104

Album image #105

Album image #106

Album image #107

Album image #108

Album image #109

Album image #110

Album image #111

Album image #112

Album image #113

Album image #114

Album image #115

Album image #116

Album image #117

Album image #118

Album image #119

Album image #120

Album image #121

Album image #122
Made a new air screw (in the middle). 
 

Album image #123

Album image #124

Album image #125

Comments

3 10 January 2018, 21:22
bughunter
Since the engine was still a tight fit with more parts, I need more space under the cowling .... and finally destroyed the cowling! So a new solution was needed!
20 January 2018, 20:22
Marcel Klemmer
Crazy, absolutely crazy....
20 January 2018, 21:54
Spanjaard
holy molly... "a new solution was needed"... looking fantastic... i wish i could have space for this kind of tools 🙂
20 January 2018, 21:57
Peter Straka
insane! IMO the new cowling looks much better than the original part
21 January 2018, 19:21
Alexander Grivonev
Amazing👍
21 January 2018, 20:42
Bastian Bäuerle
Looks good! If you have the necessary tools at home you can do everything you want!
21 January 2018, 21:23
Erik Leijdens
Amazing...
21 January 2018, 21:27
Spanjaard
you also need to know how to use them... and no doubt bughunter does 🙂
21 January 2018, 23:22
Alec K
Nice machining 👍
22 January 2018, 00:39
bughunter
A little bit of progress with the fist primer and color.
28 January 2018, 19:59
Martin Oostrom
I wish I had the tools, I wish I had the skills, I wish I had the talent, etc, etc
Another top job Bughunter.
28 January 2018, 20:03
Peter Hardy
Three wishes Martin?
29 January 2018, 03:16
Martin Oostrom
Nah, too many to mention when I look at the Bughunter's work. Didn't want to highjack his build thread and get banned by Tim
29 January 2018, 06:14
Peter Hardy
Lol!
29 January 2018, 08:39
Greg Baker
Is there an emoji for just standing there in disbelief with a bit of drool coming out of your mouth?
29 January 2018, 11:58
bughunter
Thank you mates for your nice words! Martin, sometimes my macros are very detailed, to show how I have done things. May be it fulfills some of your wishes 😉
29 January 2018, 19:21
bughunter
Some progress with decals and first weathering.
4 February 2018, 21:36
Martin Oostrom
Sigh.
Gorgeous.
Thank you for all the lessons and inspiration!
4 February 2018, 22:09
Spanjaard
wow, finish line is very close now.... i agree with Martin of course
4 February 2018, 22:40
bughunter
Thank you, my friends! But I think it will take time to cross the finishing line, some wooden parts to be done, some details missing, rigging, engine finishing and mounting. I will add some text to the pictures.
5 February 2018, 19:20
Spanjaard
we will be patient 🙂
5 February 2018, 19:26
Peter Hardy
This is wonderful Bughunter! I will try to be patient.
6 February 2018, 10:30
Mike Daniels
Looking lovely. Came across this shot on G+.
[img1]
 
12 February 2018, 10:01
bughunter
Nice picture!
The tail of my Nieuport is finished. As usual some parts are scratched.
19 February 2018, 21:01
Predrag Ivanovic
Great details,very nice work.
27 February 2018, 21:25
bughunter
Thank you! Just added the pics of soldering the Vickers MG.
28 February 2018, 19:42
bughunter
Last pictures added to the build report - finished!
2 March 2018, 11:03
Alec K
Absolutely great. The new prop - were you unhappy with the first attempt (i.e. why redo it)?
2 March 2018, 11:31
bughunter
Yes, the first one matches teh drawings, but according to the pictures the blades were to small for the 110hp rotary.
2 March 2018, 11:45
Burkhard D
An artisan modeller at work. Where did you get the huge coin? 😉
2 March 2018, 11:59
Demigod
This is a piece of art. Really impressive modelling!
2 March 2018, 16:22
Florent Thouret
just amazing
2 March 2018, 16:43
bughunter
Thank you mates! There is a new album with the pictures of the finished newport.
2 March 2018, 18:30
Mike Daniels
As ever. Superb!!
2 March 2018, 20:04
Alec K
👍
2 March 2018, 20:31
Spanjaard
simply stunning. just back from holidays and 270+ messages... but i had to comment on this one 🙂
5 March 2018, 17:06

Album info

Some pictures of the working process.

140 images
1:48
Completed
1:48 Nieuport Ni-17 (Eduard 1125)1:48 Le Rhone 9J (110 hp) Engine (Small Stuff 48106)4+
Nieuport 17
FR Aéronautique Militaire Française (French Air Force 1909-1934)
N.1653 (Blaine Rawlings)
 

All albums

View all albums »