

Dragon 9131 - Jagdpanzer IV A-0


Comments
10 September 2015, 11:30
Haha! Thanks Holger 😉 But wait until I post the next three images (#5 - #7). Those will make it look truly awful 😛
I'm going to add comments to all of the images. Hopefully that will help to understand what is going on in the image(s).
10 September 2015, 12:11
Yes, I have already started screwing them up 😛 I am really terrible at figure painting 🙁 but practice makes perfect, right? So I'll keep going at them until they look good (or at the very least, acceptable) 🙂
10 September 2015, 14:57
Btw: where I said #5 - #7 in my first post above, I should have said #6 - #8.
10 September 2015, 18:15
Hi John, I'm in -- I have the same in my stash too... Btw it's a nice start.
10 September 2015, 18:32
Thanks Mike 👍 It's a great kit. Not too complicated and not much PE but still reasonably detailed.
I will be uploading progress images from the new repainted Dunkelgelb version in a few minutes 🙂
10 September 2015, 18:57
Okay, photos #1 through #7 are from May 2014, when I initially (partially) built the kit. No. 6 through 8 show some of the abuse it had to endure in the early stages. At later stages where I used it for more testing of techniques it looked much, much worse though but (fortunately) I didn't take any pictures of that😉
A week ago I started cleaning the kit as best I could and gave it a new base coat of RAL7028 Dunkelgelb DG III (reference A.MIG-012). That is a very light toned Dunkelgelb. Basically the kit was now back in the state it was in as shown in image #5.
Image #9
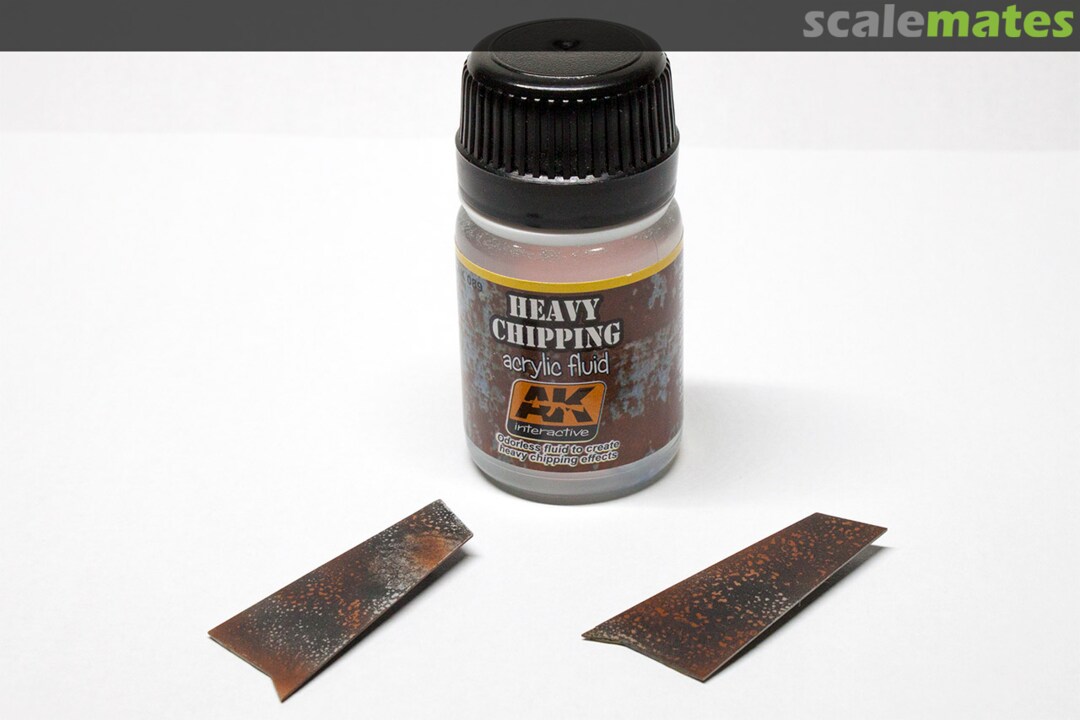
I applied chipping fluid (heavy) over the base coat. Then several coats of paint (consisting of primer red + primer dark grey) to create a base for weathering. Then chipping fluid (worn) again. And finally a coat of Dunkelgelb DG III again. After that I applied several layers of filter for tonal variance and a small amount of (pre-)streaking.
You can see in this image that the Dunkelgelb is still very bright. Too bright, in fact, but I will take care of that in the following step.
Image #10 #11 #12
Added more filters to darken the Dunkelgelb and make it look more like "regular" Dunkelgelb.
Image #13 #14
Stage 03 - Painting of the engine deck side panels, step 1 : airbrush primer red / Dunkelgelb DG III pattern + chipping fluid (heavy) + Dark Grey layer + chip the Dark Grey with stiff brush & water.
The next step will be adding another layer of chipping fluid. Then base coat it with Dunkelgelb DG III and chip with brush & water.
That's it for now. These are merely the very first basic steps in what is going to be a long process of weathering this vehicle. So there's lot more coming. And yes, it's going to take me a while to finish I'm afraid😉 haha!
10 September 2015, 19:14
Yes John, the painting and so on could be really a very long way...😉🙂
10 September 2015, 19:56
As mentioned earlier, this is going to go slow😉 I have added some images (#15 - #24) that show some progress. It may seem insignificant but it took me a while to get the effects working the way I needed them to be. Each part also received many different coats of paint which made the process slower because of drying times.
I have basically started working on the front and the back of the vehicle, slowly merging everything together.
Image #15 #16
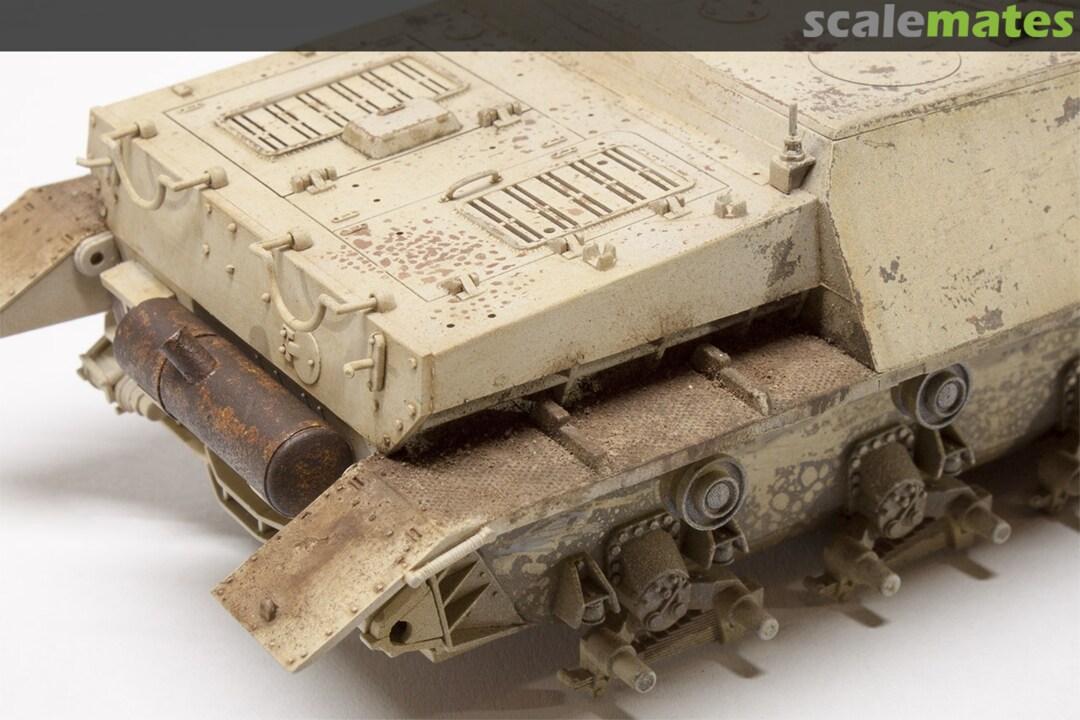
I removed the exhaust muffler from the model to be able to paint it separately. I also continued with the engine deck side armor plates. The images show the result.
Image #17 - #21
Even though most of it will be hidden from view by the engine deck side armor plates, I still weathered the top of the fenders. Not really necessary but it was also an excercise to check what colors would work 🙂 Obviously I will continue to work on the back end of the fenders, which will remain in plain view, at a later time. You can also see the exhaust muffler in place (not glued yet).
Image #23 #24
Here you can see one of the engine deck side armor plates in place. You can clearly see the difference in tone of the Dunkelgelb because the armor plates have not received any filters and subsequent weathering.
13 September 2015, 19:30
Great pics. They have given me a lot of inspiration. Thanks for posting!
29 July 2020, 23:39
Album info
I'll be reviving this Dragon 9131 - Jagdpanzer IV A-0 kit which I started back in May 2014. I used it mainly as a test object for painting but I recently decided to give it a second chance. It's actually a really nice kit 🙂
Basically I will be building a Jagdpanzer IV A-0 in plain Dunkelgelb, fairly heavyly weathered.
The idea is that the vehicle was rushed into service and received a "quick" coat of Dunkelgelb over the base primer coat, hence the Dunkelgelb paint was damaged quit extensively after being in action for a while.
I will not be depicting a specific (historically accurate) vehicle but it is roughly based on the Jagdpanzer IV A-0 with tactical no. 100, which did not have zimmerit.

