

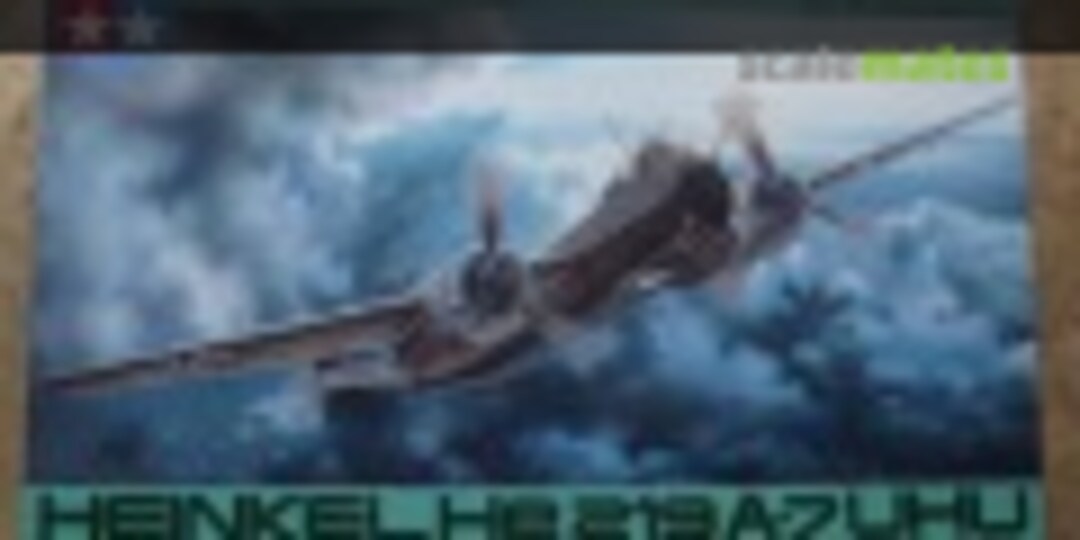
He-219 "Uhu" Groupbuild


 in the cockpit | View full picture")


Comments
1 25 August 2015, 14:30
Nice to sse you here Soeren ! Now I have to find pics of the real machine and check about decals to use on this project.😉
15 September 2015, 11:12
Keep us posted about that and if you need any book reference say a word, because Ive a lot of stuff about the Uhu in my stash!
15 September 2015, 11:13
Does anybody know if pictures of the 1L+MK and BE+JA exists ?
15 September 2015, 11:14
Thanks Soeren, if you have time, please check also for G9+FK and B4+AA. Thanks a lot ! Cheers😉
15 September 2015, 12:33
Hello Pierre I only found 1 pic and one drawing of the G9+FK - See your PM! 🙂
15 September 2015, 13:10
Pierre, I am most impressed with the wash effect and the riveting you have done.🙂
This will be a most exciting build to follow mate. 🙂
20 September 2015, 00:36
You revit crazys...hehe. Well-done Pierre.
I'm glad AFV's don't extensively use them..
Tell me, do you have to heat the riveter tool, or just do the right amount of pressure?
20 September 2015, 01:43
You've really added a lot of detail with the riveting. Where did you get that tool?
21 September 2015, 01:24
Thanks a lot guys !
John the riveter tool is from RB Productions.
Rui, no heat at all, just pressure. The pressure to use depends on the plastic.
Here is a link where you can find a lot of great pictures of the UHU : wingsontheweb.com/
Cheers.
21 September 2015, 05:09
I'm working on the front wheel well....do you have any picture os this area please ?
21 September 2015, 06:36
Hi Pierre. Thx for your reply.
Yesterday I've posted a direct link to the 299, photos of the UHU, in that same site on the 'Military Thinking' Album thread.
Have you checked the Album already?
21 September 2015, 11:40
Hi guys, so more progress regarding the front wheel well that was detailed and now I'm about to place the cockpit main part inside the fuselage (on the left side). PE rudders were placed too. Now I need to paint cockpit parts...
Michael, thanks for the information about the color. As I'm buiding an A-0 version (early version) I was not sure about the RLM66, thinking maybe to use RLM02 like on early germany aircrafts of this period.
Pics will follow soon.
Cheers.
22 September 2015, 05:39
For a 1/72, there is such a wealth of detail you have enhanced Pierre. And looking so good my friend. 🙂 👍 👍.
22 September 2015, 21:07
Thanks guys ! Kerry I will try to copy some details from the ZM model....cheers.
23 September 2015, 05:01
I have made a big blunder and I have now stripped all the acrylic paint from what I have done and gone back to using enamels for all the areas that have really fine detail . 🙁
23 September 2015, 05:36
What a pity Kerry, I had this kind of bad experience too. Enamel paints are more resistent (solid) I think.....for acrylic paints a primer coat like Mr. Surfacer is a good thing to avoid this kind of problem. I know you will fix all of these and have a good result mate. Cheers.
23 September 2015, 06:10
What do you have in mind for your next step Pierre. ? Does the PE fret come with ALL the cockpit interior fittings too. ?
I really admire modellers who can get wonderful results from a 1/72 kit. 🙂 Like you. 🙂
28 September 2015, 21:10
Definitely. You set the bar high, Pierre. I'm supposed to build this kit too when I finish my current build.
28 September 2015, 23:26
Thanks guys! Next step will be to add home made détails in the cockpit. The PE parts are great yes but there are some details missing that I want to scratch. Cheers.
29 September 2015, 07:32
Thanks Christian! This morning I added all the improvements needed to paint the cockpit. I will post some photos soon. Cheers.
3 October 2015, 09:25
Thanks Kerry ! Talking about the cockpit, RLM66, do you have a brand peference ? Tamiya, Gunze, other ?
3 October 2015, 14:15
Pierre, I may get some flak for this, but I have always used and prefer Humbrol paints, especially their enamels, as the RLM range is so accurate in their colour matching of that 'era'.
I have already posted a blurb on why I like these paints more than most others, and I won't do it again here, so I'll send you a PM on the subject. 🙂
3 October 2015, 20:21
I can recommend Gunze. I used it for my Ho 229 and the Ef 123 and it looks good - in my opinion😉
3 October 2015, 22:02
Soeren, we all have an ability to get the very best result from all kinds of paints and now you mention Gunze Sango, I do thoroughly agree with you there, and as far a acrylics go, it is Gunze and Tamiya for me too. 🙂
3 October 2015, 22:56
Thanks guys for your help. I will post pics in a few minutes and one of them showing 3 references from Tamiya. Cheers.
4 October 2015, 04:36
Can you tell me (historically) if all the paints used on German equipment was all from the one producer or were there more than one. ?
The reason I ask is this. :-/
IF, there was more than one maker of the paint requirements for the GAF, it stands to reason, there could have been some slight variations in the overall 'colour' of the RLM's, !!
This is not trying to get up any ones nose or to look a smart arse, I am genuinely wondering.
Or, maybe I could "Google it" 🙂
Cheers.
4 October 2015, 06:14
I see what you mean Kerry, and I think yes there are variations on the RLM colors. My idea is to use two of the colors of the photo in order to have a used cockpit effect. Cheers.
4 October 2015, 08:07
Here I just splatted side by side RLM66 from Akan (not the best paint to master as a material, but quite trustworthy as for the historical colors), Tamiya's XF-63 and XF-22. Sadly I don't have XF-24 at hand, so you'll have to extrapolate from here.
And ofcourse, this photo is a subject to camera settings, lightning conditions, etc. That's why I placed them together in one photo so you could guess if not the color itself, but the relation between the paints you already know.
Hope it will help a little.
[img1]

4 October 2015, 09:57
Btw another really good color for RLM are Valljeo / AK and Ammo of MiG Colors.
I used Vallejo at my EF 128 from Huma. Junkers EF 128 - Huma - - Finished | Album by Floppar (1:72)
4 October 2015, 10:08
Thanks Pavel for your message. Looking at your color test, I think XF-22 is too light.....and XF-63 too dark...I will try to use XF-24. Cheers.
4 October 2015, 17:56
Hi Soeren, yes Vallejo are great too. I think all my Vallejo paints are still in Belgium. I will check the boxes that are still closed....cheers.
4 October 2015, 17:57
Pierre, the XF-24 would be my choice for the internals of the cockpit, and as for the Vallejo's, their RLM colours can't be argued with, as the ZM kit build instructions always call that brand too. 🙂
You will come up with just the right mix I am sure mate. 👍
4 October 2015, 20:06
Looking really good so far.
Can I ask what you used for the details in the cockpit?
5 October 2015, 18:33
Thanks Soeren, to detail the cockpit I used some wire and evergreen rods and strips. ALso I created some rivets inside the cockpit that will be highlighted latter during the waethering phase. But it is not finished, after the application of RLM66 I will place all the Eduard PE parts. Cheers.
6 October 2015, 05:20
Yesterday I applied a Mr. surfacer 1000 coat in the cockpit in order to have a good surface to paint the RLM66 that I will paint tonight if I have time...sorry guys I'm very slow. Cheers.
7 October 2015, 06:22
Doesn't matter Pierre-Christian. We are not in a hurry I think. Looking forward to the photos of your painted cockpit section!
Cheers, Christian
7 October 2015, 19:20
Pierre, like Christian said, and i agree, There is NO hurry, as this GB is an exercise in patience and skill, so the slower we all go, the better we become, and it gives us heaps of time to discuss and seek help and get opinions. 🙂
7 October 2015, 19:54
I agree guys, so I will take my time😉
I painted yesterday night the cockpit using as RLM66 the Tamiya XF-24 color. The result is good I think. I will soon do some weathering on that coat (pigments, pencils, etc...) and place all pre-painted PE parts and paint small details by brush. Cheers.
8 October 2015, 05:53
Pierre, thats looking phantastic, so far! Do you plan to leave the canopy in open Position? Would be cool not to see all of your work buried under the glass!
8 October 2015, 09:28
Thanks guys ! So I was thinking about this yesterday, I still need to check where to cut the canopy but if it is not complicated I will yes open it😉 Cheers.
8 October 2015, 11:31
Interesting discussion on the RLM colors (taking notes)...And great work in the cockpit!
9 October 2015, 02:24
So I'm still placing the PE parts, not finished yet....photos son. Cheers.
9 October 2015, 09:04
Thanks guys ! I have placed the instrument panel and it looks great. On the other hand, the PE parts to be placed beside the instrument panel are too big so I had to cut them a little bit and repaint their border using RLM66 by brush. Cheers.
9 October 2015, 11:47
And that's why it is so interesting to follow you all because some use the same techniques to solve problems and some have others. So you can learn and improve and enhance your own skills.
Pierre-Christian, excellent progress with the cockpit details.
Cheers, Christian
9 October 2015, 19:50
I agree Christian, each modeler has different techniques.....and that's great ! Cheers.
10 October 2015, 07:02
Elle va bien cette colle 21 je trouve. J'ai testé récemment. Tu en penses quoi ?
26 October 2015, 08:11
You 1/72 guys just blow me away with what your doing. !!
I have difficulty with my monster and yet I see pure magic here.🙂
Great progress Pierre. 👍
26 October 2015, 08:35
This cockpit looks stunning from every angle! Very well done!
26 October 2015, 08:46
Thanks Christian, but it is not finished.....a lot need to be done inside (for now I just placed some Eduard PE parts to improve it after painting the RLM66) like weathering effects, small details to be painted and placed......and also I will cut the canopy in order to place it in an open position. Cheers.
26 October 2015, 10:35
The cockpit looks nice with all the fine PE. Guess you just pre assembled the fuselage halves because you add no weathering inside of the cockpit?!
26 October 2015, 18:12
You are right, as the cockpit is not finished yet the fuselage halves are not glued......still need to work a lot in the cockpit to have something good😉 Cheers.
27 October 2015, 07:51
Album info
Hi guys, before to start on this GB, here some pics as a reference.
Cheers.


Group Build
He-219 "Uhu" Groupbuild
13. September
13. September