

Building of A-400 M "Grizzly" or now "Atlas"


Comments
1 20 July 2012, 16:08
Hi,
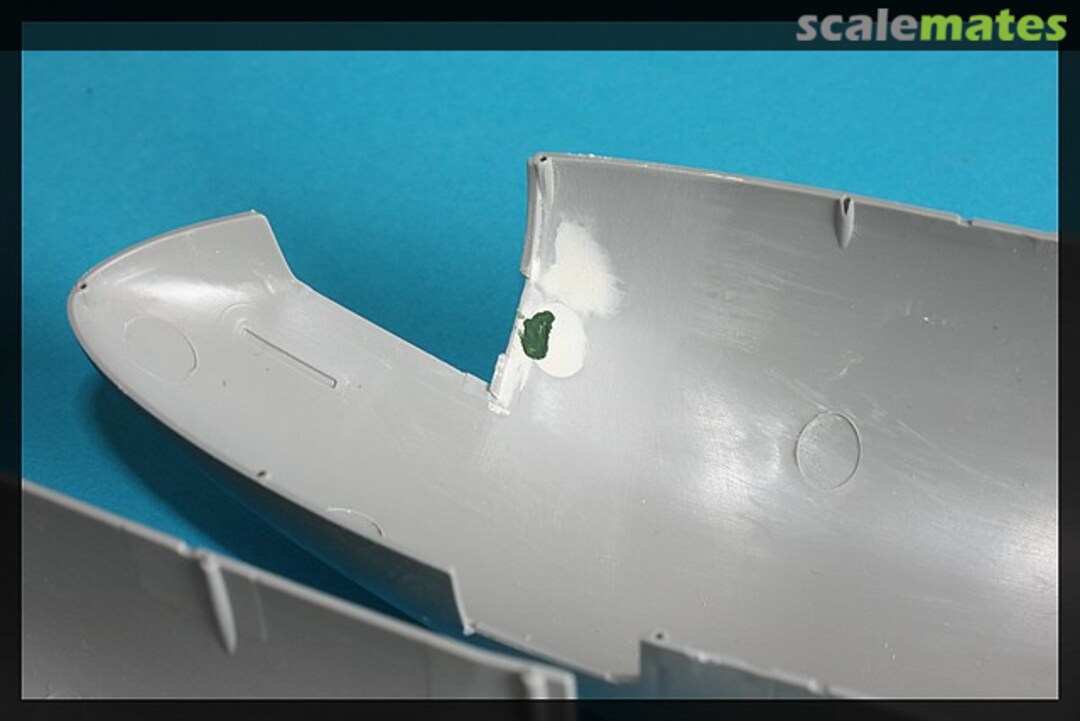
today I will show you the last steps I had done on the Airbus. First steps were to finish the cockpit. I put the seats on the right place and stuck together both body halves.
After that I clean the area arround the inside of the cockpit with filler and Liquid Green Stuff from Games Workshop.
In the interim I build the wings; no problems until yet.
But now the problems will start. The clearance between wings and body is bad and between the two oudside body halves. I don´t no why but it´s needless work.
I will see how it goes on...
Kind regards, Stefan
12 August 2012, 17:20
Good luck to you, that's a monster of a kit! I'll be watching wih interest. By the way, Grizzly is a much cooler name than Atlas!
12 August 2012, 18:07
Hi Stefan, what a beast!!! Im following this build, and if you need help tell us a pair (or two) of hand its never too much when we build a kit like that 😉
12 August 2012, 18:34
Hey you two,
@ Bill: You´re right. Grizzly sounds really cool. I don´t know what they have thought.
@ Vitor: Oh yes. I saw it yesterday as I put the wings on the body for the test. Two hands weren´t enough. 🙂
13 August 2012, 07:07
Hi,
nest steps. Yesterday and today I worked at the wheelbays. I will use the parts from Scale Aircraft Conversions because the part from the kit aren´t good enough because the Grizzly is to heavy.
After that I vanished the wheelbays with black primer.
The last photo is an example for the intermingled quality.
KR, Stefan
17 August 2012, 15:10
*** Update 30.08.2012 ***
Hi,
last two weeks I worked at the body, the wings and the engines of the A-400 M. At the body I have to use a lot of filler (first two new pics).
In the interim I vanished the wheel bay with Gunze H316.
After that I fill the clue points at the wings with Liquid Green Stuff. It´s easy to use. You only need a brush.
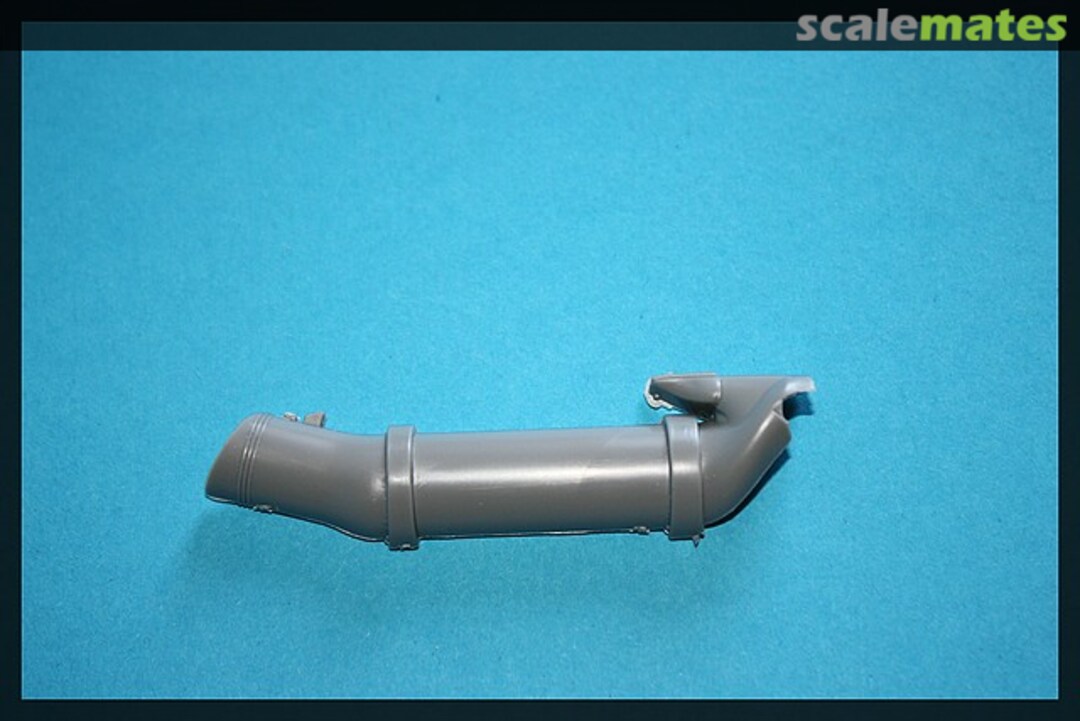
Next step were the engines. The quality for this parts was good. I only need filler at the glue points.
Last step was a test of the clearance.
That´s all for now. More with the next update.
Regards, Stefan
30 August 2012, 17:05
Thanks for sharing this build! Got my Grizzly kit recently, and I am speechless about this kit´s size!
30 August 2012, 17:12
Hey THomas,
no prblem. You´re right. The kit is really big. In spite of the intermingled quality it makes fun to build the kit. But you need a big bucket of filler 🙂 🙂
30 August 2012, 17:15
*** Update 04.09.2012 ***
Hi Guys,
the wings are on the body. It was not easy and the clearance was as bad as I supposed.
But there is also a small, positive result. The bottom side of the wings are ready for primer.
In the next steps I will use plastic shett and filler to fill the gap between the wings and the body.
So long, Stefan
4 September 2012, 16:04
*** Update 23.09.2012 ***
Hi,
the next steps were finished. I put the engines on the wings. At the glue point I used filler again.
After that I build the fan blates. Here you have to work carful because the base point the frame is really thick and the fan blates are thin.
After that I want to mask the windows on the front. I want to cut the masks by myself. No problems with the first to windows. At the third window I glided down and the result is a big cut in the front window. I gto a new one from friend but I still ordered one at Revell, now for my friend.
Next steps are to grind the nose of the fan blates, mask the rest windows at the body and then I will prime the complete A-400.
Kind regards, Stefan
23 September 2012, 16:18
Hey Guys,
the next step was done => The Preshadding. But before I had to find a new canopy. A friend gave me his canopy, so I finished the work.
After that I used sanding belts with fine grane (3.500) to planing the surface.
No the Atlas was ready for the preshadding. I used therefore flat black from Tamiya.
Next step is to start with the vanish.
See you soon, Stefan
1 October 2012, 17:56
Hey Dave,
thanks. Yes the 400 is really big. At the moment I have no place. I hope I found one which is right :-D :-D
3 October 2012, 09:43
Next steps. The vanish was done. I use one part thinner and one part color from Revell.
The nose is also ready for vanishing.
So far for the moment.
3 October 2012, 09:46
Hi,
the body iss ready. I onlay have to vanish the front side of the wings.
Regards, Stefan
5 October 2012, 15:11
Hey Aghis,
thanks for you comment. I hope that I am ready next week.
6 October 2012, 09:29
Hi,
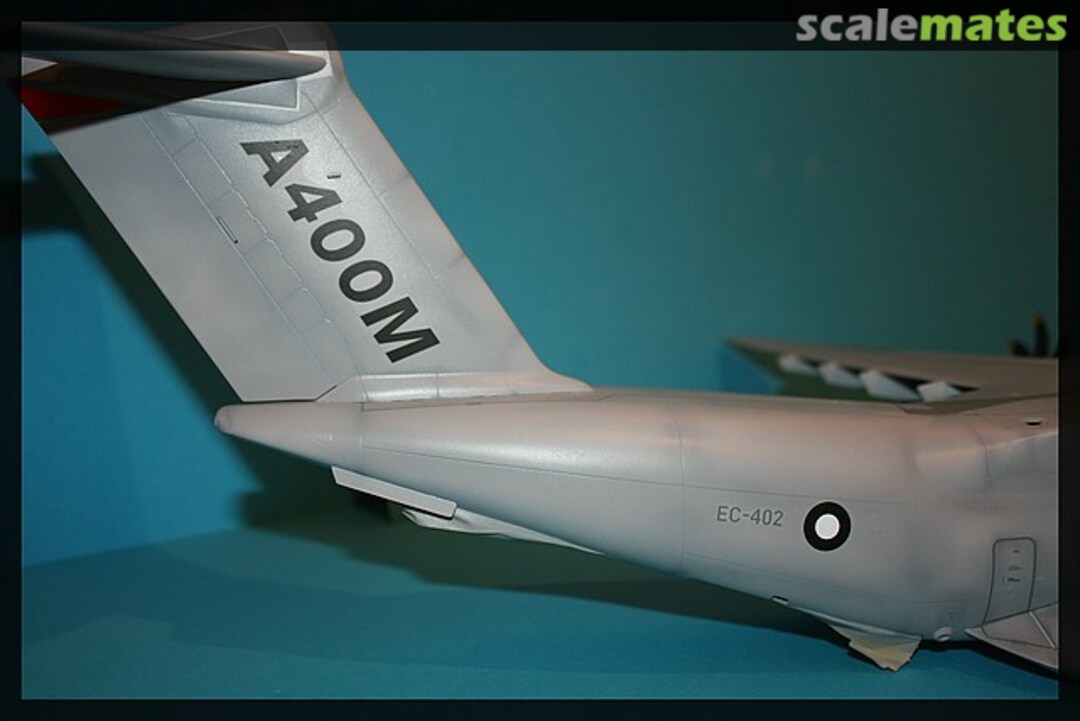
Decals are all one The A-400. A lot of work. I needed the hole day but the quality is great !!!
So far, Stefan
7 October 2012, 18:51
Hi Stefan - ready next week?? Are you a quick-builder?? :-D
Looks now very good - but it seems to be really a big bird. Think you need a lot of color... 😉 Go on...
7 October 2012, 18:57
Stefan, in your opinion: is the metal landing gear "really" the better way to go? I am deeply in doubt about SAC because of the very soft metal they use...
22 May 2015, 14:28
Hey Thomas,
sorry for my late answer. Hhm...I would say no, it it not necessary. If you change the plastic pen for the wheels to a metal pen, then it would be good enough.
@ Christian
Thank you for your comment. 🙂
17 July 2015, 13:25
Stefan, your build looks great. Thanks for all the detail with the build. Looks like there are few fit issues I need to watch out for when I start mine. 👍
19 July 2015, 10:42
Stefan, your pictures are very helpful. Did you post any pictures with the masking removed anywhere? ....Never mind! I found you other album. Looks great! 👍
4 August 2015, 23:03
Album info
Hi,
here I will show you the build of my A-400 M Atlas. The first stepas are the build and the paint of the loading ramp an d the wall behind. I will use here only Revell Aqua Color.


