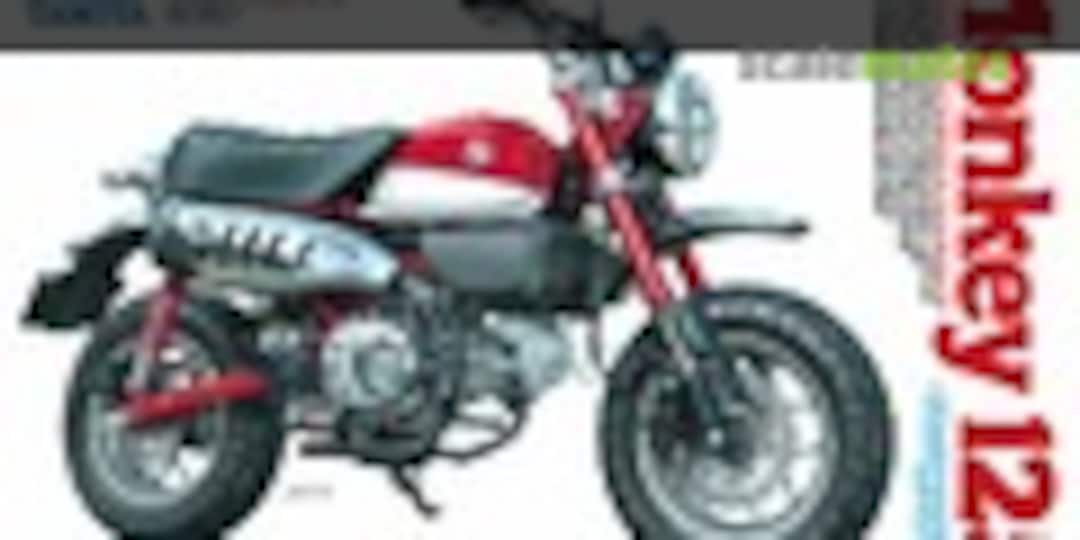
Honda Monkey 125 (Tamiya 1:12)


Photoetched Parts

The Engine is glued

Same with the Frame

Clear part painted and dipped in Future

Frame glued, filled, sanded and primed

Engine has gotten his basic color

Swingarm glued and filled. To get the new Photoetched stretcher the original has to cut down

New Stretcher for the swingarm.

Some parts sanded and primed

Painted Frame. I painted the most Black parts before I painted the Yellow Layer

Painted Fork. First Layer with Vallejo Metal Color Gold. Second Layer was a mix out of Tamiya Clear Orange and Clear Yellow. I Think it was 2:1

Glueing the Photo-echted screw Heads. Feels like forever.

Finished Engine

Finished Engine

The Frame is almost fnished. The decals and a light washing is missing

The Swingarm painted and with the new Photo Etched Parts.

Rear Fender. The license plate is a photoetched part. The Screw of the plate, too

This are the Parts for the sprocket. Can someone please remind me why I'm doing this

Some parts for the chain. I have to think how I will do this

Startet with the Chain. You can see the small chain links


Finished Glueing the Chain. Only thing left is a little bit color

Cutting the old rear brake disc

Say Hello to the new Rear Brake disc.

Original Front brake disc

Some Parts of the front brake disc

New Front brake disc glued together

After finishing the frame I realized that the original Bike doesn't have a colored frame.
All Bikes have black frames
All Bikes have black frames


Swingarm with Wheel

Swingarm with wheel and the Photo-etched Chain

The last parts are painted. The Details on the handles are not painted yet

Fork Spring are installed

Fork Spring are installed


The Instruction for the Photo Etched parts doesn't say where all the Screwheads are to be glued. So I used them everywhere I think that they could be

Original and Photo-etched Part


Used a small 0.5mm and a 1.00mm tube to make some Tension Jigs

Painted handle with glued Tension Jigs

Painted the Tension Jigs with Vallejo Steel

Installed Cables

Installed Cables


Exhaust with photo etched parts.

Installed and glued exhaust


Got some problems with the tank. Sprayed the white part and after masking the yellow part. Went away over the weekend and when I peeled the mask some reaction happend with the white color. So I have to paint it again. After that tried Tamiya X-22 got some problems with that, too. In the end I carefully remove the clear coat and used the UVLS Gloss Coat from createx again.

while the clear coat of the tank is drying i painted the white on the seat

Mirror

Tank with Decals. Last Clear coat is missing


Almost finished. unfortunately my last clear coat on the Tank didn't came as gloss as the last ones.

finished. As soon I get the chance I will polish the tank a little bit. Don't have the materials right now


Detail of the Chain

Screhead details


Rear Brake Detail.


Some More details


Handlebar Details
Hozzászólások
19 11 October 2022, 15:40
I really enjoyed this kit. This is looking excellent! Those photo etched screw heads!!
31 October 2022, 02:21
Thank you. Some of the small parts are driving me nuts. I think I have lost a handfull of those screw heads. Thankfully there are more than enough
6 November 2022, 20:14
Yes I hope you don't loose any of them like I have done on one of my builds
And another one were some small parts vent flying more the one time but luckily I managed to find them
I just got a suggestion today to use tape when handling small parts I haven't tried it but I will probably give it a go
By the way I think your bike will look great whed the colour on the frame I think it will make parts stand out a bit more
6 November 2022, 20:32
Those extra Parts really make it more realistic and closer to the boxart!
10 December 2022, 09:13
Thank you very much. I'm really happy with the result. I've learned a lot about working with photoetched parts.
10 December 2022, 10:12
I don't like the bike too much but your model is just spot on. The PE parts make all the difference.
11 December 2022, 12:34
Album info
I will use some Photo etched Parts from Hobby Design. It is my first time using Photo Ecthed Parts. We will se how this will go for me. I hope I can finish this build before the deadline of the Groupbuild
Group Build

Tamiya Monkey Groupbuild
1. Május amíg 31. December 2022
1. Május amíg 31. December 2022


