

Alaska Coastal Airlines Vega model 5 Floatplane


the Alaska Coastal Airlines Floatplane version will get the Full Monty with a seated interior, cockpit detail, opened side door and the cockpit windows sawed up to get a sliding section for the tracks on the wing.....

...the canopy cut up to create a sliding portion

The Vega had this unusual door between the cockpit and the passengers.....shorter at the bottom so it would fit into the fuselage when raised up. The MPM kit bulkhead piece has the outline of the door molded in and cutting it out and bending it up into position worked well.

These seats from Valom are a good match for the Vega seats...

....turns out the Valom seats are too tall...cutting them down like the seat on the left seems to work....thinking this will be a three seat aircraft (and pilot)

...about ready to seal this up after some PE work....paint will still get attention....the red thing in the cockpit is meant to be a fire extinguisher....only the bottom half of the pilot seat is seen here...the back is part of the door into the passenger compartment....

....assembled fuselage with interior showing....in all, satisfied with the look...the seatbelts are a big boost....

....while deciding if the box art color was right (yellow/dark blue) or the instructions (orange/dark blue) a photo was found of the actual aircraft in service in Alaska...and it was actually gold and dark blue....question answered....and the kit decals are not based on this aircraft....replacements will be made...
.....check the struts...the kit pieces are not correct at all and scratching the structure will be needed....and the ladder on the side goes all the way to the float, not hanging in air...
.....check the struts...the kit pieces are not correct at all and scratching the structure will be needed....and the ladder on the side goes all the way to the float, not hanging in air...

....this was the easy part....the gold layer....lots of masking to come for the dark blue layer.....

...a little Photoshop work and a web search...and an Alaska Coastal Airlines logo is done.....

...painted white circles to create background for the printed decals...one of these various sized decals will fit....many different were printed to be sure....

...the results after some touch up using closeup goggles....

...when it came time to build the struts...it was clear this is not what they looked like......the cool silver outlines of the windows....also a kit invention.....but, cool so will be left in place....applied with a paint pen....

....folks, the instructions are just plain wrong about this strut system...they tell you to sand these landing area dimples both off...when they are obviously needed for the struts...and they DON'T tell you to mount the landing area dimples on the bottom....which is where the actual strut supports would go....it didn't make sense they would invent a whole new way of mounting floats rather than use what was already there for a regular landing gear setup.....lesson learned...and in time...this time....

....this photo is the goal.....in the future, someone will post a full file of the correct strut system that we can all 3D print...until then...its a bit of trial and error but still interesting....
BTW, the dimples are a bit out of scale.....but this is a 1/72 kit....
BTW, the dimples are a bit out of scale.....but this is a 1/72 kit....

...using rods....drilling holes in the floats and fuselage actually allowed some adjustment and adds strength to the whole system...a winner...and now, to figure out the smaller struts.....

...by golly...it worked....drilling holes the answer for all the struts...1mm rods used for the smaller struts and 1.2mm for the larger....

....maybe this fuselage will survive with a little touchup....

....after all this drilling, etc. it seemed like a good idea to invest in a new set of floats from a spare kit. these pieces are not the best fit and i am hesitant to sand or fill too much given the shiny paint...if the 3D version arrives...it will replace these...


...repainted the wing with the original AK Extreme Metal Gold and gave it an overcoat of AK Gauzy protective varnish before doing any masking...the stabilizers turned out OK with the AK Gold paint...

....after trying and failing to get a good result with the split windshield install...a decision was made to cut out the top of a spare shield as best as possible and paint that....
Commentaires
57 20 November 2022, 07:24
...off the Vega rabbit hole....looking at the period photo, it is clear the decals are just plain wrong for this airplane. So, it has become a decal project now....anyone where to find that Alaska Airways Logo?
28 December 2023, 03:36
Got an option to scan the decals, correct the color and print it out again?
28 December 2023, 09:27
Yes, scanning the decals was an option but looking closely at the kit decals shows they tried to make them fancier than the real aircraft and won't be of much use. It is a simple enough masking job and paint will be used and a few of the kit decals.
28 December 2023, 11:54
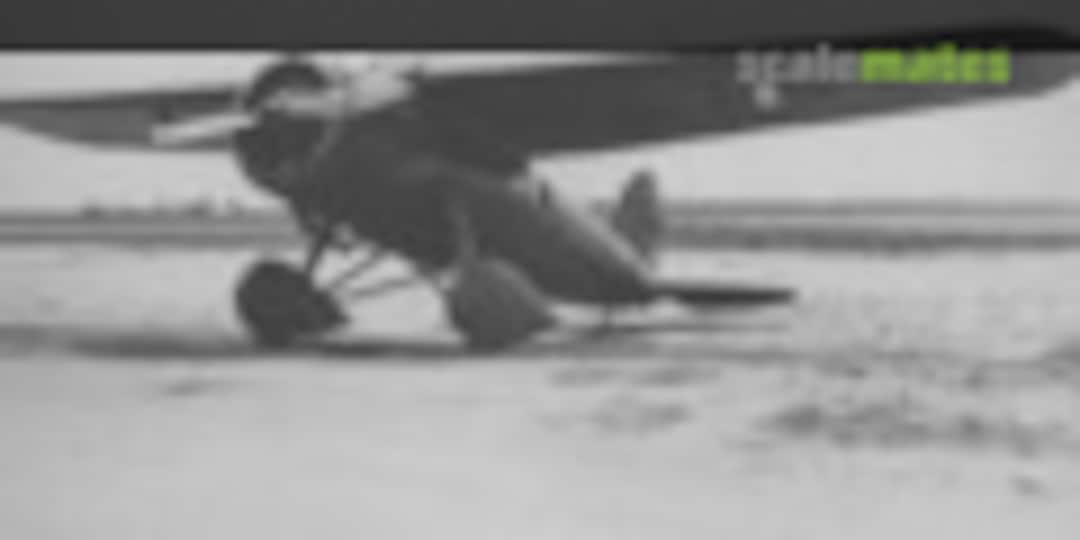
folks...it was time to check the side of the fuselage to see what size the logo was....and it became clear the kits setup for the struts wasn't quite right and it looks like the little set of stairs in the kit is more like a ladder all the way to the float ....in all....a good look at the actual airplane is order before too many commitments are made...see airplane archive photo....
5 April, 01:52
time to scratchbuild a float strut set.....and make a big white circle on the side as a decal background...and print a decal...and so on....its getting there.....
5 April, 01:56
i need to get better at adding wires, etc to builds...but the strut rebuild is underway...
16 April, 16:20
.....the Vega is a history challenge because the more u see the more the kits struts make some historical sense...the kit is an amalgam of various stage and varieties of Vegas...and there are many....actually found a place in Alaska that will sell you floats and a detailed description of how it attached to a Vega or Vegas....if it ever arrives, it will get a photo here for sure...thank you, as always...
20 April, 00:43
Great work. The decals look fantastic. Nice to see interesting, obscure subjects being built.
9 May, 00:59
You might want to give that a light sanding. There is a bit of orange pealing and the decals are pretty thick. Just test it before going crazy. It looks really good. This will be a great addition to your collection.
12 May, 06:25
i'd be terrified to touch that finish...the decals are home printed...perhaps that means a thicker result?
this one will not be a complete success in any case because of the gold paint switch...that will be more obvious than any surface detail...it will still be fun to look at....
thanks again....
12 May, 09:45
Yes, I wish they made printer decal paper that wasn't so damn thick. The last time I used some I had to layer a lot of clear lacquer on the model to get things even and do some light sanding. They are really tricky to get flat. Your model looks great as it is. If you're not comfortable with the extra work just leave it.
12 May, 13:51
The difference in gold could be worked around if you printed the flag on white decal paper and the Alaska Coastal on clear decal paper. That way you could paint the gold circle and layer the decals. But the original plane looks like it matches your decal and the markings seem to be yellow rather than gold. However these are inconsequential details that rivet counters look at.
12 May, 14:00
Project info


Group Build
Vega 5
1. Novembre 2022 jusqu'à 31. Décembre 2023
1. Novembre 2022 jusqu'à 31. Décembre 2023