

Il-28 'Beagle' - Trumpeter


Kommentare
49 15 October 2020, 09:17
Yes, it looks like a fun build, but the limiting factor is my time... you know, work and stuff.
16 October 2020, 15:58
So, after only having built a few kits completely for my own pleasure without any photos or public display in order to avoid burn-out, let's again do a photo-documented build. I am going to let it take time, but I intend to have fun.
19 September 2021, 14:46
Have this very one in my stash as well! Let's see how it turns out.
19 September 2021, 16:07
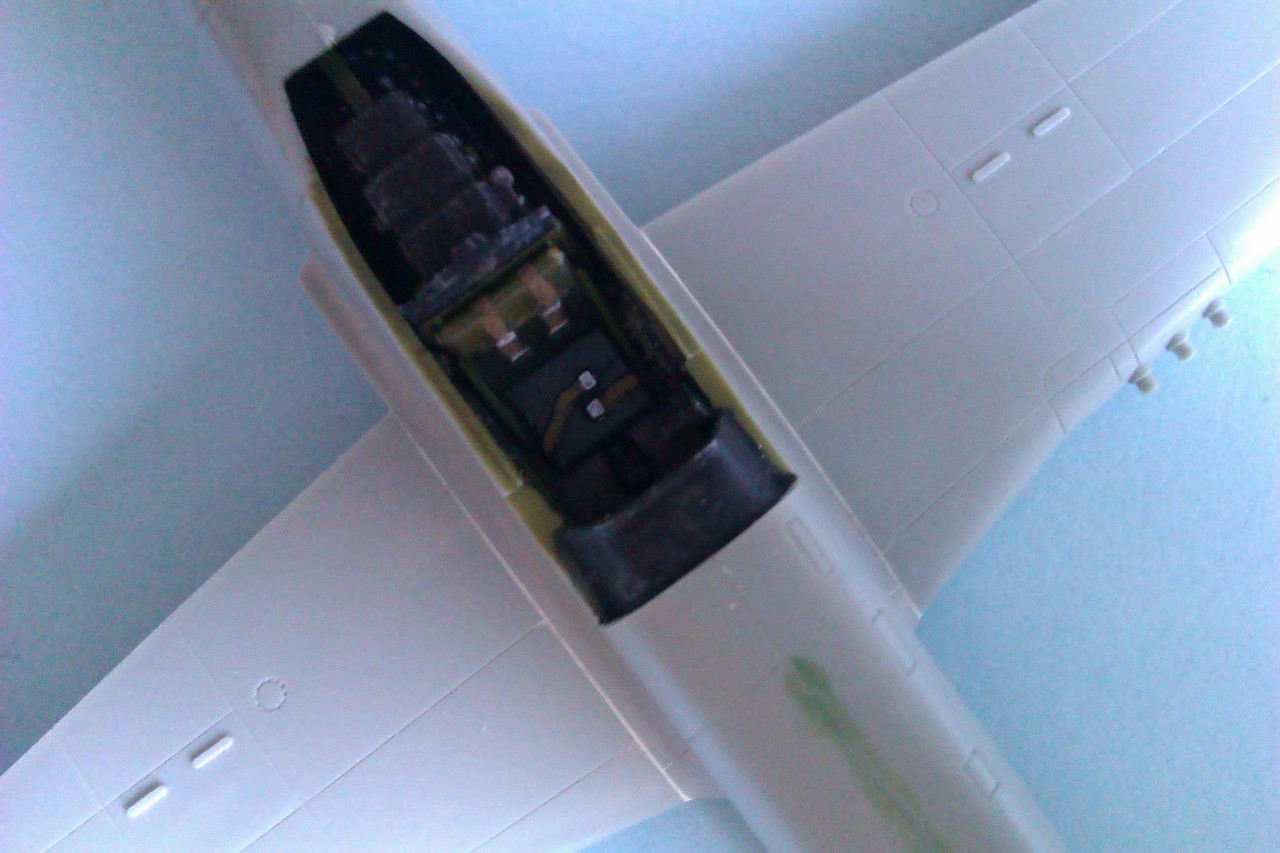
Still struggling with internal reference photos, but I will go with my own photos of the only Beagle left in Hungary. It looks like light gray (quilted) interior with turquoise trim, brown floor, light blue ejection seats, zinc yellow flight deck with green frames and red handles. Zinc yellow landing gear bays, green landing gears and green dorsal radome. OMG, that is an explosion of colors.
21 September 2021, 07:12
Are you going to build it as-is or trying to fix the shape issues?
21 September 2021, 07:17
No, I will build it as it is but with some resin and PE parts. Yesterday I did some dry fitting with tape and it actually looks pretty decent. But the engine bays are going to be an absolute pain to get flush with the top side of the wings. I will need to think carefully about how to install them so I don' have to sand everything to oblivion.
21 September 2021, 07:31
Mine is still waiting (with some resin), maybe your project will motivate me to start it.
21 September 2021, 07:36
Watching with interest - I'm sure to learn lots from your guidance 🙂
21 September 2021, 16:33
What a bizarre aircraft. The pilot has a comfy ejection seat. The navigator too, but he needs to get out of his and sit on a stool when he is doing his job. But it sure sucks to be the rear gunner. He sits on a hard stool throughout the entire flight and cannot even climb forward to his fellow crew members. If he needs to egress in case of an emergency, he needs to stand on the rear hatch and pull a lever, which opens the hatch like a trapdoor.
29 September 2021, 10:15
Interesting - I built the Tamiya 1:100 kit of this subject, and the panel lines on the provided nosecone were also incorrect. They were so indistinct I managed to just mask the nose code and paint it without regard to where the panel lines were and got an acceptable result in such a small scale.
29 September 2021, 11:46
Ben, I wouldn't have hesitated sanding down the frame lines on the nose cone, but Trumpeter has for some inexplicable reason decided to represent the frames as negative lines, or "grooves". Fixing the error is very difficult, or even impossible.
29 September 2021, 15:47
Thomas, you could try to fill the grooves with uv light hardening glue like uhu booster glue
29 September 2021, 15:55
Erik, thank you! Yes, that might work, but I think I would have a hard time making the refilled grooves to become part of the new glass panes. I would probably just mess up the part completely.
29 September 2021, 16:11
Learning lots from your approach to this build, and liking the cockpits's colour scheme. 👍🙂
29 September 2021, 19:25
Interesting subject and beautiful build so far 🙂
Following ! 😉
1 October 2021, 13:47
Thanks fellows, I will try not to disappoint. In all honesty, this kit is not nearly as bad as I thought it would be. There are a few pitfalls here and there, but nothing that cannot be solved by thinking ahead a bit. And a cool piece of hardware for sure. Soviet aircraft are tight! 🙂
1 October 2021, 19:46
I shot down uncountable many IL-28s in 'Strike Fighters 2' if I recall correctly. Nice touch as always though. Following. 😄
3 October 2021, 08:47
Getting to the wing and engine assembly, oh yes, I can see the hidden traps already. I will try to fix them before even reaching for the cement or it will be hell later.
3 October 2021, 13:15
Watching! (I'm wondering how it compares to Italeri's…& for me the IL-28 was a rip-off Canberra). Liking the commentary too!!
4 October 2021, 19:57
Andy & Łukasz, yes, the Trumpeter, Italeri and Bilek are almost the same. The Trumpeter features some of the Chinese H-5 clone details with the Il-28 parts added as a separate fret. The Airfix is a much older one (as old as me actually), with raised panel lines and less details.
4 October 2021, 21:17
Well Thomas I am slightly older than the Airfix and I have definitely got a few raised panel lines.LOL
5 October 2021, 15:25
Thomas, have you already used Vallejo's plastic putty for filling small gaps ? Plastic Putty (Vallejo 70.401, No) .
I think it is easier to use than your "home made" filler.
")
8 October 2021, 14:10
Erik, thanks for the tip mate, I may give it a try! I tried AK Acrylic Modeling Putty but I didn't like it much since it would not stick well to plastic, could not be wet sanded and also reacted badly to acrylic primers. How does the Vallejo work in this respect?
8 October 2021, 14:21
For me it works perfect : the tube has a tip with a 1 mm opening , so you can squeeze out a small quantity on any seam. It is actually water based, so you can even dilute it and brush it , and you can remove any excess with a wet cotton swap . It dries very fast, and has about the hardness as plastic, so there is no problem with sanding . As some putty will dry in the tip, I remove it from the tube, push it through with a tooth pick and it is ready again. Costs some 3 euro for a tube . I use Tamyia putty only for "larger" repairs.
8 October 2021, 14:42
Nice progress, Thomas 👍
I also have used Vallejo Plastic Putty. For certain uses good results are obtained. You can see it in the following album (excess removed with a wet cotton swap 10 or 15 minutes after applying):
Pics 15 and 16:
Lockheed U-2R/TR-1A Dragon Lady Project | Album by Cuajete (1:72)
And the following P-51's pics:
[img1]
[img2]
[img3]
8 October 2021, 18:53
I really appreciate that you put subtext on every photo you post in the build. I wish more people would do that.
8 October 2021, 21:17
@Erik & Cuajete, yes, it seems really good, I think I will order a tube and try it. Thank you!
@Skywalker, I think so too, it is kind of a log of the build this way.
8 October 2021, 21:27
Łukasz, I don't think the 28 is a very popular subject, but it is definitely growing on me.
8 October 2021, 21:52
Looking good progress 👍
Also a happy user of the Vallejo putty, just sometimes if sanded too thin in wrong direction, it will peel off.
9 October 2021, 06:58
Reading all your comments on Vallejo's acrylic putty I'll need to give it a second chance. I tried it on my Canberra and was not very pleased. When I wanted to wet sand it, it peeled off. Like some latex colour.
@Cuajete: The seams in your photos look very good. But doesn't the putty shrink a lot so that the seams are later on visible?
9 October 2021, 14:35
Although I have never tried it, I would not recommend sanding over this vinyl putty. I think that the most appropriate use and where the best results are obtained is on small cracks and to use other types of fillers to sand on wider gaps.
I have come to remove the excesses with the thumb's nail (better than with a blade as it is less harmful), when it was almost completely dried and the wet cotton swab was not possible.
In my case it barely shrunk the putty after drying completely, but as I have read somewhere a second coat of putty can be re-applied in case you have shrunk the first coat once it has completely dried. Better to remove the excess in one pass (without pressing excessively) because the putty accumulates on the swab and can accumulate during the second pass if you do not wait for the putty to dry. This putty is very comfortable to work for small cracks.
I hope I have solved all your doubts within my own experience.
9 October 2021, 19:50
Love that morning updates. I'm one of the followers or a wannabe at least. One day perhaps, if your build won't discourage me 😄
11 October 2021, 08:24
Yes, late evenings are my only time for building, so the updates are during my morning coffee if I am happy with the result. So far the Beagle hasn't presented any major difficulties, but I am slowly getting to that transparent nose... the horror. It fits so badly that I am not even sure how to start it.
11 October 2021, 08:45
Thomas, maybe you could convince Pavla to make a vacu replacement of the nose to complement the resin cockpit that they have made.
11 October 2021, 11:13
Erik, that would be sweet. But to be honest, there was not a lot from the Pavla resin set that could be used either. Almost nothing fit and some really significant items were completely missing that could have been more useful than the ones provided: e.g. a rear gun sight or the "Norden" (copycat) bomb sight at the front.
11 October 2021, 19:53
That front canopy will look fine, once you have finished filling, shaping, filling, sanding..... It will be worth the effort 👍
11 October 2021, 20:15
Hm, have you considered gluing some styrene leftovers to the canopy to get the fit and sand it all afterwards? Just asking 🙂
PS. Sad Pavla news 🙁 got this set.
11 October 2021, 20:21
Łukasz, no, the transparency is actually a bit warped and kind of bends inwards near the fuselage edge. I could sand down the fuselage nose to meet the transparency, but I would then lose the nice curve of the nose. I think this is one of those cases when one just has to do the best and not be too picky.
11 October 2021, 20:28
Łukasz, it would be fun, but a vac-maker machine for a few hundred Euros is not really on my purchase list right now... 😉
13 October 2021, 06:13
I admire your determination here, Thomas. Keep it up! (Trumpeter kits are deceiving, BTW...)
13 October 2021, 06:42
Hmmm, I had somewhere a link to DIY instructions 🙂 Lemme have a look
Found it, in Polish, but there are pics too:
pwm.org.pl/viewtopic.php?f=10&t=9395
13 October 2021, 07:36
Wow, what a difference the grinding and polishing has made! I need to learn from you 🙂
13 October 2021, 10:25
@Łukasz, ha ha, thanks mate, but that's even worse from the wife approval factor point of view... Gas burners and vacuum cleaners, man, I would be out in the doghouse quicker than I'd have time to say "Ilyushin". 🙂 🙂 🙂
13 October 2021, 10:28
@Bruce, yes, these transparent parts are very thick and were badly scratched, but did clean up pretty decent. Not Eduard quality, but not Mistercraft either.
13 October 2021, 10:58
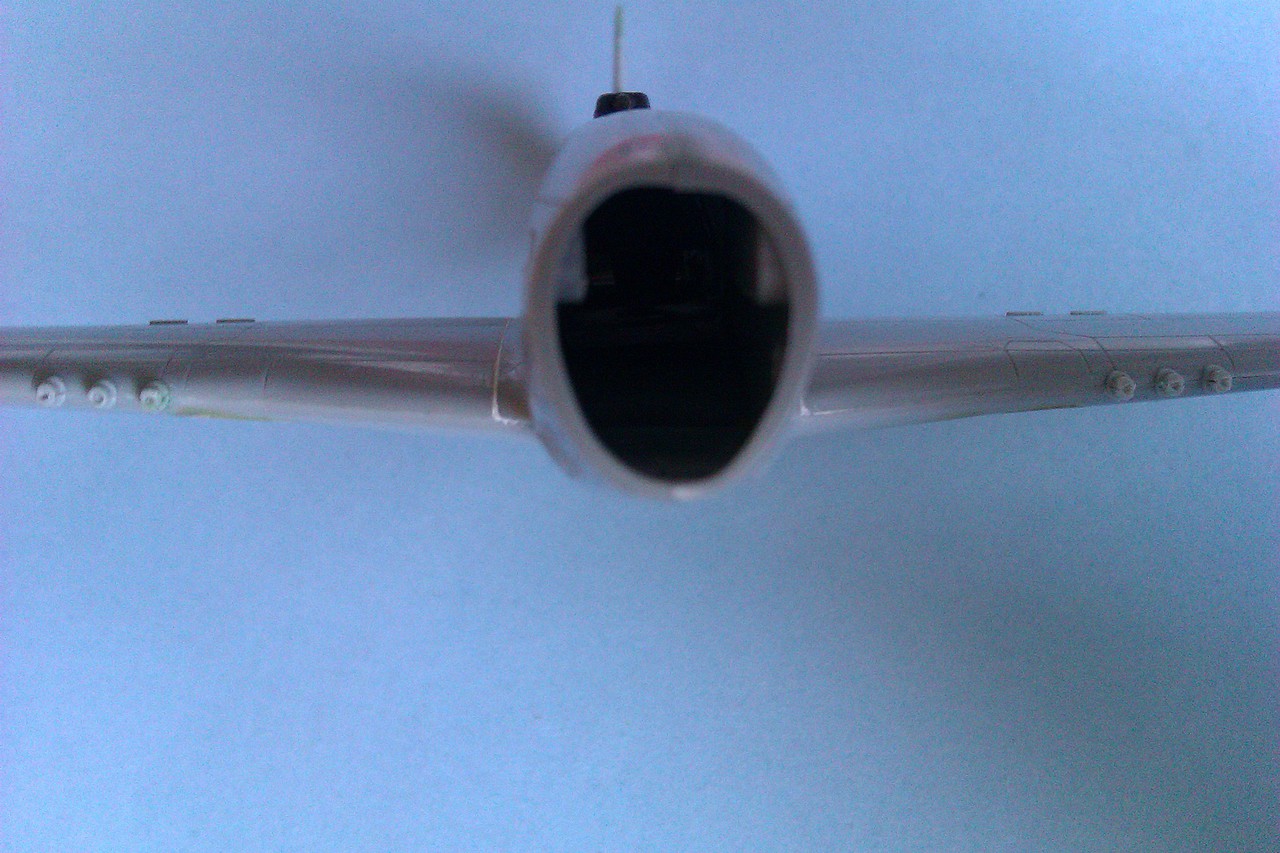
The sanding and polishing did their job better than anticipated. So, you only need to fix that topside hole 👍
13 October 2021, 11:08
I'd love to learn more details about the transparency work, the reduction and polishing. It's a skill and I'm always nervous about those sorts of attempts.Perhaps you can enlighten us when you've finished? Bravo on the progress Thomas.
13 October 2021, 17:23
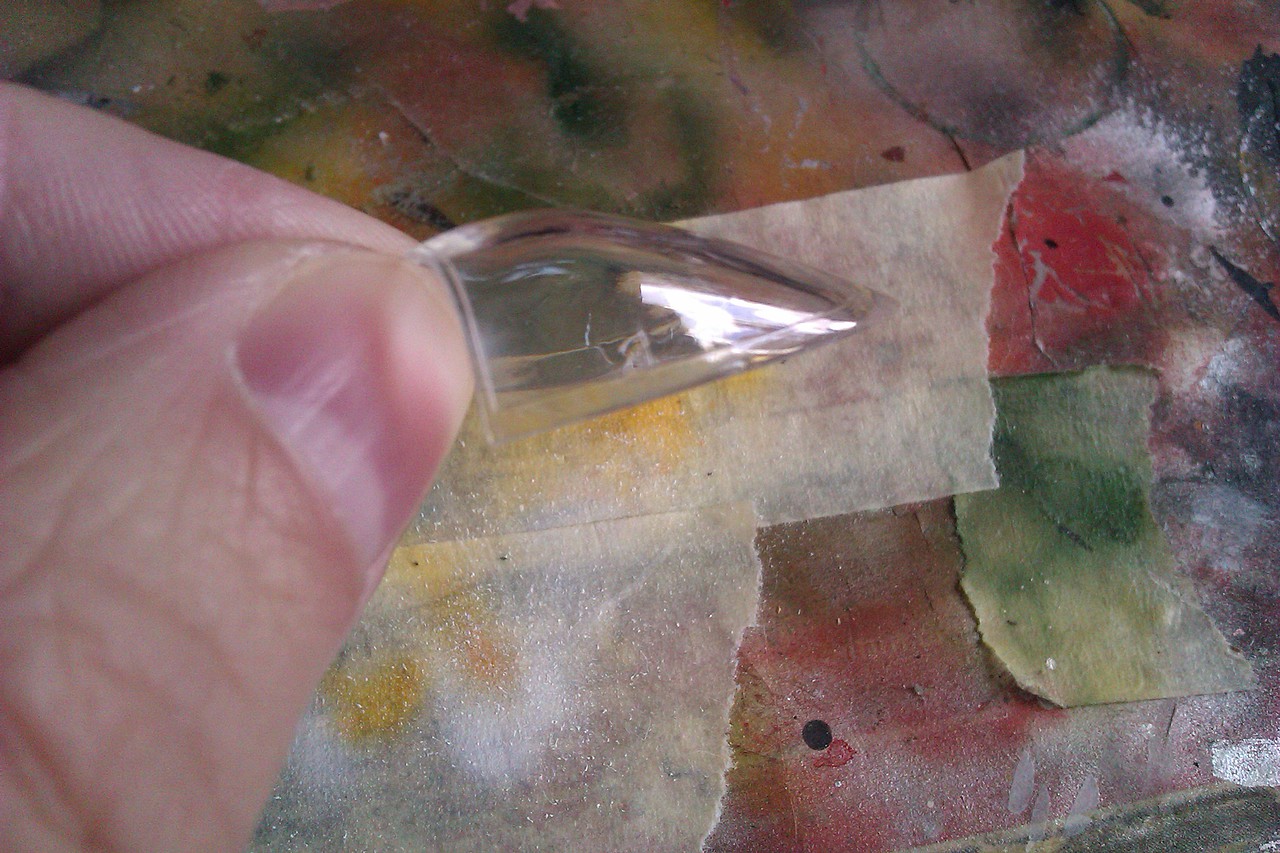
Andy, actually, transparent styrene is just like the regular opaque version, except that it is much more brittle and cracks super easy. But if you are careful, you can sand it to shape and then polish it back to clarity.
I use UMP sanding sticks, not skipping any grit as I move up from coarser ones to finer ones. Make sure that you don't accidentally break off a tiny particle from a corner, or it will immediately scratch everything to hell and you will need to start over from square one.
Then finally I use a nail polisher stick, purchased in the local ladies perfume/nails/beauty shop for peanuts. As the last step, I polish it all back with the three Tamiya polishing compounds (red/blue/silver) using cotton swabs and microfiber cloths. I have a different cloth for each of the three compounds. I also wash off the part under running water when changing compound.
No magic involved, just a lot of elbow grease and patience. The polishing part takes a lot of time, expect at least half an hour for a 1/72 canopy, 10 minutes per compound. For the Beagle nose, I think I spent a whole hour, while watching YouTube.
I never use the Future / Gauzy stuff. I must be stupid nor something, but I just cannot seem to make it work, it always ends up milky or runny or with tiny annoying bubbles stuck in it (and no, I don't shake it).
13 October 2021, 17:57
Looking so good, Thomas 👍
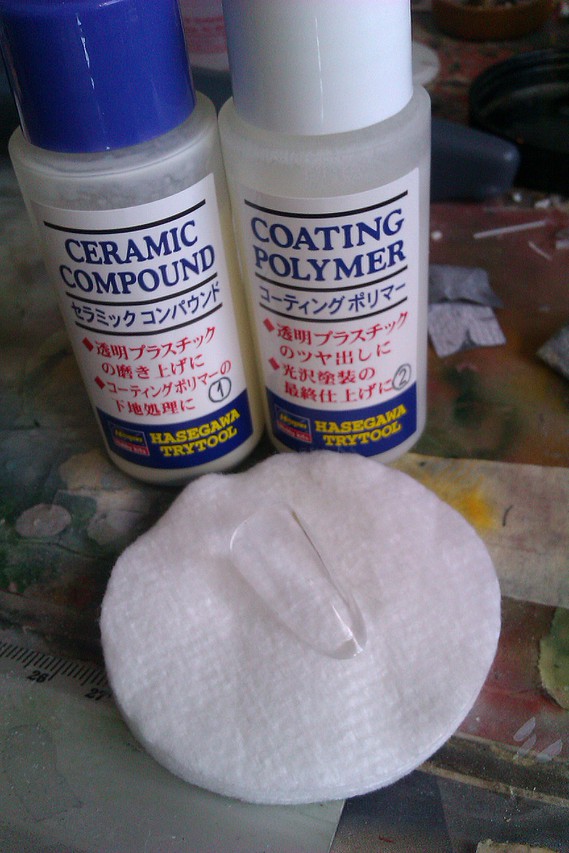
I used the same method for the canopy of my P-51 as explained by Thomas and it was pretty good, but then adding the following Hasegawa products to improve it:
1. Ceramic Compound (Hasegawa TT-25, No)
2. Coating Polymer (Hasegawa TT-24, No)
")
")
This was the result:
P-51D "Red Tails" Project | Album by Cuajete (1:72)
[img1]
[img2]
13 October 2021, 18:36
I admire the patience of modelers who decide to sand and polish transparancies...
13 October 2021, 18:44
Cuajete, thanks for the tip, I will check it out! That P-51 canopy looks flawless.
13 October 2021, 19:24
You know, it's sort of destiny where I come from 😉
And I don't mean sanding 😛
13 October 2021, 19:25
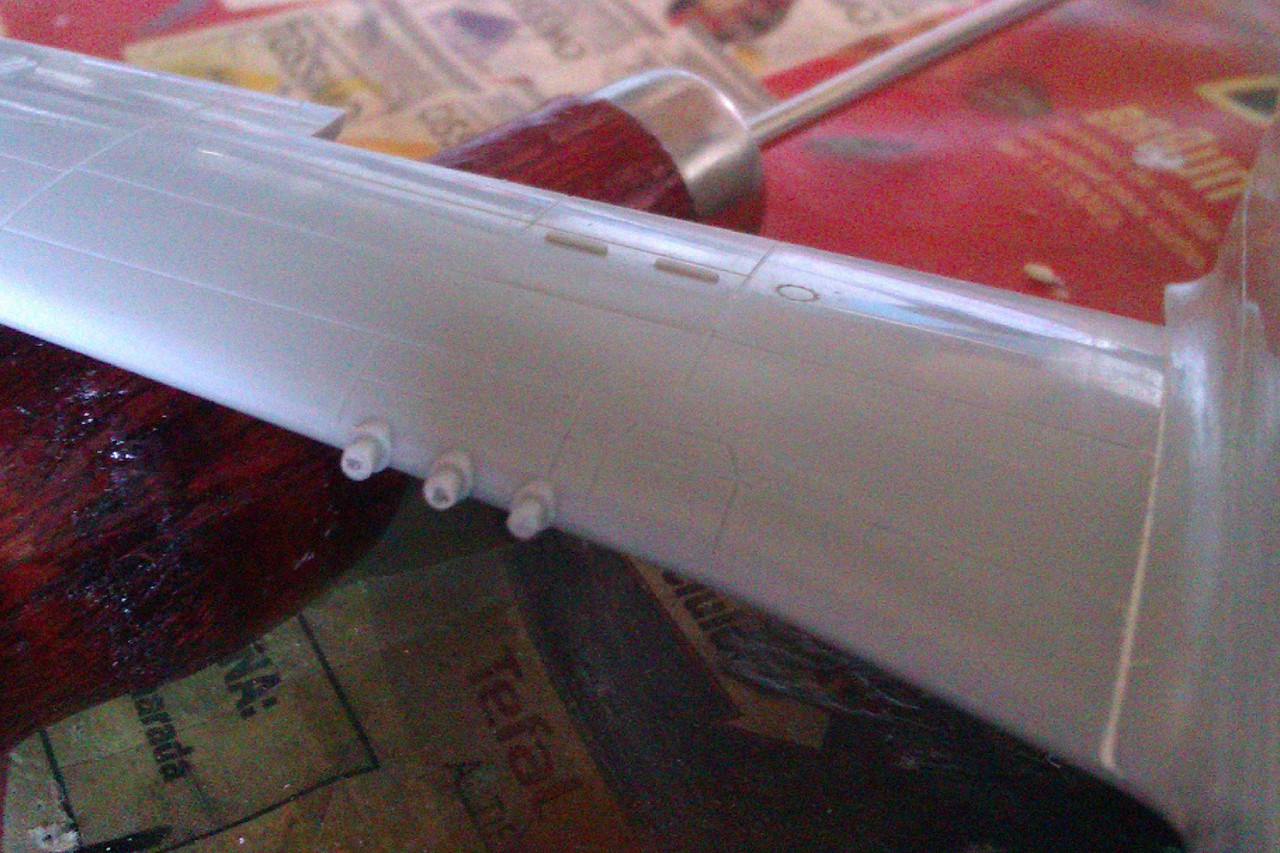
Finally attached the wings to the fuselage! A pretty dreadful fit that needed a lot of sanding and scraping. Since there is no "panel line" where the wings are joined, it all needs to be filled and sanded flush. That's going to be many hours of work.
16 October 2021, 11:54
It certainly has a look of its own, Thomas. Good luck with the filling and sanding... it'll be great to see it at its best 👍
16 October 2021, 14:05
Still sanding and filling those wing joins. I tried top align the top surfaces as much as possible, but it is still pretty poor. And because of the natural metal surface, there is no camo to hide imperfections.
18 October 2021, 10:00
Maybe that would help (pic #11):
Canberra PR.9 XH175 - Xtrakit 1/72 | Album by centuryfan (1:72)
18 October 2021, 10:02
Cannot remember when I last had to fill and sand a model as much as this one, losing panel lines for each session, which I then need to try to rescribe. It is quite annoying, but I am slowly getting there.
8 November 2021, 06:37
I think out friend Thomas hasn't logged in for a couple of months already.
Hope he's doing fine
29 June 2023, 19:34
I abandoned this model as it just looks horrible. The engine nacelles and the wings look absolutely wrong from every direction and that nose cone is abominable. It is simply not worth spending additional weeks and weeks trying to clout this dog's turd into shape.
6 March, 08:21
Heyy, Thomas,
I feel sorry for your project! I would have been happy if I could have read it as a whole article on Makettinfo.hu.
8 April, 21:03
The tamiya 1:100 is also pretty bad. I finished mine but I think redoing the nose 6 times killed my mojo for several months.
8 April, 22:39
Album info
Got this kit for free from a buddy who had it in the stash for over a decade but decided that it wasn't worth keeping, so I thought I would give it a shot. It's a pretty strange looking aircraft, very Soviet, rough and rugged but it looks like a fun and slightly challenging build.


